Can you take a passport photo with an iPhone?
Yes, you can absolutely take a passport photo with an iPhone. Official authorities, including the U.S. Department of State and the UK's GOV.UK, fully accept digital photos captured on personal smartphones, provided they meet strict biometric criteria. In practice, the single most common mistake applicants make is treating an official document photo like a standard selfie.
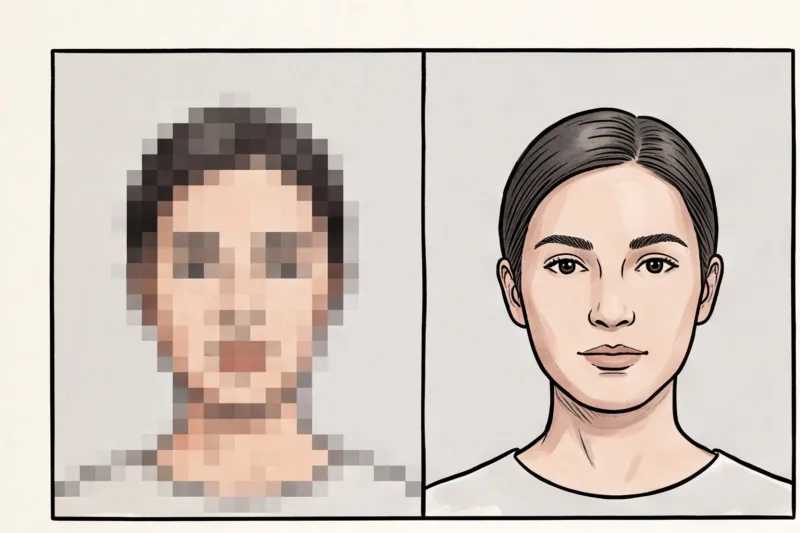
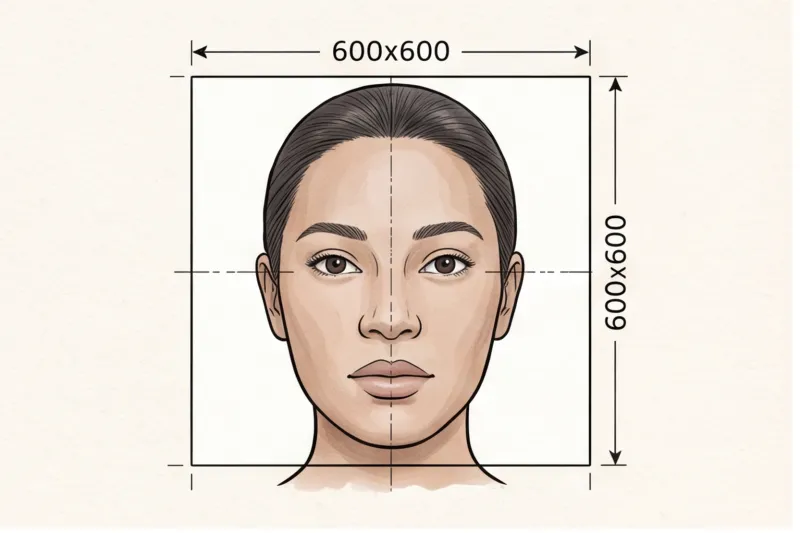
The international standard for biometric travel documents, known as ICAO Doc 9303, strictly dictates the technical properties of the image — such as even lighting, a uniform background, and a neutral facial expression — but it does not restrict the camera device used to capture it. From a technical standpoint, a modern iPhone’s rear camera easily exceeds the typical print resolution of 300–600 DPI and the digital pixel requirements for online submissions, such as the minimum 600 × 600 pixels required for US applications.
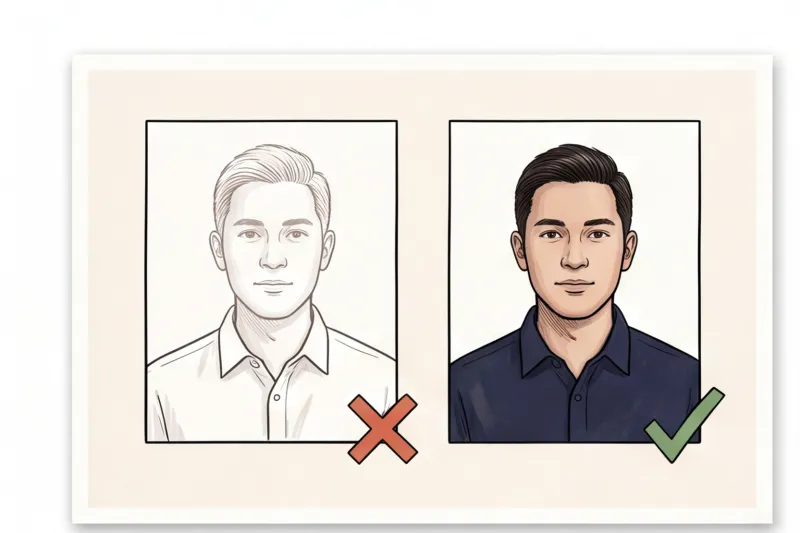
However, government processing systems are unforgiving. A biometric photo must serve as an accurate, unedited visual record of your identity, which means all standard social media photography habits must be abandoned. You cannot use software to artificially blur the background, apply skin-smoothing filters, or shoot from a high, flattering angle. Every feature must be clearly visible, evenly lit, and unmanipulated.
While your phone provides excellent hardware, you must still follow strict environmental rules for lighting and background setup. We explain exactly how to prepare your space in our complete guide on how to take a passport photo at home. If the raw image is sharp, clear, and unedited, your smartphone is the only camera you need.
Which iPhone camera settings should you use (and avoid)?
To capture a compliant passport photo with an iPhone, use the standard 'Photo' mode with the rear-facing cameras, leave HDR on automatic, and turn the flash off. Never use Video, Pano, or Cinematic modes, as these alter aspect ratios and frame rates in ways unsuitable for official still documents.
In practice, one of the most frequent reasons smartphone photos fail biometric matching is facial distortion. You must always use the rear-facing cameras (the lenses on the back of the phone). They offer superior optical quality and a flatter focal length. By contrast, the front-facing selfie camera uses a wide-angle lens. When held at arm's length, it creates a 'fish-eye' effect that elongates the nose and distorts the forehead. Official systems will reject images where the facial geometry does not accurately reflect your true appearance.
Ensure the camera flash is strictly turned OFF. Artificial flash creates harsh glare on the skin, red-eye, and casts hard shadows onto the background. The international biometric standard requires even lighting with no shadows on the face or behind the head. For more advice on setting up your lighting and environment, see our complete guide on taking document photos at home.
Finally, leave HDR (High Dynamic Range) on its default automatic setting. The iPhone uses HDR to balance shadows and highlights naturally, which helps achieve the correct, even exposure required. However, you must manually turn off any active live filters before taking the shot.
Why you must disable Portrait Mode and Filters
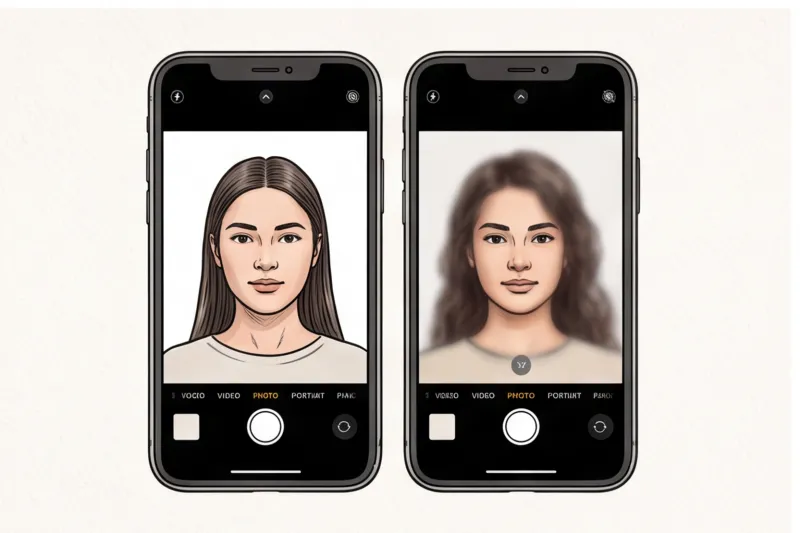
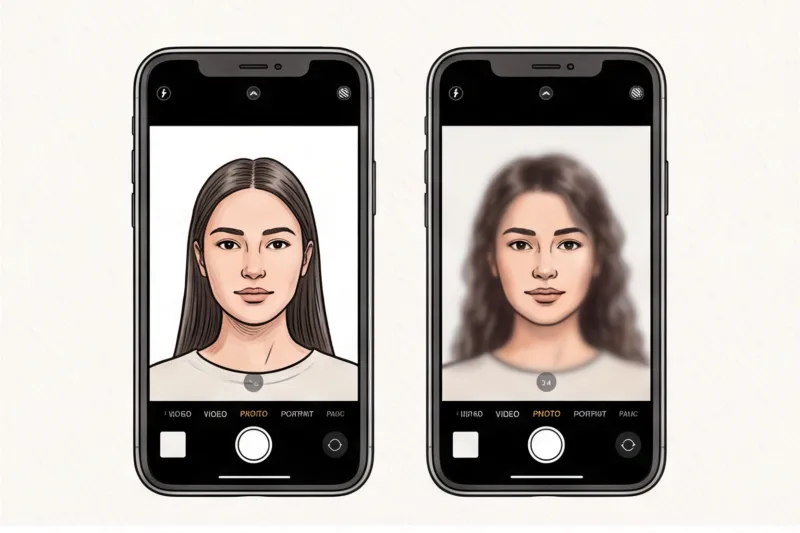
Never use Apple's 'Portrait Mode' or any depth-of-field filters. Government scanners flag the artificial background blur (bokeh) as heavy retouching or prohibited digital manipulation, resulting in an automatic rejection.
While Portrait Mode creates a beautiful aesthetic for personal use, this effect is achieved entirely through software manipulation rather than a true optical depth. The algorithms often struggle to map complex edges perfectly. As a result, the edges of your hair, ears, or clothing can accidentally be blurred out into the background. This destroys the clear, sharp outline of your head and shoulders, which authorities need to verify your identity.
Similarly, check your camera app for 'Photographic Styles' (a feature available on newer iPhones) and ensure it is set to Standard. Applying styles that add warm, cool, or vibrant colour casts alters your natural skin tone. Biometric photos must be full-colour images that display your true, unedited complexion.
Get your document photo in 2 minutes
Upload a normal selfie and receive a compliant document photo that meets the official technical requirements for your country and document — ready to print or submit online.
Make my photoLocking Focus and Exposure (AE/AF Lock)
To prevent the iPhone from automatically adjusting brightness or shifting focus mid-shot, use the built-in AE/AF Lock (Auto Exposure / Auto Focus Lock) feature. This is critical for maintaining consistent quality while you ensure your subject has a neutral expression and closed mouth.
While framing the shot, simply tap and hold your finger on the subject's face on the screen until a yellow 'AE/AF Lock' banner appears at the top. This freezes the camera's sensors.
Once locked, a small sun icon will appear next to the focus square. You can slightly slide this sun icon up or down to fine-tune the brightness. This allows you to dial in a natural exposure that is not too dark and not washed out, ensuring sharp focus on the facial features and consistent lighting for every photo you take.
How to set up your room for an iPhone passport photo
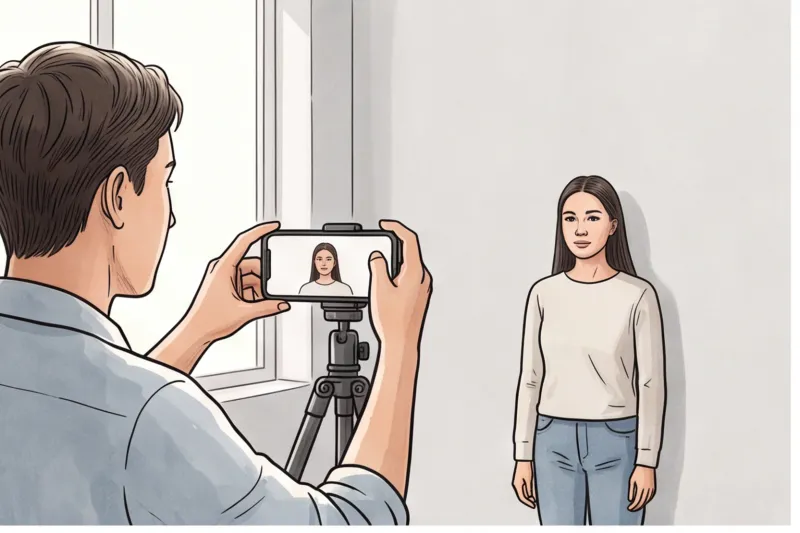
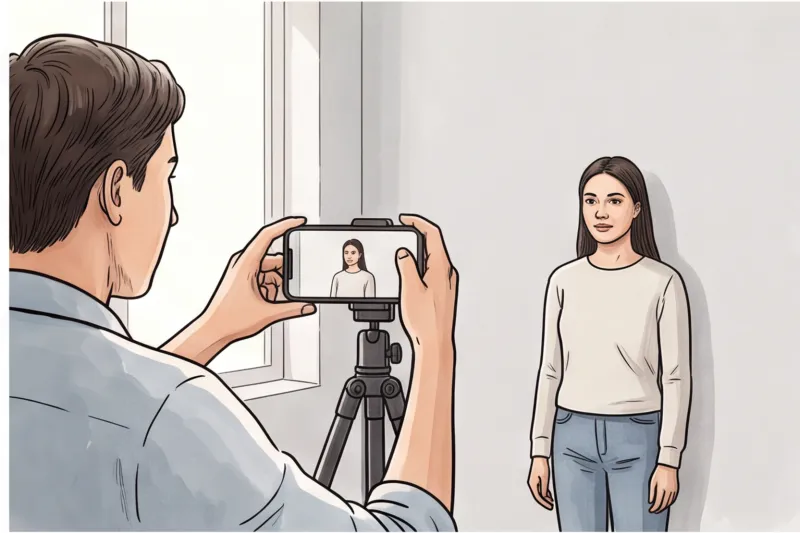
The ideal setup for an iPhone passport photo requires you to stand facing a large window for indirect natural light, positioned half a metre (1.5 feet) in front of a plain white or light grey wall. The camera should be held at eye level roughly 1.5 metres (4–5 feet) away.
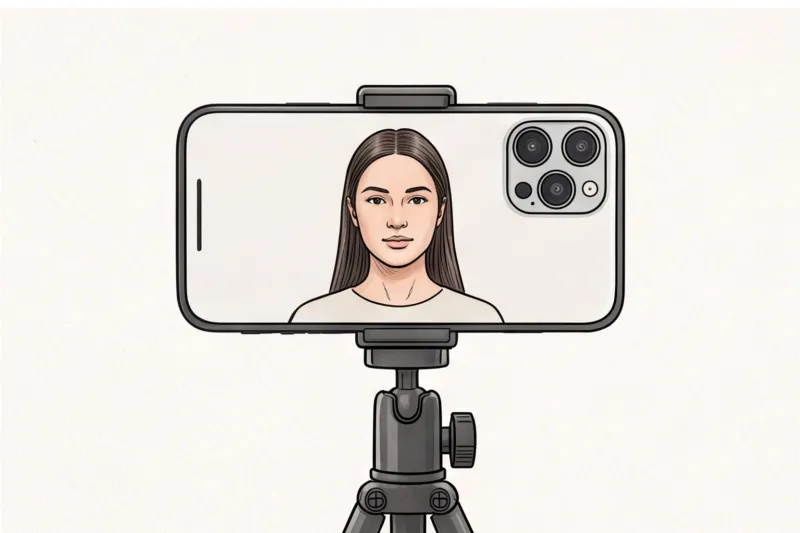
In practice, uneven lighting and background shadows are among the most frequent reasons a photo is rejected by passport authorities. To prevent this, shoot during daylight hours and face a window directly. Indirect, natural sunlight provides the even illumination required for a biometric record. Always turn off overhead room lights; ceiling bulbs typically cast heavy shadows under your eyebrows, nose, and chin, altering the clear view of your facial features.
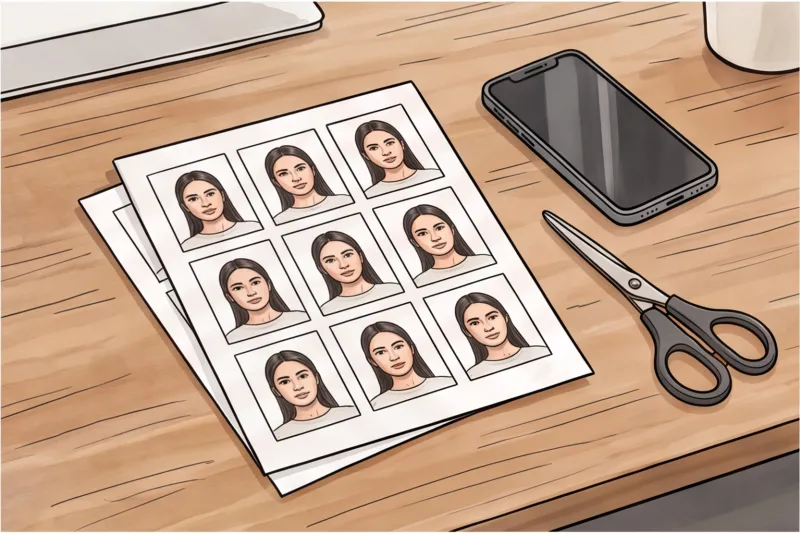
For the background, use a uniform, light-coloured wall free of patterns, objects, or textures. Stand about half a metre (1.5 feet) away from the wall rather than leaning against it. This physical gap is crucial: it allows light to fall behind you, preventing your body from casting a hard, dark shadow on the background — a leading cause for official rejection.
Finally, avoid holding the phone yourself. Use a tripod or have a friend hold the iPhone exactly at your eye level, about 1.5 metres (4–5 feet) away. Shooting from this distance ensures you capture your entire head, shoulders, and upper chest without the facial distortion caused by a wide-angle lens being too close. This framing leaves plenty of necessary space around your head to crop the photo precisely later.
Posing for your picture: Essential biometric rules
A compliant passport photo requires you to face the camera squarely with a neutral expression, both eyes open, your mouth closed, and no glasses or hair covering your facial features. These strict biometric requirements, based on the international ICAO Doc 9303 standard, ensure government software can accurately map your face.
When positioning yourself, keep your head perfectly centred and look directly into the iPhone’s camera lens. A frequent mistake when using a smartphone is looking at the screen instead of the lens, which drops your eye line and can immediately trigger a rejection. Keep your shoulders square to the camera with absolutely no head tilt.
You must maintain a completely neutral expression. Keep your mouth closed and avoid smiling, frowning, or raising your eyebrows. This ensures your facial muscles remain relaxed and in their natural resting position.
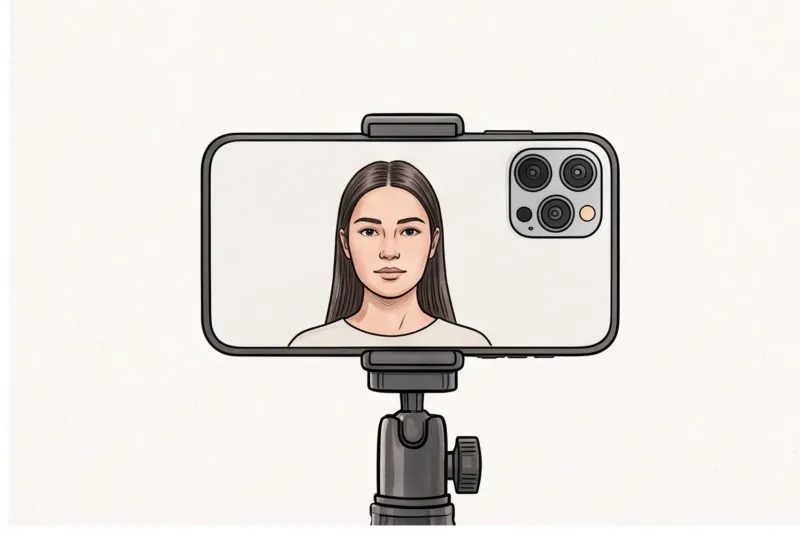
Both eyes must be fully open and clearly visible. In practice, stray hair falling across the face is a leading cause of delays. All hair must be tucked behind your ears or pulled back tightly so it does not obscure your facial outline, cheekbones, or eyes.
Finally, remove your glasses. Authorities in many countries — including the US Department of State and EU ministries — have entirely banned glasses in passport photos due to unavoidable lens glare and thick frames obstructing the eyes. Unless you possess a strict, documented medical exception permitted by your specific country's authority, you must take them off.
Ready to prepare your document photo?
Skip the studio. Upload a selfie and get a professionally prepared photo that meets the official technical requirements in about two minutes.
Get startedThe most common reasons iPhone passport photos get rejected
iPhone passport photos are most frequently rejected because the applicant takes a handheld selfie, applies digital beautification, frames the shot too tightly, or manually crops the image to the wrong aspect ratio. In our experience checking thousands of document photos, relying on standard smartphone photography habits is the leading cause of failed applications.
- Attempting a 'selfie': Holding the phone yourself inevitably tilts your shoulders and drops one arm out of the frame. Additionally, the close proximity of the iPhone's wide lens distorts your facial features, making your nose and forehead appear unnaturally large.
- Digital beautification: Government scanners easily detect artificial alterations. Using built-in skin smoothing or third-party apps to remove wrinkles or reshape a jawline will result in an immediate rejection. The photo must look exactly like you.
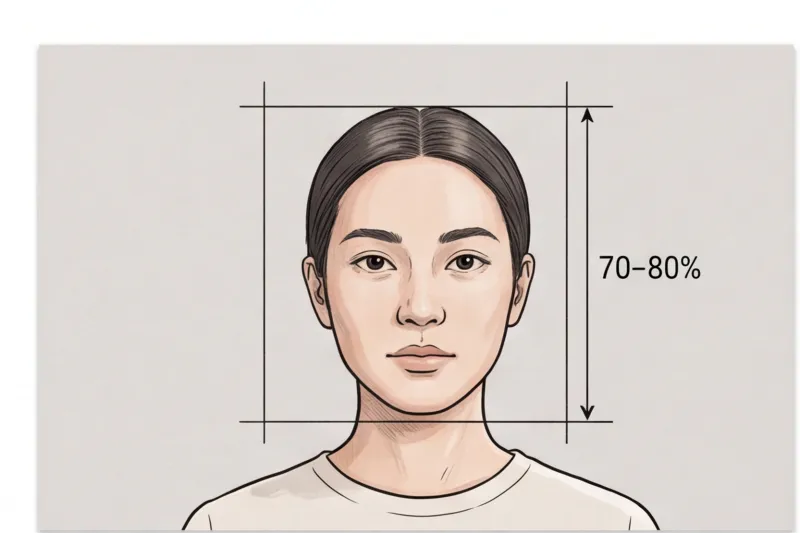
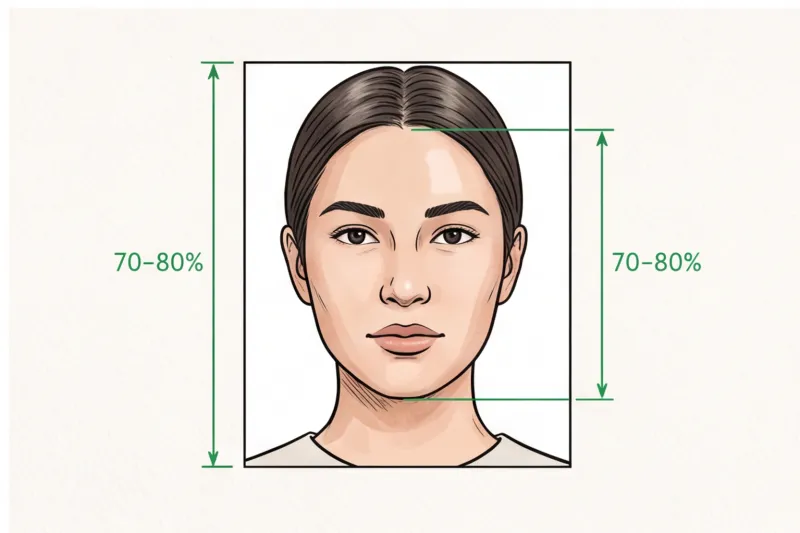
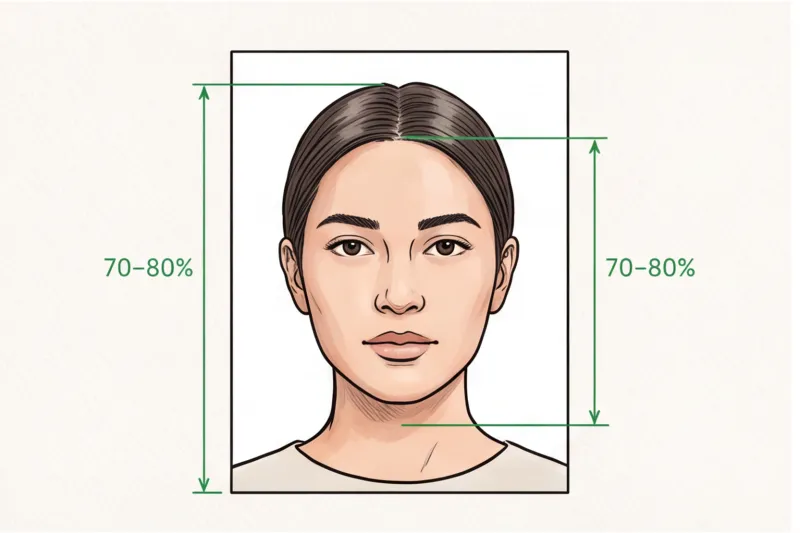
- Incorrect framing: Taking the initial photo too closely leaves no room to crop it to the correct head-height ratio later. While exact dimensions depend on the country, the face must typically fill 70–80% of the final photo. You need sufficient background space around the head and shoulders in the raw image.
- Bad cropping: Using basic phone editing tools to trim the photo often results in the wrong aspect ratio. Trying to manually guess a 2×2 inch square for a US passport or a 35×45 mm rectangle for European documents frequently distorts the image or cuts off the top of the head.
Step-by-Step Checklist: Taking your passport photo with an iPhone
To ensure your final image meets strict biometric rules before you press the shutter, follow this exact preparation sequence. Setting up your environment and locking in your iPhone settings takes only a couple of minutes, but it prevents the most common government rejection triggers.
- Locate your background: Find a plain white or light grey wall facing natural window light to ensure even illumination.
- Clear your face: Remove glasses, hats, and bulky headphones. Tuck hair away so your facial outline is fully visible.
- Position the camera: Have a helper hold the iPhone at eye level, or mount it on a tripod, using the higher-quality rear camera.
- Disable enhancements: Turn off the camera flash, Portrait Mode, and all active photographic filters.
- Lock focus and lighting: Tap and hold the subject's face on the screen to lock AE/AF (focus and exposure), preventing unwanted brightness shifts.
- Hold your pose: Look directly at the camera lens (not the screen) with a neutral, closed-mouth expression.
- Frame generously: Take several shots capturing from the chest up, leaving plenty of space above the head for precise cropping later.
Get your document photo in 2 minutes
Upload a normal selfie and receive a compliant document photo that meets the official technical requirements for your country and document — ready to print or submit online.
Make my photoHow to format and size your iPhone photo for official use
Once you have captured a sharp, well-lit image on your iPhone, it must be formatted to exact government specifications before submission. An unedited photo straight from your camera roll will not be accepted; it requires precise cropping, background standardisation, and strict dimensional measurements that match the legal requirements of your issuing country.
Do not try to guess the sizing using the standard Photos app crop tool. The iPhone's built-in editing features are designed for general photography, meaning they cannot measure physical millimetres, calculate print resolution, or determine exact facial percentages. Sizes vary wildly by country. For example, standard documents commonly require a 35 × 45 mm format in Europe and the UK, whereas the United States mandates a strict 2 × 2 inch (51 × 51 mm) square. Even if you approximate the outer dimensions, specific head-height ratios must be met. While international guidelines generally expect the face to fill 70–80% of the frame height, manual cropping usually results in the head being too large or positioned off-centre, which is a leading cause of rejection.
Formatting complexities also depend on your submission method. Online applications require a digital file with exact pixel dimensions (such as a minimum of 600 × 600 px for US digital submissions) and strict file-size limits. Conversely, physical applications require high-resolution prints on specific photographic paper. Handling these shifting variables manually on a smartphone screen introduces significant risk to your application timeline.
Instead of risking rejection, use a professional, automatic service. You simply upload your raw, unedited iPhone photo to PhotoID24, and the system instantly checks it against the official technical requirements for your specific chosen country and document type. You do not need to understand pixels, DPI, or millimetre ratios.
In minutes, you receive a compliant photo with the correct background, exactly cropped and sized. The service automatically adjusts the backdrop to the required plain white or light grey, perfectly aligns your head and shoulders, and outputs a final file that meets the official rules. You receive a digital version ready for immediate online submission, alongside a correctly formatted template ready for printing on standard photo paper.
Taking a passport photo with an iPhone is entirely achievable when you split the work into two steps. Your only job is to stand in natural window light, disable your camera filters, and capture a sharp image with a neutral expression. From there, let a dedicated professional service handle the rigid government formatting. Take your raw photo today, upload it for instant processing, and proceed with your application knowing your document photo is technically correct.