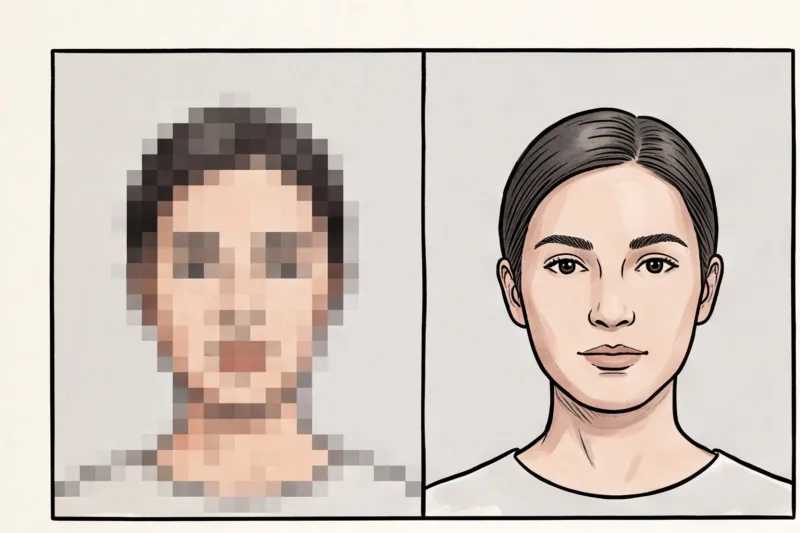
What is the correct passport photo pixel size?
If you are trying to find the single correct passport photo pixel size, stop looking — there is no universal standard. The exact dimensions depend entirely on the specific country issuing your document and whether you are submitting a digital file or a physical print. While printed photos are measured in physical units like millimetres or inches, digital submissions require precise pixel measurements to ensure the government's biometric software can accurately map your facial features.
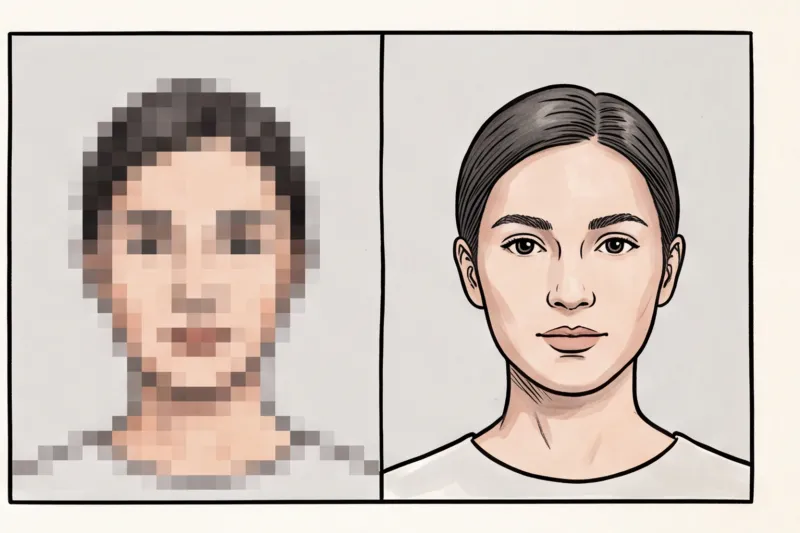
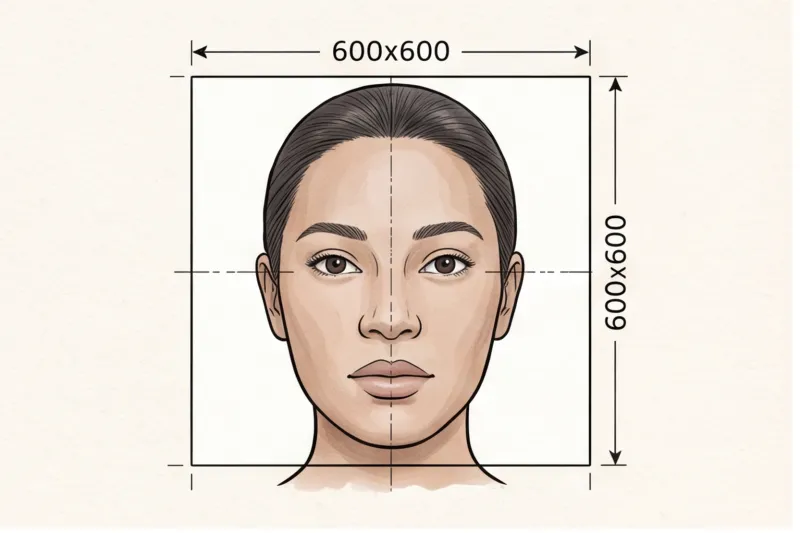
Every nation configures its own digital portal with specific mathematical boundaries. For example, the U.S. Department of State dictates that digital photo uploads for United States passports and visas must be a minimum of 600 × 600 pixels. This creates a mandatory 1:1 square aspect ratio. In contrast, a European country that requires a standard 35 × 45 mm physical format will ask for a completely different, rectangular pixel count for its online applications.
Pixel count is also only one part of the technical specification. Digital applications almost always enforce both minimum and maximum pixel dimensions to ensure image clarity without overloading government servers. Alongside these dimensions, you will face strict file-size limits, measured in kilobytes (KB) or megabytes (MB). A digital photo that meets the exact 600 × 600 pixel requirement will still be instantly rejected by the upload portal if the file size is too heavy.
Because these parameters vary so drastically across borders, you must never guess the required resolution. Always check the exact digital upload limits directly with the official authority handling your document — such as GOV.UK for British applications or travel.state.gov for US documents. We cover the full requirements for various international formats in the complete guide.
Print vs digital submission: What are the rules for a passport picture?
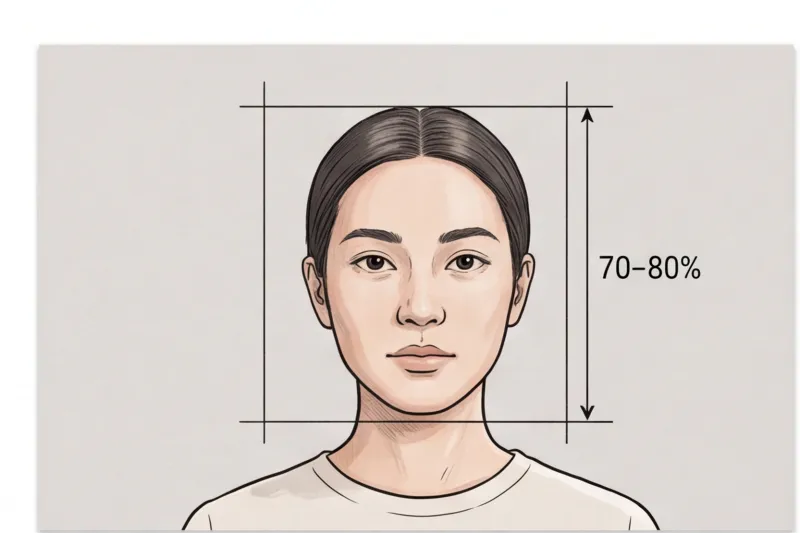
The rules for a passport picture depend heavily on how you submit your application, but the core image must always meet strict international biometric criteria. Whether you need a physical print or a digital upload, the foundational requirements follow the international ICAO Doc 9303 standard. This framework mandates that you must maintain a neutral expression with your mouth closed, face the camera directly, and stand against a plain, light, and uniform background. Lighting must be even with no harsh shadows, and your face must fill roughly 70–80% of the frame's height. We cover the full requirements in the complete guide.
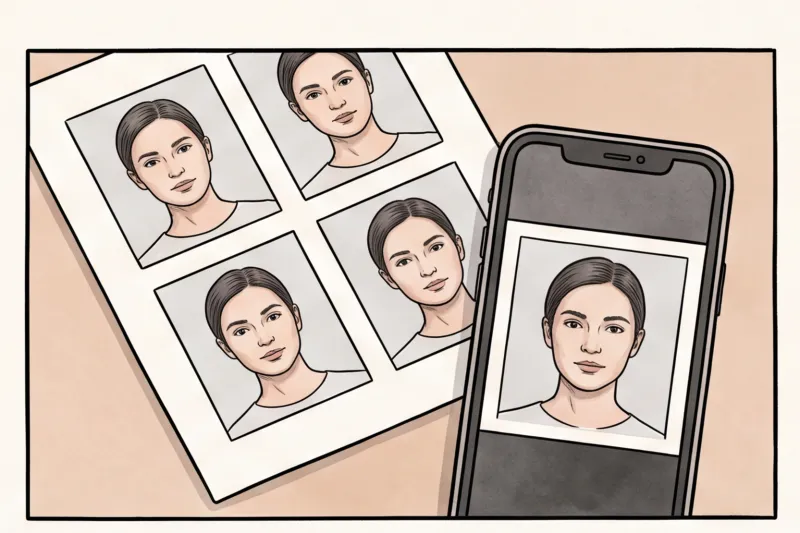
Once the base photo is taken correctly, the technical rules diverge entirely based on your submission method. Many countries still require physical prints on dedicated photo paper, often explicitly stating whether the finish should be glossy or matte. Print requirements are measured in physical units, such as the standard 35 × 45 mm format used across most of the European Union and the UK, or the 2 × 2 inch (51 × 51 mm) format required by the United States.
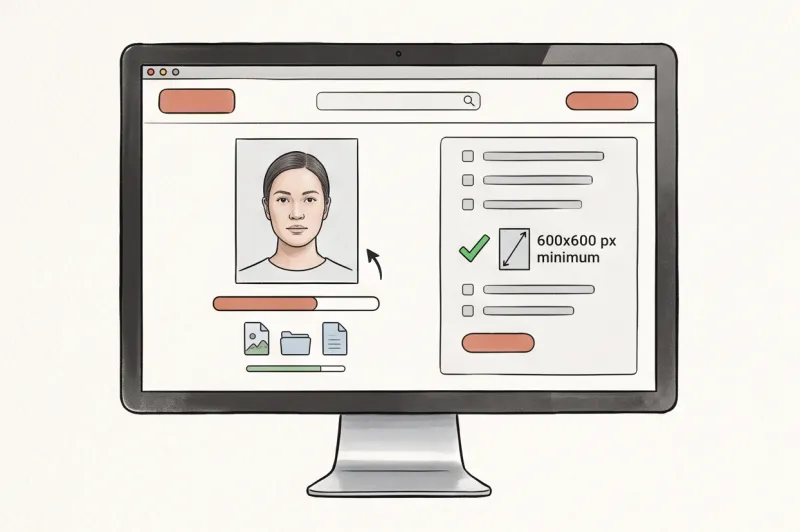
Digital submissions, however, discard physical measurements completely. Online applications mandate strict pixel dimensions and data constraints. For example, a digital US passport application requires a square image of at least 600 × 600 pixels, while other countries have their own unique width-to-height pixel ratios and strict file-size limits in megabytes or kilobytes. Trying to submit a file formatted for print into a digital portal often triggers an automatic rejection due to an incorrect aspect ratio or excessive file size.
Instead of struggling with manual cropping tools or guessing pixel calculations, you can streamline the entire process. By using PhotoID24, you can simply upload a standard smartphone selfie. The service automatically processes the image to meet the exact technical requirements for your specific country and document type. You will receive a precisely sized digital file ready for online portals, alongside a perfectly scaled template for physical printing.
Get your document photo in 2 minutes
Upload a normal selfie and receive a compliant document photo that meets the official technical requirements for your country and document — ready to print or submit online.
Make my photoHow does resolution (DPI) affect passport photos?
Resolution directly dictates the clarity of your passport photo, ensuring your facial features are sharp enough to be read by automated biometric border control scanners. Technical requirements usually measure this detail in two ways: PPI (Pixels Per Inch) for digital screens and files, and DPI (Dots Per Inch) for physical printing. While often used interchangeably in everyday terms, both describe how densely the visual data is packed into every inch of your image.
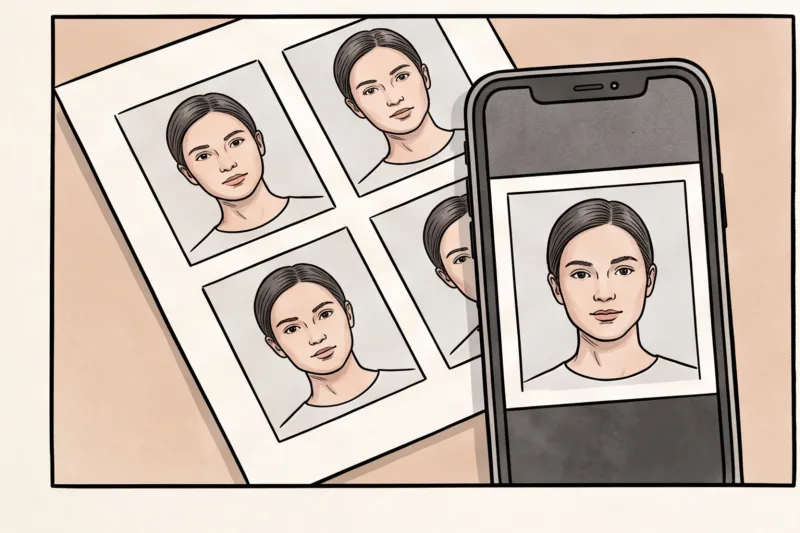
To meet strict biometric standards, official authorities commonly require a print resolution between 300 and 600 DPI. A high DPI ensures smooth gradients in skin tones and crisp edges around the eyes and mouth. The exact pixel dimensions you need for a digital upload are simply the physical print size multiplied by this required resolution.
The math is straightforward. For example, the U.S. Department of State requires a physical photo measuring 2 × 2 inches (51 × 51 mm). If you need to print a 2-inch wide photo at an industry-standard 300 DPI, you multiply 2 inches by 300 dots. This equals exactly 600 pixels. This calculation is exactly why the U.S. government sets its minimum digital upload requirement at 600 × 600 pixels.
In practice, a frequent reason digital applications are rejected is "upscaling." If you start with a tiny, low-resolution image, you cannot fix it by simply typing larger pixel dimensions into a photo editor. Artificially increasing the pixel size does not create missing detail; it only stretches the existing data. This results in a blurry, soft image that will instantly fail government technical quality checks. Because a standard modern smartphone easily exceeds typical resolution requirements, the best approach is to always start with your original, uncompressed camera file before cropping.
How do I make a 2x2 photo for my passport with the right pixels?
To create a 2x2 inch photo with the right pixels, you need to match the physical dimension (2x2 inches or 51x51 mm) to the required resolution. For United States passports and visas, the U.S. Department of State requires a minimum of 600 by 600 pixels for digital uploads. This exact size is achieved by taking a high-resolution source image and cropping it to a 1:1 square aspect ratio.
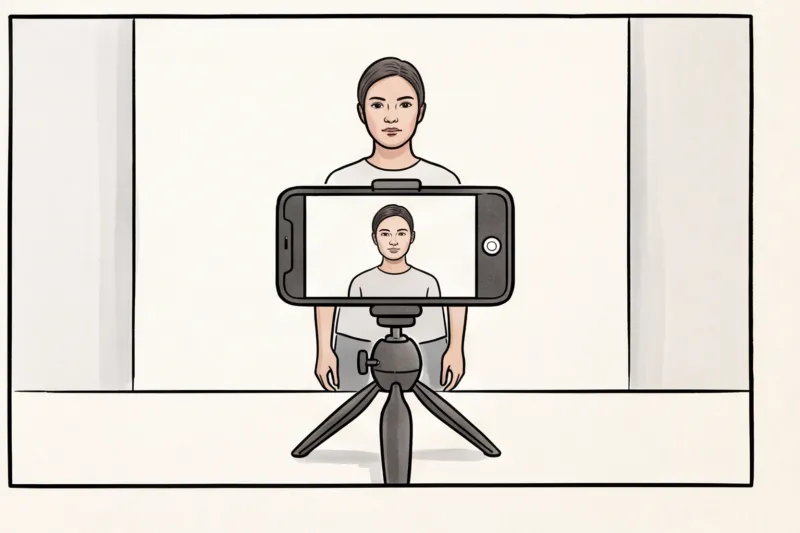
Getting the necessary pixel density starts before you even crop the image. Set up a modern smartphone on a tripod and use the rear camera, which captures far more detail than the front-facing lens. Stand against a plain, light background and ensure the lighting is even across your face to avoid digital noise (grain) in the shadows.
In practice, a common mistake is framing the shot too tightly around the face. Instead, take the photo from the chest up. This wider framing captures plenty of raw pixel data and leaves extra space above and around your head. Having that margin allows you to crop the head correctly to meet strict US head-height ratios without the final image dropping below the 600x600 pixel minimum.
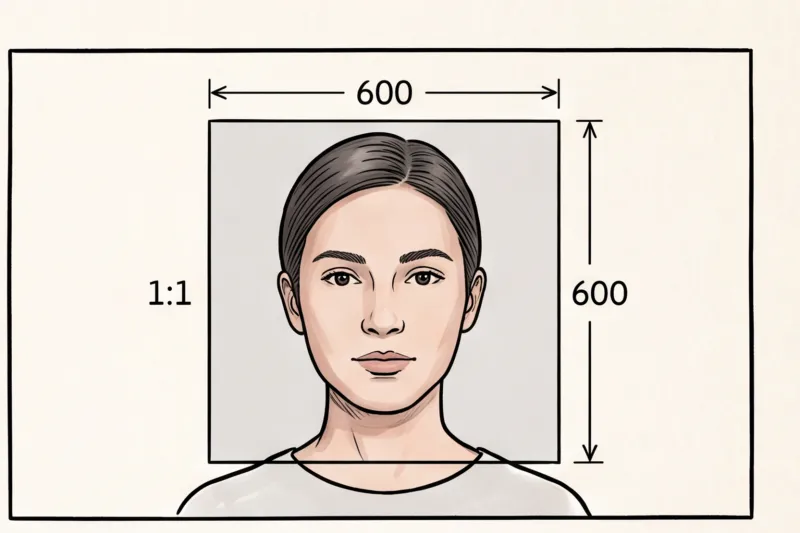
Manually calculating aspect ratios or using complicated photo editors often leads to sizing errors and application delays. Instead of guessing, you can use our service, PhotoID24. Simply upload your chest-up picture, and the professional system automatically crops your image to exactly 2x2 inches (or 51x51 mm) and ensures the correct pixel density for US documents in minutes.
Ready to prepare your document photo?
Skip the studio. Upload a selfie and get a professionally prepared photo that meets the official technical requirements in about two minutes.
Get startedWhat will get a passport photo rejected regarding file quality?
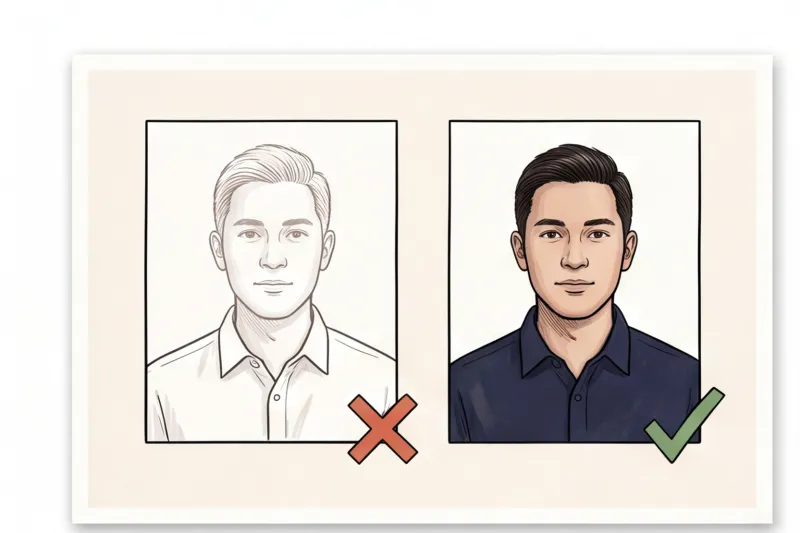
A passport photo will be rejected for file quality if it has blurry focus, low resolution, visible pixelation, or an incorrect aspect ratio. Government digital systems also instantly flag images that show heavy JPEG compression artifacts or any signs of digital manipulation.
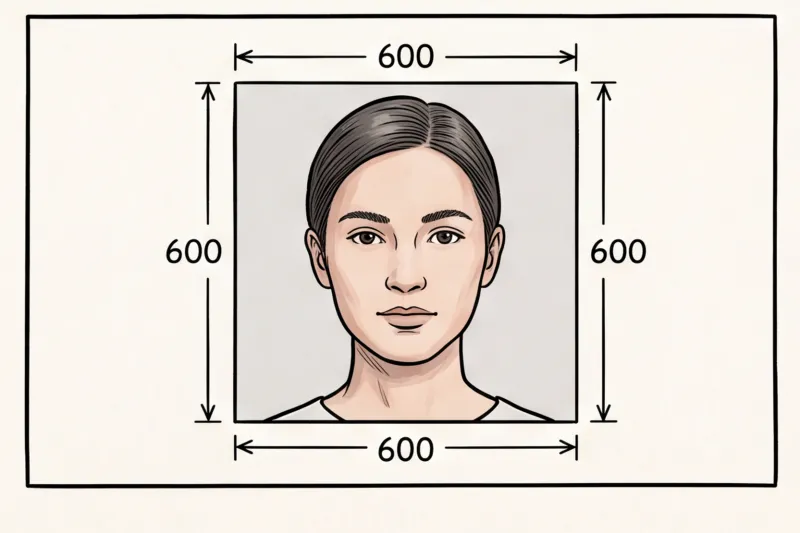
In practice, one of the most frequent reasons a perfectly good digital photo gets rejected is how it is transferred. If you take a high-resolution smartphone photo and send it to your computer via a messaging app or social media chat, the platform automatically applies heavy JPEG compression. This process strips out crucial pixel data to save space and introduces visual artifacts. When you upload that compressed file to an official portal, the digital checker rejects it for poor technical quality. Always transfer the original camera file directly to your computer using a cable, a cloud drive, or email sent at actual size.
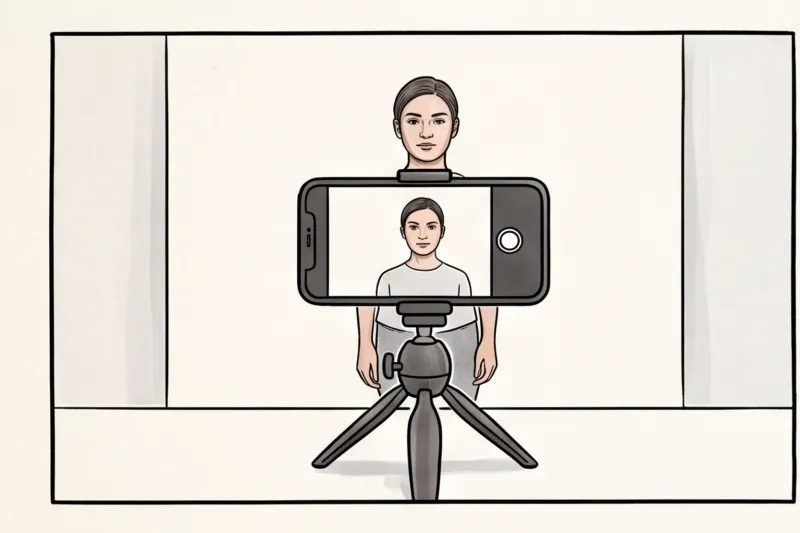
Another common technical failure is submitting the wrong image shape. By default, most smartphones capture photos in a 4:3 aspect ratio. However, specific documents demand different proportions. For example, a digital United States visa application requires a perfectly square 1:1 aspect ratio. If you upload an uncropped 4:3 image, the submission portal may either reject it outright or digitally stretch your face to fit the square, which immediately ruins the biometric proportions and causes a rejection. Instead of guessing how to crop an image manually, you can use our service, PhotoID24, to automatically process the original file into the exact aspect ratio and pixel dimensions required for your specific document.
Finally, technical quality requires the raw image to remain untouched. Any digital manipulation — including smartphone camera filters, built-in digital beautification, or obvious retouching to remove permanent facial features — is strictly forbidden. The file must be a true, unaltered representation of your current appearance. While removing a temporary blemish is generally acceptable, reshaping your jawline or enlarging your eyes is not.
What are the passport photo requirements for makeup?
You can wear makeup in a passport photo, provided it does not alter your fundamental facial features or change your natural skin tone. Biometric software works by measuring the exact distances and depths between your eyes, nose, and chin to create a map of your face.
Heavy contouring creates artificial shadows that confuse these scanners, leading to failed biometric checks. Similarly, reflective foundations, lip glosses, or highlighters can cause glare under the camera flash, violating the rule for even lighting. Keep your makeup natural and matte. Furthermore, combining heavy makeup with digital smoothing is a guaranteed rejection under ICAO Doc 9303 rules. If a digital filter smooths your skin texture to the point where natural pores and lines disappear, the file lacks the necessary biometric detail and will not meet the official technical requirements.
Step-by-Step Checklist: Ensuring perfect pixel size and clarity
To ensure perfect pixel size and clarity for your passport photo, you must capture a well-lit original image, preserve its raw data by avoiding file compression, and format it exactly to your specific country's digital and physical standards. Getting the technical specifications right means controlling the image quality from the moment you tap the shutter to the final upload.
Preserve the original camera file
Always use the original camera file, not a downloaded copy from a social media chat. In practice, one of the most frequent reasons an otherwise flawless photo is rejected online is hidden file compression. Messaging platforms automatically strip away crucial pixel data to transmit images faster. This aggressive compression introduces blurry edges, blocky artifacts, and visible pixelation that biometric software immediately flags as low quality.
If you take the picture using a family member's smartphone, do not send it via a chat app. Instead, transfer the image using a direct cable connection, a cloud drive, or email. When emailing the file, ensure you select the "Actual Size" or "Original Quality" prompt on your device. You need all the original data to ensure the final cropped image retains maximum sharpness.
Master the lighting to prevent digital noise
Ensure the lighting is perfectly even to avoid digital noise, often called grain, in the shadows. Modern smartphone cameras automatically compensate for dim environments by artificially boosting the sensor's sensitivity. While this makes the image brighter, it fills the darker areas — like the space under your chin or the edges of your hair — with tiny colored speckles. Biometric scanners require absolute clarity to map your facial features.
To capture crisp, dense pixels without grain, turn off overhead room lights that cause shadows and stand facing a window during the day. Indirect natural daylight will illuminate your face evenly. Step about half a meter away from a plain, light background so you do not cast a visible shadow behind your head, which is a universal reason for rejection under ICAO standards.
Match specific national and digital requirements
Before making any crops, check your country's specific requirements carefully, as there is no single international format. For instance, most of Europe, the UK, and Australia use a 35x45 mm standard for physical prints. In contrast, the United States requires a 2x2 inch (51x51 mm) square. Applying the wrong aspect ratio to your original file will either stretch your face or cut off your head entirely.
For online submissions, you must also navigate specific kilobyte (KB) or megabyte (MB) file limits and minimum pixel boundaries. Always verify these numbers on the official government portal, such as travel.state.gov for the US or your relevant national immigration authority. Shrinking a file too aggressively to meet a strict KB upload limit can inadvertently destroy the high resolution you worked hard to capture.
Process the final image automatically
Don't risk application delays over pixel math, aspect ratios, or incorrect background removal. The easiest action you can take today is to step away from manual editing tools and let a professional system handle the conversion. Use PhotoID24 to process your photo automatically. It verifies the rules against your specific document type, fixes the background, sets the exact pixel dimensions and DPI, and delivers a compliant digital file and print sheet ready for submission.
Get your document photo in 2 minutes
Upload a normal selfie and receive a compliant document photo that meets the official technical requirements for your country and document — ready to print or submit online.
Make my photo