Why do passport photos get rejected so frequently?
You wait weeks for an appointment, pay the application fee, and submit your paperwork, only to receive a letter stating your picture was denied. If you are wondering why passport photos get rejected so frequently, the answer lies in how they are processed. An official document photo is not a portrait assessed by a human clerk; it is a precise piece of biometric data used by facial recognition software at borders. Scanners map the exact distances between your pupils, the bottom of your chin, and the top of your head. Any element that alters or obscures this geometry triggers an automatic failure.
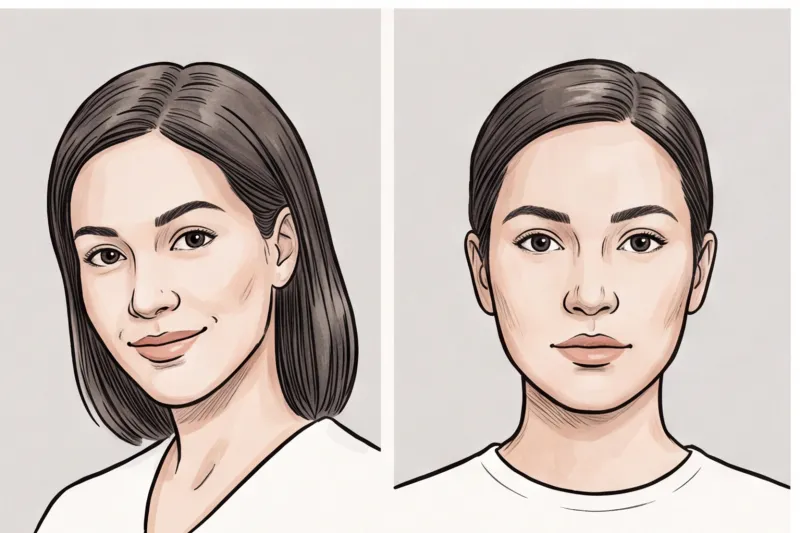
This rigid global system is built upon ICAO Doc 9303, the international standard for machine-readable travel documents. While exact dimensions and formatting rules vary significantly by country — such as the 35 × 45 mm standard in most of Europe versus the 2 × 2 inch requirement in the United States — the baseline biometric principles come directly from this standard. A neutral expression, a plain light background, and perfectly even lighting are universal requirements.
The stakes for missing these technical marks are remarkably high. A single rejection halts your application in its tracks. This leads to severely delayed travel plans, missed immigration appointments, and often forces you to repurchase application fees and start the entire process over. Simple habits that make for a good portrait are disastrous for biometrics. For example, wearing frames is increasingly forbidden by major authorities to prevent lens glare, a topic we cover extensively in our guide to wearing glasses in passport photos.
The good news is that because these rules are strictly mathematical, there is no guesswork involved. Understanding the specific biometric rule behind a rejection makes it easy to fix the issue. By treating your picture as a technical checklist rather than a flattering snapshot, you can ensure it passes. This guide covers the universal reasons document photos fail and shows you exactly how to correct them so your next image meets the official technical requirements on the first try.
What are the most common expression and posture mistakes?
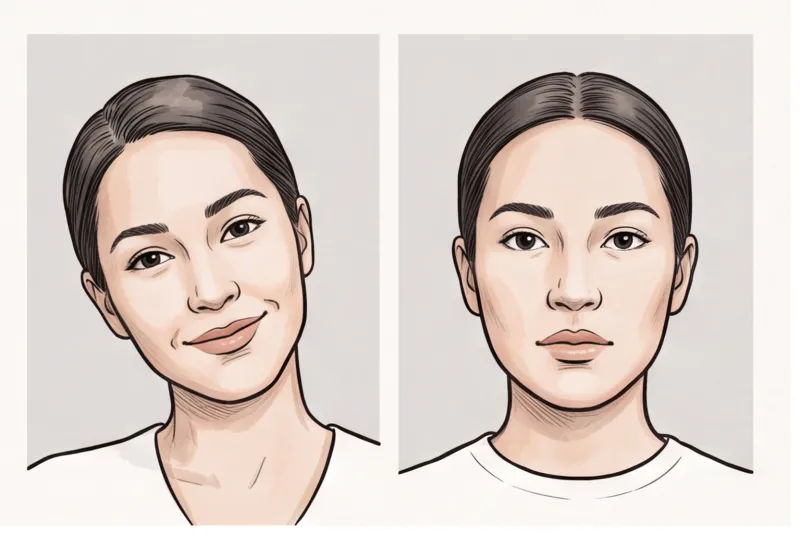
The most frequent expression and posture mistakes that cause photo rejection are smiling, tilting the head, and failing to look directly at the lens. To meet international biometric standards, you must maintain a strictly neutral expression with a closed mouth, keep both eyes fully visible, and square your head and shoulders perfectly to the camera.
In practice, the most common reason a photo is rejected is a non-neutral expression. Because we are conditioned to pose for pictures, most people instinctively smile when a camera points at them. For official documents, this is a critical error. Document photos are not portraits; they are biometric data points. Facial recognition software at borders maps the specific geometry of your face by measuring the exact distances between your eyes, nose, chin, and lips. Smiling, frowning, raising your eyebrows, or leaving your mouth open physically alters these baseline measurements, causing the biometric scanner to reject the image. Even a slight smirk or slightly parted lips will trigger an immediate failure.
The easiest fix is to consciously relax your jaw. Close your mouth naturally without clenching your teeth, let your facial muscles rest, and look straight into the barrel of the lens.
Eye visibility is just as strictly enforced. Both eyes must be fully open and looking directly at the camera. Looking away, squinting, or submitting a photo with half-closed eyes are instant rejections. Additionally, red-eye caused by a camera flash masks your natural eye colour and pupil shape, which will also fail the technical check. Ensure that no hair falls across your eyes or eyebrows, as the entire outline of your face must remain entirely clear.
Finally, your physical posture in the frame must be perfectly aligned. The head must be completely level, not tilted up, pitched down, or angled to the side. A typical mistake when taking a photo at home is holding the phone too low, resulting in a tilted chin, or turning the body slightly for a more flattering profile angle. To avoid this, position the camera strictly at eye level. Your shoulders must remain completely square to the lens, ensuring your face is perfectly centred and symmetrical.
Get your document photo in 2 minutes
Upload a normal selfie and receive a compliant document photo that meets the official technical requirements for your country and document — ready to print or submit online.
Make my photoHow do lighting and background issues ruin document photos?
Lighting and background issues ruin document photos because biometric scanners rely on clear contrast to map your facial features against a blank canvas. Any shadows, background textures, or incorrect exposure alters this digital map, causing the software to instantly reject the image.
The international standard for a biometric photo background is uncompromising: it must be plain, light, and completely uniform. While most countries require pure white or light grey, a common mistake when taking a photo at home is assuming any blank wall will work. In reality, visible textures like peeling paint, patterned wallpaper, wood grain, or a visible door frame violate the "uniform" rule. The frame must contain only you — no furniture, no household objects, and no other people.
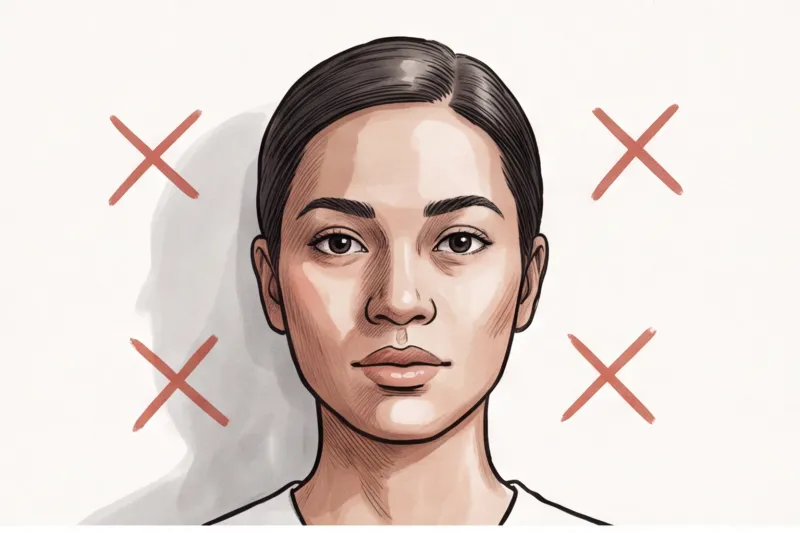
Even with a perfect wall, you can easily fall into the "shadow trap," which is one of the most frequent reasons a photo is rejected in everyday practice. Shadows generally ruin applications in two ways. First, harsh overhead room lighting casts dark, heavy shapes under your eyebrows, nose, and chin. Facial recognition software often misinterprets these dark spots as physical facial structures. Second, standing flush against a wall creates a distinct drop shadow directly behind your head, destroying the required plain background.
Exposure is equally critical. A photo that is overexposed (washed out, typically from a harsh smartphone flash) erases the distinct edges of your face and obscures natural skin tones. Conversely, an underexposed or too-dark photo hides your features in gloom, leading to an immediate failure when the system attempts a contrast check. Authorities demand a color photo that accurately reflects your natural skin tone.
The actionable fix: Getting the lighting perfect at home is straightforward if you use the right setup. Turn off overhead bulbs and never use a direct camera flash. Instead, face a window during the day to bathe your face in even, diffused natural light. To eliminate that background drop shadow, do not lean against the wall. Step about 1.5 feet away from it. This small gap allows the natural light to fall evenly behind you, creating a seamless background. By providing a well-lit photo, our service, PhotoID24, can then automatically verify and format your image so it meets the official technical requirements for your specific document.
Why are glasses and accessories major rejection triggers?
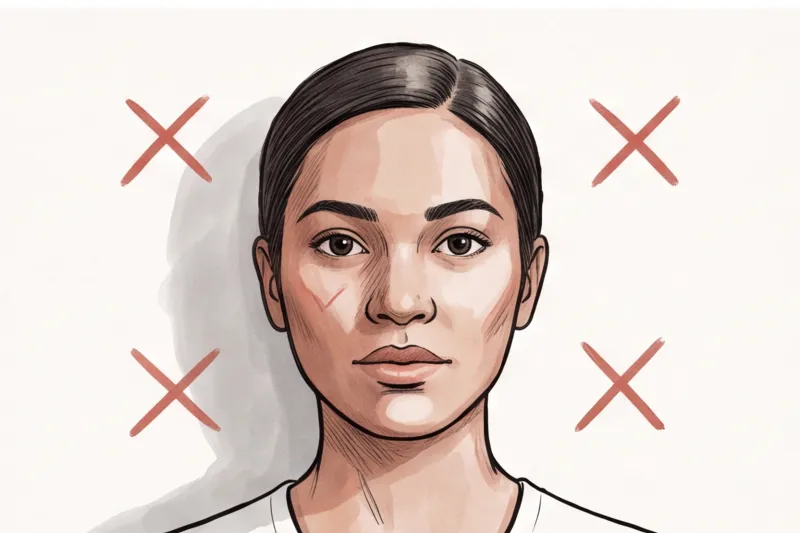
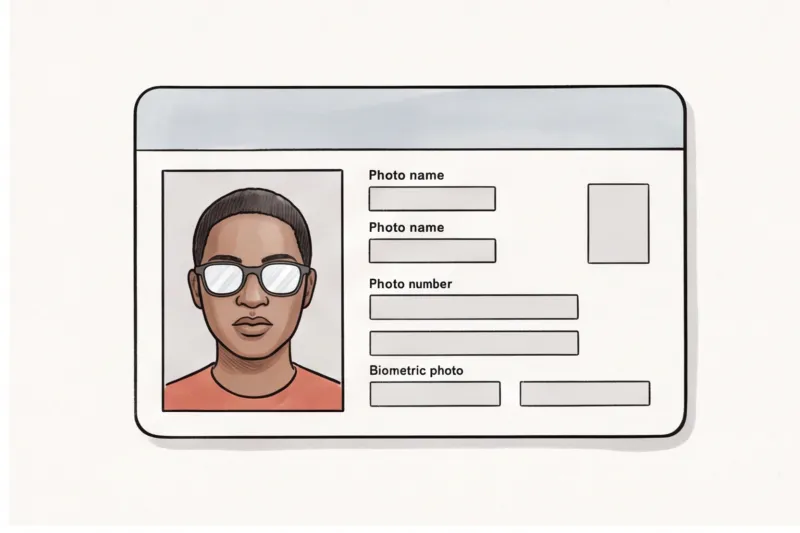
Glasses and accessories are major rejection triggers because they obscure critical facial landmarks, cast unnatural shadows, and create lens glare that completely disrupts biometric scanners. Any physical item that prevents facial recognition software from cleanly mapping your eyes, chin, or facial outline will cause your application to fail.
To solve the massive volume of denied applications caused by lens reflections, many major authorities — including the U.S. Department of State and the United Kingdom’s GOV.UK — have completely banned glasses in passport photos. Even a microscopic reflection from a flash or a thin frame resting over an eyelid alters your facial geometry. As we note in our dedicated guide on Glasses in Passport Photo: What Are the Rules?, our primary recommendation is always the same: unless it is medically impossible, the safest default is to remove your glasses entirely.
If you are applying for a document in a country that does still allow spectacles, the technical requirements are unforgiving. There can be absolutely no glare on the lenses, transition or tinted lenses are strictly forbidden, and the frames cannot cover any part of the eye.
Hats, caps, and head coverings are universally banned across biometric standards, with one exception: they are permitted only when worn daily for religious or medical reasons. If you fall under this exception, the full face must still remain visible from the bottom of the chin to the top of the forehead. The fabric must be pulled back enough so that it does not obscure the face outline or cast any shadows on the cheeks or forehead. Be aware that some national authorities require a signed statement or supporting medical documentation to accompany applications featuring a head covering.
Hair styling and daily accessories are another frequent trap. Voluminous hair can artificially inflate the head-height measurement in the final crop, leading to incorrect sizing. Furthermore, bangs or a fringe covering your eyebrows or eyes will cause an immediate rejection; you must sweep hair aside or tuck it behind your ears to ensure the edges of your face are clearly visible. Finally, remove all headphones, wireless earbuds, and prominent jewellery that hangs over the face. Standard medical devices like hearing aids or cochlear implants, however, are generally permitted as long as they do not block facial features.
Ready to prepare your document photo?
Skip the studio. Upload a selfie and get a professionally prepared photo that meets the official technical requirements in about two minutes.
Get startedWhat technical and sizing errors cause automatic rejection?
Technical and sizing errors cause automatic rejection because facial recognition software requires precise physical dimensions, accurate head-to-frame ratios, unaltered digital pixels, and a current likeness to verify your identity. Even a perfectly lit, expressionless portrait will fail if the underlying technical specifications do not match the exact rules of the issuing country.
The most common technical mistake is assuming there is a single, universal passport photo size. In practice, sizes vary entirely by country and document type. For example, submitting a standard European or UK 35 × 45 mm photo for a United States passport or visa application — which strictly requires a 2 × 2 inch (51 × 51 mm) format — guarantees an automatic rejection. Before cropping or printing, you must verify the exact dimensions mandated by the destination country's official authority. We strongly recommend checking the specific sizing rules for your application in our per-country document catalogs before submitting.
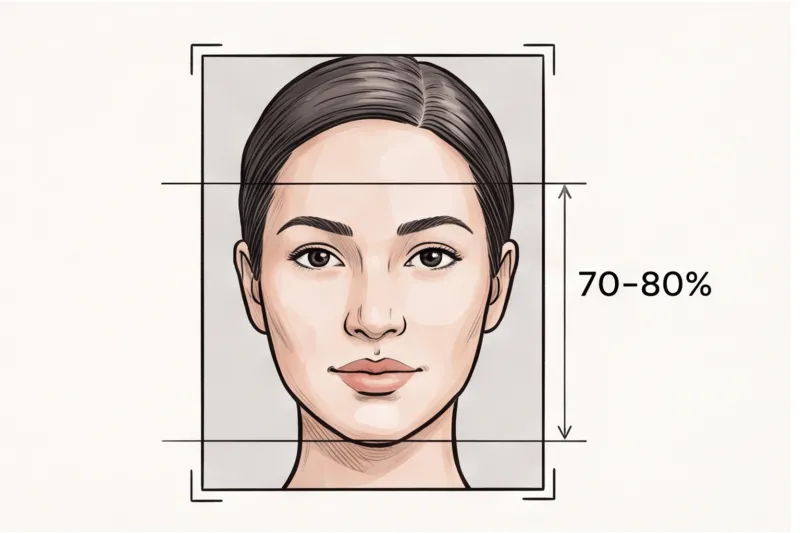
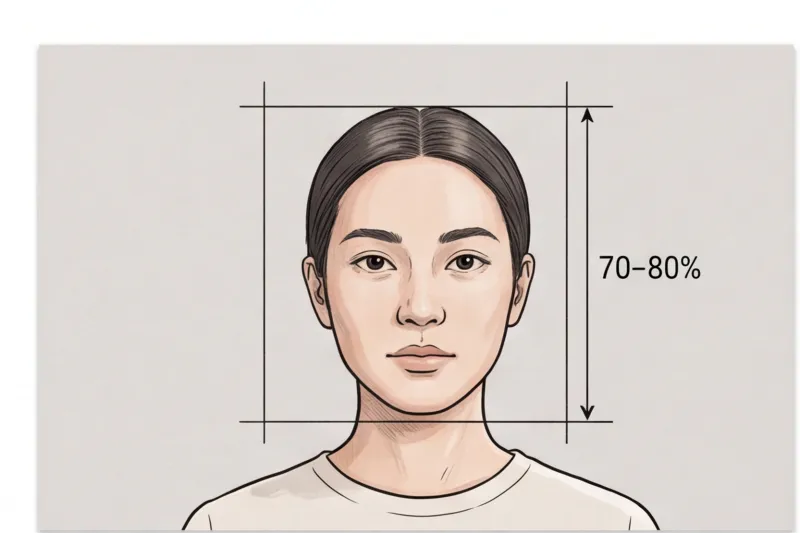
Beyond the outer dimensions, the internal proportions of the image must be flawless. Most biometric standards require the face to fill roughly 70 to 80% of the frame height. If the photo is too zoomed in, your head is too large in the frame, risking cut-off features. If the camera is too far away, your face becomes too small for the scanner to accurately measure the critical distances between your facial landmarks, such as your eyes, nose, and chin.
Another frequent technical rejection is submitting an outdated image. Document photos must be recent, typically taken within the last 6 months (though a few countries restrict this to 3 months). The core purpose of the photo is to reflect your current, everyday appearance. Using an old photo that no longer matches how you look today will cause processing delays and require a retake.
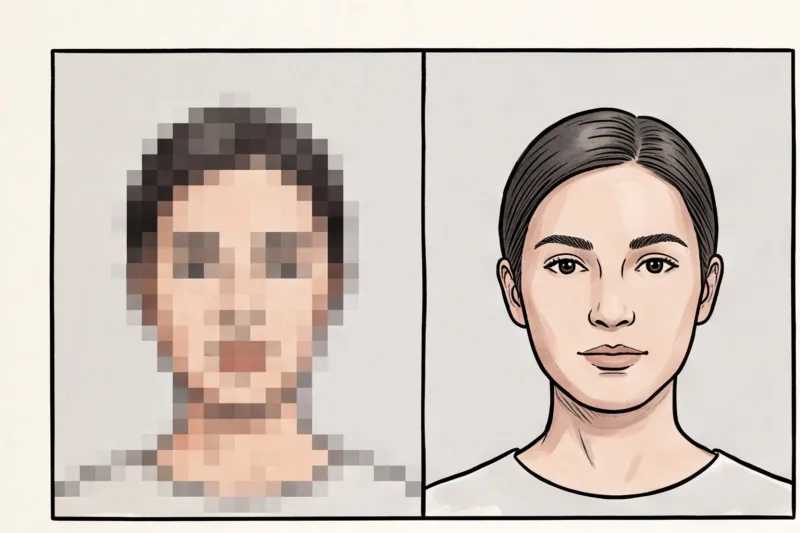
Finally, modern smartphone habits often ruin otherwise compliant photos. There is a strict, universal ban on digital manipulation. You must not use smartphone beauty filters, skin smoothing features, or digital editing tools to alter your appearance. While removing a temporary blemish is usually acceptable, reshaping your face, altering your features, or applying heavy retouching destroys the biometric data points. The final image must look exactly like you, featuring natural skin tones and sharp focus without pixelation.
Getting these exact specifications right on your own can be frustrating. Instead of risking a rejection over an incorrect crop or a subtle sizing error, use our professional service at PhotoID24. Simply upload a normal selfie, and our system automatically crops, sizes, and formats it to meet the official technical requirements and head-height ratios for your specific country in just a few minutes.
Digital vs. print submissions: Where do applicants go wrong?
Applicants fail the submission phase when they mix up the distinct technical requirements for physical and digital formats. Physical print rejections typically happen due to incorrect paper types, unrequested borders, or physical damage, whereas digital photos are automatically rejected for failing to meet strict pixel dimensions, exceeding file size limits, or lacking original file clarity.
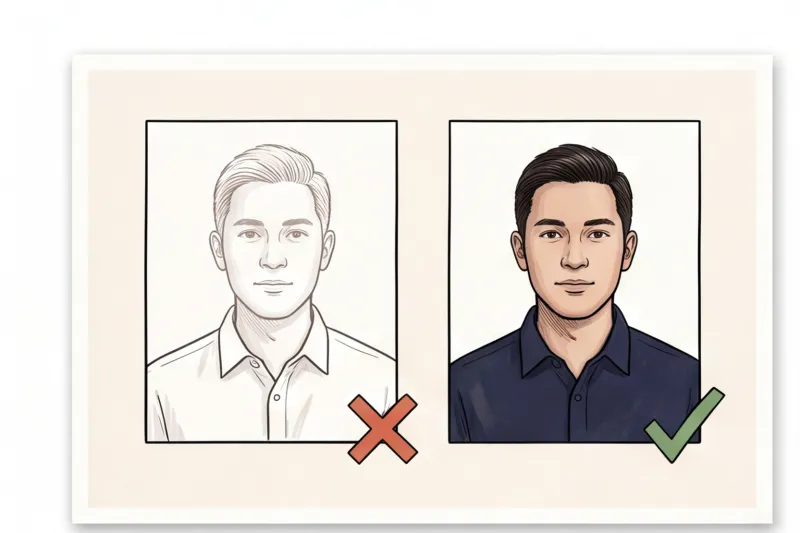
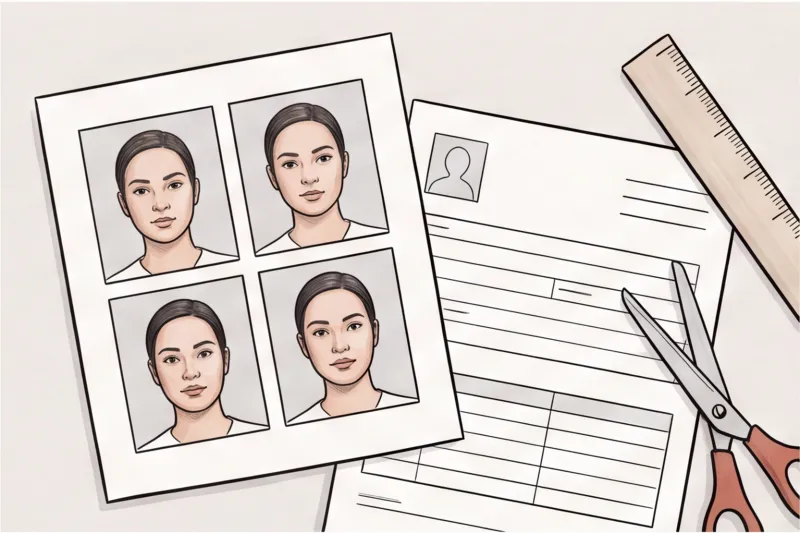
When a country requires physical photographs, the technical quality of the printed object is just as important as the image itself. In practice, a frequent cause for rejection is printing on standard plain paper. Official documents demand high-quality photo paper. Furthermore, you must verify the required finish — some authorities mandate matte paper, while others strictly require glossy. Submitting a glossy print when matte is required can cause unacceptable glare under the passport office's physical scanners. Borders are another common trap; unless an authority specifically requests a white border, the print must be precisely cropped and borderless. Finally, handle prints strictly by the edges: any creases, paperclip marks, staple holes, or ink smudges will render them void.
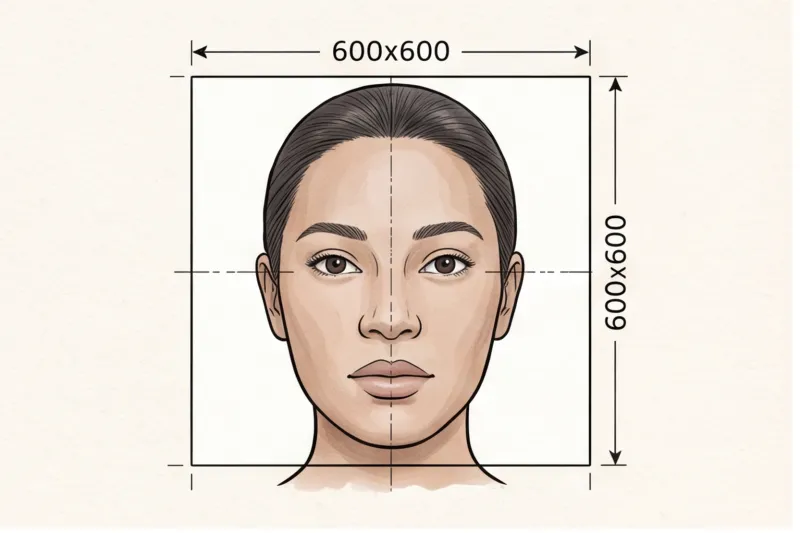
Digital submissions present entirely different pitfalls. Instead of physical millimeters, online application portals measure in pixels and file sizes. If you are applying for a United States passport or visa, for instance, the U.S. Department of State requires a digital file to have a minimum dimension of 600 × 600 pixels. A common mistake is uploading an image that is either too large for the portal's strict megabyte cap or so heavily compressed that it introduces pixelation and fails biometric quality checks.
One specific error causes countless automatic rejections on digital portals: applicants often lay a printed photograph on a desk and take a picture of it with their smartphone to upload. This introduces surface glare, distorts the facial proportions, and ruins the sharpness. A standard modern smartphone camera easily exceeds typical resolution requirements, but only if you capture a fresh image. You must always upload the original, direct digital file rather than a low-quality reproduction to ensure it meets official technical requirements.
Get your document photo in 2 minutes
Upload a normal selfie and receive a compliant document photo that meets the official technical requirements for your country and document — ready to print or submit online.
Make my photoSpecial Cases: Why do baby and infant photos get rejected?
Baby and infant photos get rejected primarily because parents accidentally leave supporting hands, pacifiers, or toys in the frame, or shoot against patterned fabrics. While authorities generally relax certain rules for newborns — such as not strictly requiring perfectly open eyes or a closed mouth — the core biometric requirement for an unobstructed face on a plain background still applies.
In practice, photographing a newborn for a passport or ID is physically challenging, and applicants often compromise on the official rules just to get the shot. The most frequent reasons infant applications fail include:
- Visible hands: A parent's fingers supporting the baby's neck or shoulders is an automatic rejection. Only the child can be visible in the image.
- Dummies and pacifiers: Anything in the mouth obscures the jawline and lower facial landmarks, instantly invalidating the photo.
- Toys and props: Blankets, stuffed animals, or rattles visible in the frame violate the strict rule against foreign objects.
- Patterned backgrounds: Leaving the baby in a standard bouncer or car seat with patterned, textured, or dark fabrics fails the requirement for a plain, light, and uniform background.
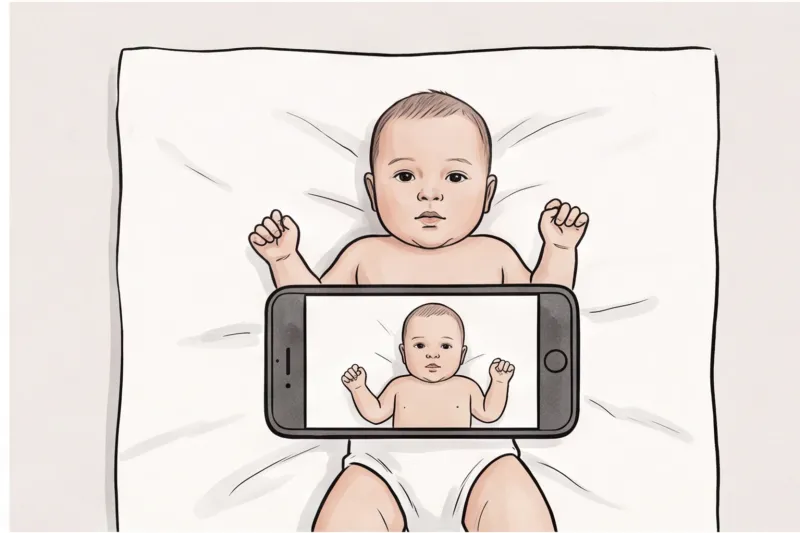
Because you cannot always hold an infant upright without your hands showing, you must support them invisibly. The most effective practical solution is the "car seat trick." Take a plain white or light grey sheet — ensuring it has no deep creases or textures — and drape it smoothly over a car seat or a firm nursing pillow on the floor. Place the baby comfortably on the sheet and take the photograph from directly above.
Always position this setup near a large, bright window. Using even natural daylight prevents you from casting your own shadow over the baby's face as you lean over them with the camera. This method safely supports the child's head without your hands entering the shot, keeping the background compliant so the final photo meets the official technical requirements.
How to fix a rejected photo (and get it right the first time)
If your document photo is rejected, the only secure fix is to take a completely new picture. Attempting to digitally edit the failed image to correct bad lighting, erase shadows, or artificially replace the background violates strict anti-manipulation rules and will almost certainly trigger a second rejection.
In practice, authorities strictly prohibit filters, beautification, or heavy retouching. Because biometric systems are designed to detect digital tampering, you cannot use software to "save" a flawed photo or reshape an incorrect expression. The fastest, safest way forward is always a clean retake.
To ensure your next application proceeds without the stress of finding a physical photo studio, our professional service, PhotoID24, offers the easiest fix. You simply upload a normal selfie taken with good, even lighting. Our system then processes the image, checking it against core biometric rules and formatting it to meet the exact official technical requirements for your specific country and document. Whether you need a standard 35 × 45 mm format for Europe or a 2 × 2 inch (51 × 51 mm) image for the United States, the service prepares a compliant result ready to print or submit online in about two minutes.
Ready to prepare your document photo?
Skip the studio. Upload a selfie and get a professionally prepared photo that meets the official technical requirements in about two minutes.
Get startedAlternatively, some applicants already possess a flawless biometric portrait taken recently, but it is in the wrong format. If your existing photo already features perfect lighting, a neutral expression, and a plain, light background, you might only need to adjust the dimensions. For this scenario, our service, PhotoID24, will crop and format your existing image to the exact physical size or digital pixel format mandated by your destination country — automatically, in seconds.
The Document Photo Checklist: Verify Before You Submit
The final step before uploading your file or mailing your application is comparing your image against a strict biometric compliance checklist. In practice, running your picture through five core categories — expression, lighting, background, technical quality, and precise sizing — prevents the vast majority of rejected passport, visa, and ID applications.
Before you click submit, open your picture on a large screen rather than a phone, zoom in to 100%, and verify every single point on this list:
- Expression and posture: Your face must be perfectly straight to the camera with your head centred. Maintain a strictly neutral expression with your mouth closed (no smiling, frowning, or teeth showing). Both eyes must be fully open, completely clear of any hair or frames, and looking directly into the lens. Ensure your shoulders are square and your head is completely level, not tilted up, down, or to the side.
- Even lighting: Biometric facial recognition software requires clear, high-contrast facial landmarks. Confirm there are no harsh shadows under your chin, nose, or within your eye sockets. Check the area directly behind your head — it must be entirely free of cast shadows. The overall exposure should be balanced, revealing your natural skin tones without being washed out by overexposure or obscured by underexposure.
- Background: The backdrop must be plain, uniform, and light in colour. While most countries prefer stark white or light grey, always check your specific destination's rule. Ensure there are absolutely no patterns, textures, wall joints, objects, or other people visible anywhere in the frame.
- Technical quality and recency: The photo must reflect your current appearance, meaning it must have been taken within the last 6 months. It must be in sharp focus without obvious digital compression, blur, or pixelation. Crucially, verify there are no digital manipulations: no social media filters, no background-blur portrait modes, and no skin-smoothing edits. If the photo looks artificially beautified or reshaped, authorities will reject it.
- Size and format constraints: Never assume a universal document photo size. Your image must match the specific country's official requirement exactly. For instance, the U.S. Department of State mandates a 2 × 2 inch (51 × 51 mm) format, whereas GOV.UK and most European authorities require 35 × 45 mm. Furthermore, you must adhere to the correct head-height ratio, ensuring your face fills the required percentage of the frame (often 70–80%). If submitting online, ensure your digital file meets the exact pixel dimensions and maximum megabyte limits.
Performing this manual self-audit is highly recommended, but human error remains the leading cause of application delays. It is incredibly easy to overlook a subtle background shadow, misjudge your head-height ratio, or export a file with the wrong digital compression.
The most reliable action you can take today is to remove the sizing and formatting guesswork entirely. Instead of struggling to measure pixels and crop ratios at home, use a professional, automated solution. By using our service, PhotoID24, you can simply upload a normal, well-lit selfie. We format your picture to meet the exact official technical requirements of your specific country and document in about two minutes. You receive a compliant, perfectly sized image that is instantly ready to submit online or print, ensuring your application moves forward without stressful delays.