Why is my passport photo rejected for editing or filters?
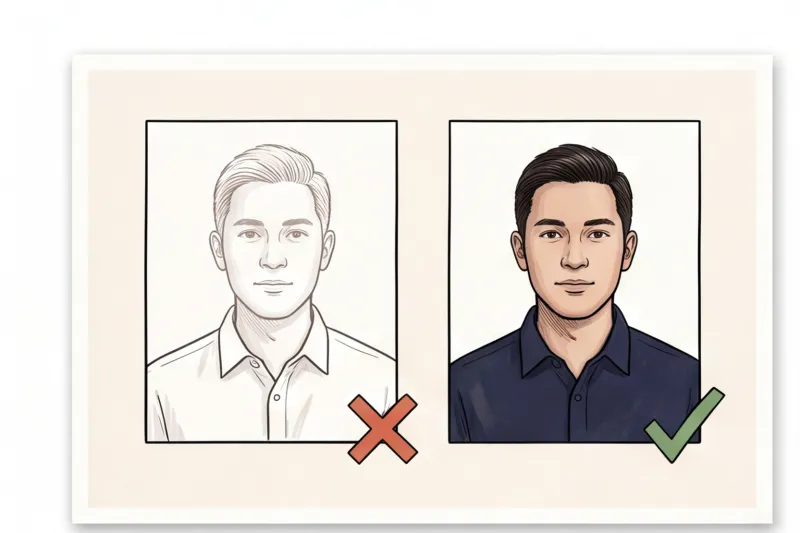
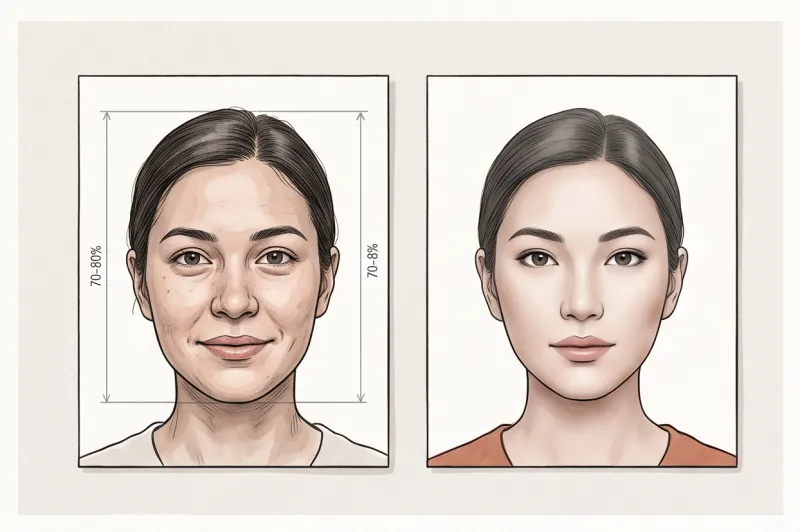
An official document photo is a secure piece of biometric data, not a standard portrait. If you apply a filter or retouch the image, it alters the physical geometry of your face, causing automated scanning software to fail. In practice, a passport photo editing rejected status happens specifically because these digital enhancements physically shift the geometric markers that immigration authorities rely on.
When you submit an application, facial recognition scanners map precise distances across your face. They measure the exact gap between your pupils, the distance from the bottom of your chin to your forehead, and the natural angles of your jaw. Standard smartphone beauty filters are designed to subtly slim faces or enlarge eyes automatically. While this looks flattering on social media, it destroys the raw biometric measurements. We cover how strict these tolerances are in our complete guide.
The global baseline for these rules is ICAO Doc 9303. This international standard explicitly dictates that biometric photos must show an exact, unedited likeness of the applicant and feature completely natural skin tones. Modern border control software does not just look for obvious facial warping; it actively flags unnatural uniformity in skin texture. If the system detects a smoothed-out surface lacking normal pores, fine lines, or natural micro-shadows, the photo is immediately classified as digitally manipulated and returned.
What counts as forbidden editing by passport authorities?
Forbidden editing includes any digital alteration that changes your facial geometry, removes permanent features, or artificially replaces the background. Authorities universally ban digital beautification, heavy retouching, and reshaping tools because the final image must remain an exact, raw likeness of the applicant.
In practice, many applicants face a passport photo editing rejected status without ever intentionally opening photo-editing software. The culprit is often default smartphone camera settings. Many modern devices automatically apply subtle "beauty modes" that smooth out skin textures, thin the jawline, or enlarge the eyes. Because these filters physically shift the geometric markers that biometric scanners map, they immediately invalidate the image. You must actively disable all portrait and beauty filters before taking your document photo.
Similarly, removing permanent features is strictly prohibited. Scars, moles, freckles, and facial tattoos are critical identifiers. Erasing them alters your true appearance and will lead to an automatic denial of your application. If you want to understand the full scope of why authorities deny applications, we cover the core requirements in our complete guide.
Another frequent trap is DIY background removal. When taking a photo at home, people often attempt to digitally erase a cluttered background to meet the plain, light-colored requirement. Sloppy manual cutouts typically leave unnatural, jagged edges or glowing halos around the hair. Immigration authorities easily detect these digital artifacts. If you are unsure about your background, always check the official guide for your specific country rather than attempting to edit it yourself.
Get your document photo in 2 minutes
Upload a normal selfie and receive a compliant document photo that meets the official technical requirements for your country and document — ready to print or submit online.
Make my photoCan I retouch a temporary pimple or use red-eye reduction?
You can safely conceal a temporary blemish like a new spot or a minor shaving cut, but you must never use digital red-eye reduction. Removing a temporary pimple is generally acceptable because a passing breakout does not alter your underlying facial geometry or permanent appearance.
However, digital red-eye removal is universally banned by passport authorities. When a camera or app removes a red reflection, the software artificially paints over your pupil. This process overwrites the very biometric data that facial recognition scanners rely on. If your photo suffers from red-eye, you cannot fix it in post-production; you must retake the image entirely using softer, even lighting that does not reflect directly off the retina. Furthermore, never use tools to artificially alter your eye colour or shape, as both eyes must remain completely natural and clearly visible.
Why do low-quality or blurry photos fail biometric checks?
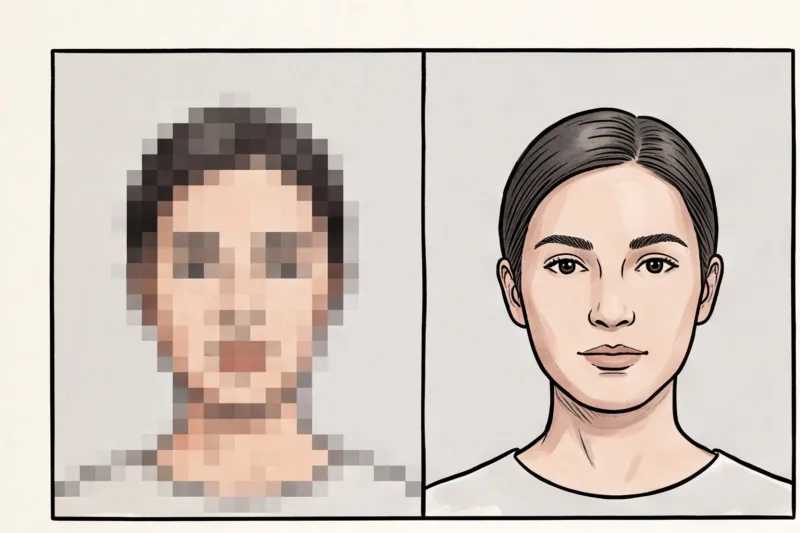
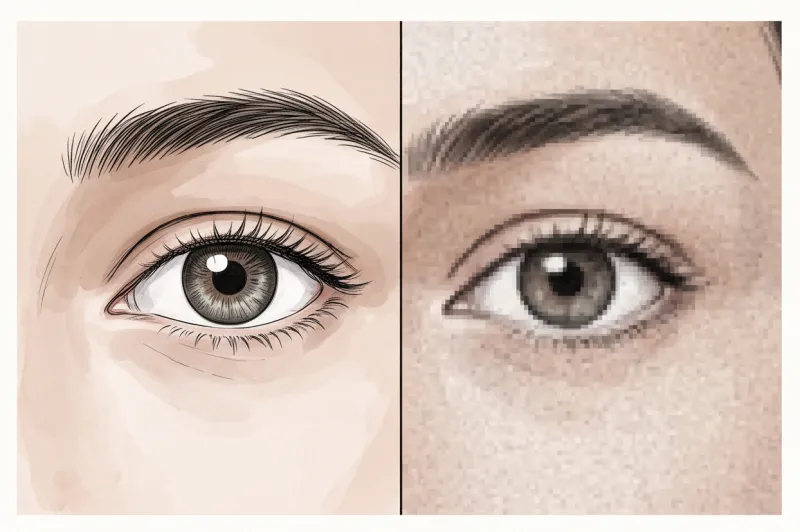
Low-quality or blurry photos fail biometric checks because automated border scanners require sharp micro-contrast to map your facial features accurately. Accidental degradation — such as pixelation from file compression or soft focus — destroys the crisp edges around your eyes and mouth, rendering the image unreadable to security software.
While deliberate retouching is a known violation, many applicants accidentally ruin their biometric data by mishandling the digital file. A photo might be completely unedited, yet still face rejection due to low technical quality. Facial recognition systems do not look at a photo the way a human does; they search for high-contrast boundaries to measure the exact geometric distances across your face, from your chin to your forehead.
Focus issues are a primary culprit. If the camera's autofocus locks onto the background instead of your face, or if a slight hand-shake causes motion blur, your features become too soft for scanning. The scanner cannot find the precise centre of your pupils if they appear as soft, grey smudges. The international ICAO Doc 9303 standard explicitly mandates good sharpness and focus for this reason.
In practice, one of the most frequent reasons a seemingly good photo is rejected is heavy JPEG compression. This usually happens when applicants transfer the image from their smartphone to a computer using a messaging app like WhatsApp, or by downloading it from social media. These platforms automatically compress files to save bandwidth, introducing digital artifacts and blocky pixelation that destroy fine details. To preserve the raw resolution needed for official documents, always transfer your original photo files via email (making sure to select "Actual Size") or a direct cloud storage link.
Print quality and resolution requirements
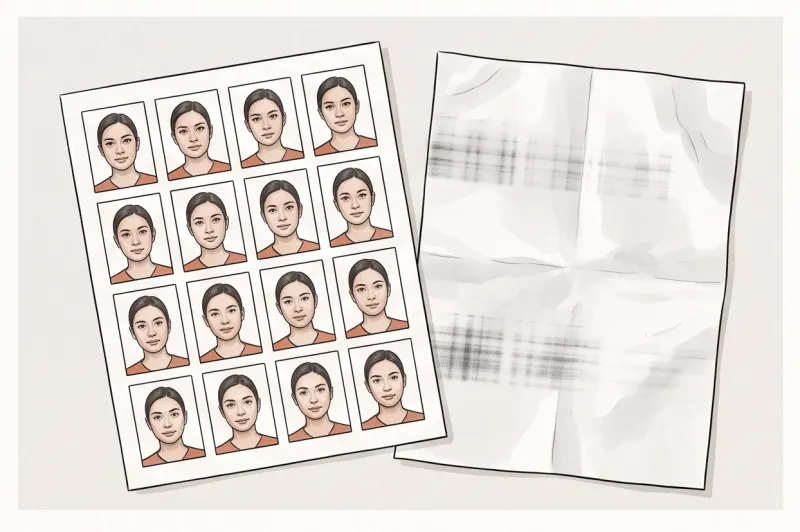
Even a perfectly sharp digital file will be rejected if the physical print ruins the biometric data. When you submit a hard copy, the printed image must maintain the same strict clarity as the digital original. Authorities commonly require a print resolution between 300 and 600 DPI to ensure the facial micro-contrast survives the transition to paper.
A typical mistake when preparing photos at home is printing the final image on standard plain office paper. Plain paper absorbs ink unevenly, creating fuzzy edges and bleeding colours that instantly fail a biometric check. Similarly, using a desktop printer that is running low on ink often causes visible banding — horizontal lines running across the image — or unnatural colour casts that alter your natural skin tone.
Whether you need matte or glossy photo paper depends entirely on the specific country's rule, and you must check their official guidelines. Some authorities strictly require a matte finish to prevent glare during physical scanning. A flawless digital file is only useful if it translates into a flawless, high-resolution print.
How to prepare a high-quality, unedited document photo
To prepare a high-quality, unedited document photo, you must capture a raw image using a standard camera app with all automatic enhancements disabled, ensure perfectly even lighting, and maintain a strict neutral expression. Capturing your own biometric photo at home is straightforward if you control the environment before pressing the shutter.
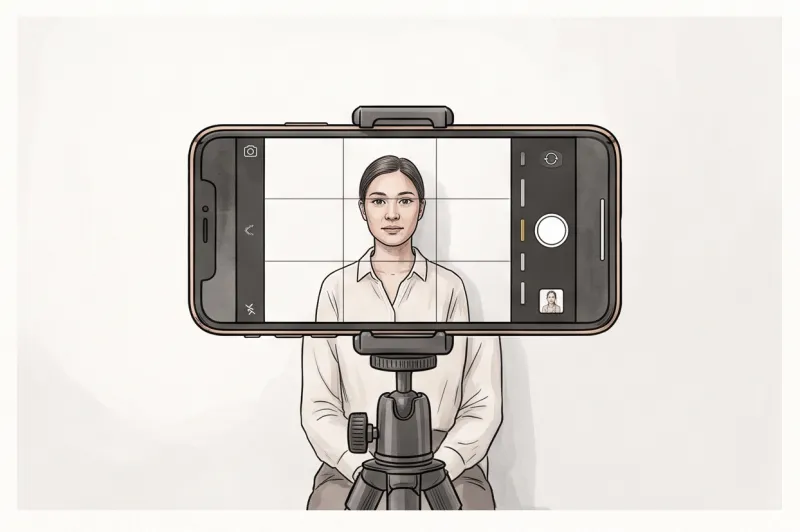
Here is a practical checklist for taking a raw, compliant photo at home without falling into common technical traps:
- Disable all camera enhancements: Before shooting, check your smartphone settings and turn off all filters, beauty modes, and portrait blurring effects. Many modern smartphones apply subtle skin smoothing or background softening by default. These automatic adjustments alter your true appearance and invalidate the image for official use.
- Use perfectly even lighting: Position yourself facing a window during daylight hours. You must ensure perfectly even lighting to avoid harsh shadows on your face or on the background behind your head. In practice, automated border scanners frequently misinterpret deep shadows as artificial contouring or forbidden digital editing.
- Maintain strict biometric posture: Keep a neutral expression with your mouth closed, and look directly at the camera lens — not at your screen. Your head must be centred and level, with shoulders square and both eyes completely visible.
- Stand against a correct background: Frame yourself against a plain, light, uniform background (usually white or light grey), ensuring no objects, textures, or other people are visible.
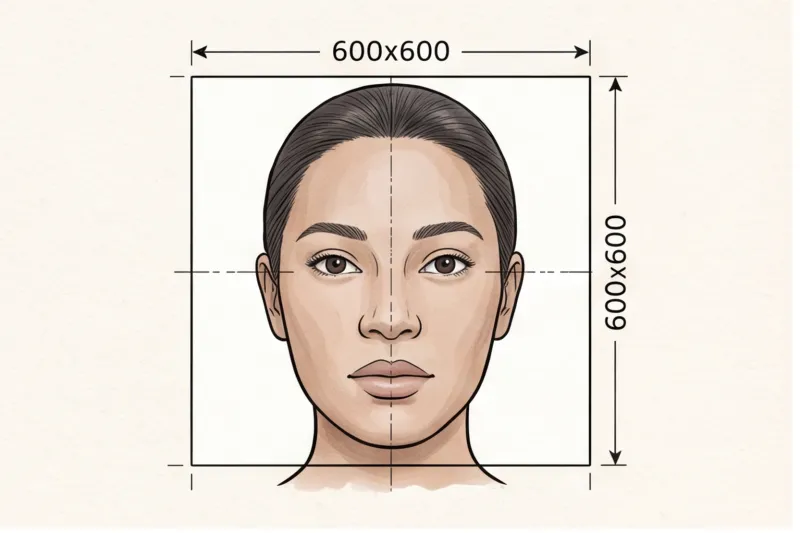
- Verify your destination's dimensions: Do not crop the image to a guessed size, as size requirements differ by country and document. For instance, the U.S. Department of State requires a 2 × 2 inch (51 × 51 mm) format for American passports, whereas GOV.UK mandates a 35 × 45 mm standard for the United Kingdom.
Ready to prepare your document photo?
Skip the studio. Upload a selfie and get a professionally prepared photo that meets the official technical requirements in about two minutes.
Get startedOnce you have captured your raw, unedited image, the next step is formatting it to the exact specifications of your target country without risking a manual or automated rejection.
How to guarantee your photo meets official technical requirements
To guarantee your photo meets official technical requirements, skip risky DIY editing apps and use a professional, automatic service. Attempting to manually remove a background, adjust exposure, or crop a picture on your smartphone frequently introduces digital artifacts or alters your natural facial geometry. Because authorities strictly monitor for altered images, these manual adjustments are a primary reason a document photo is rejected.
The safest approach is to capture a completely raw image and let a specialized system handle the complex formatting. With our service, PhotoID24, the process is straightforward: you upload a raw, unedited selfie, and the system formats it precisely to the destination country's rules in minutes. There is no need for a professional studio. The system automatically processes the image against official biometric standards, verifying that the lighting is even and the background is properly plain and uniform.
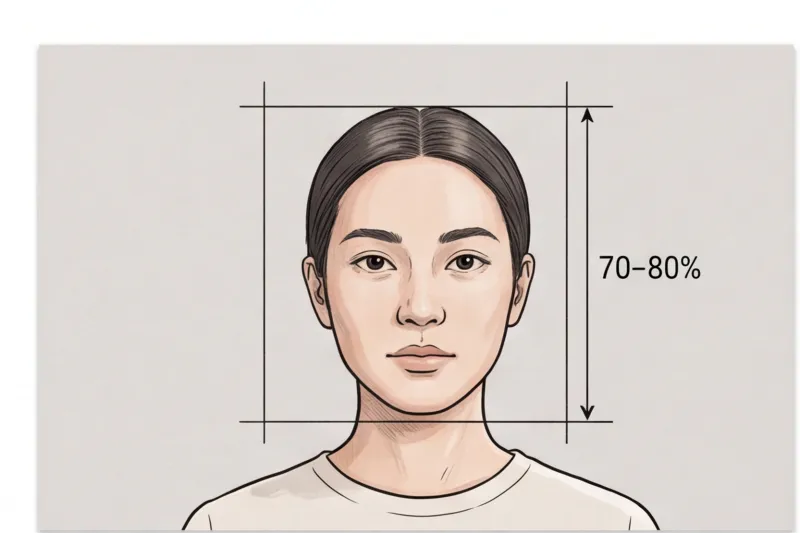
Because size and framing rules vary globally, getting the crop right manually is difficult. Whether your application requires a standard 35 × 45 mm photo for Europe or a 2 × 2 inch (51 × 51 mm) image for the United States, the professional service calculates the exact head proportions required. It ensures your face fills roughly 70–80% of the frame height, aligning your eyes and chin perfectly to the standard. Most importantly, it prepares a technically compliant result without applying any forbidden beautification, skin smoothing, or feature reshaping.
If you already possess a technically perfect, unedited digital file that simply needs to be cut to a specific size, our service, PhotoID24, will size and format it correctly to the official spec. It is a reliable option for users who need to prepare an existing, compliant photo for an online application, adjusting the dimensions without running your image through dangerous third-party filters that might heavily compress the JPEG file or alter your natural skin tone.
Ultimately, a successful application starts with a clean, authentic capture. Your immediate next step is to stand facing a window for natural, even light, turn off all mobile beauty modes, and take a photo with a neutral expression. From there, upload your raw image to a professional tool to finalize the exact dimensions and background, ensuring your final submission meets all official technical requirements on the first try.