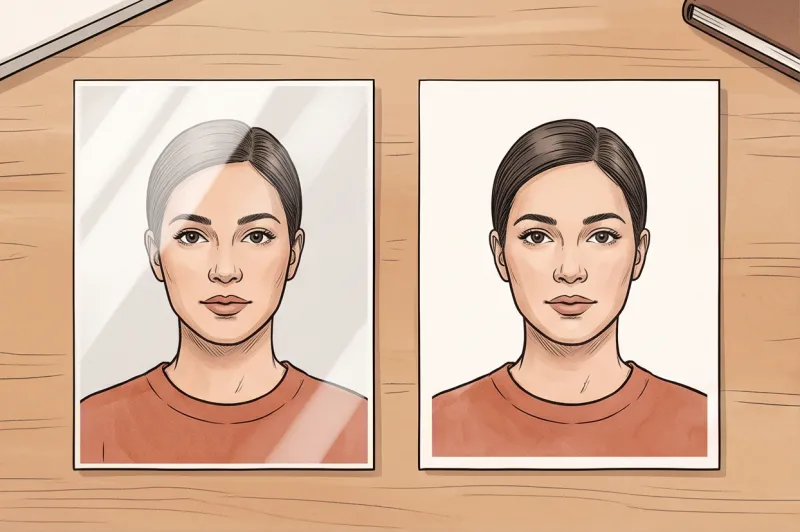
Should You Use Glossy or Matte Passport Photo Paper?
There is no single global rule: whether you should use glossy or matte passport photo paper depends entirely on the specific country's official guidelines. Both glossy and matte finishes are classified as standard photo-quality paper, but government agencies have distinct preferences based on how they process and digitize physical applications. In practice, one of the most common reasons physical applications get rejected is a print issue — specifically, submitting a photo printed on glossy paper when matte was strictly required.
When preparing your application, you must verify the destination country's official authority (such as the U.S. Department of State or GOV.UK) before you hit print. While the international biometric standard, ICAO Doc 9303, dictates strict image composition rules like a neutral expression and even lighting, the physical medium is determined by the national processing center. If you are setting up your own prints at home and want to ensure you meet all technical and material specifications, we cover the full requirements in the complete guide to passport photo printing.
When is Matte Photo Paper Preferred?
Matte photo paper is overwhelmingly preferred by authorities because the physical photo must be scanned into a digital database, and matte paper lacks a reflective coating. When a government clerk processes your application, the submitted print is fed into an optical scanner. Matte finishes do not bounce the scanner's light back into the lens, ensuring that crucial biometric markers are captured clearly and without interference.
To verify your identity, automated systems must measure precise facial geometry, such as the exact distance between your pupils and the contour of your chin. If a glossy finish causes a bright reflection of the scanner bulb over your cheek or eye, the software loses that data point, mimicking the exact uneven lighting that causes immediate biometric rejection. A matte finish absorbs this light perfectly.
Furthermore, matte paper is highly practical for physical handling. Passports and visa applications pass through dozens of hands, envelopes, and filing systems before reaching the final decision-maker. Matte paper naturally resists smudging from fingerprints, handling oils, and minor scuffs. For these technical and practical reasons, many European Union ministries and Schengen visa authorities strongly lean toward matte finishes for their standard 35 × 45 mm format photos. Submitting a glossy print to an authority that demands matte will almost certainly delay your travel plans.
When is Glossy Photo Paper Acceptable?
Glossy photo paper is acceptable only when the specific country’s official passport or immigration authority explicitly permits it. When allowed, glossy paper provides excellent sharpness and color vibrancy, ensuring that natural skin tones are captured accurately and the focus remains incredibly crisp across the image.
The most prominent example of a flexible standard is the United States. The U.S. Department of State accepts either matte or glossy photo paper for standard 2 × 2 inch (51 × 51 mm) passport and visa photos. However, this flexibility comes with strict technical conditions: the paper must be of high quality, and the submitted image cannot have any smudges, holes, or visible creases. Because glossy surfaces are highly prone to capturing fingerprint oils, handling them improperly during the application assembly can ruin an otherwise perfectly compliant photo. If you opt for glossy prints, you must handle the photos exclusively by the edges to keep the facial area pristine.
Ultimately, your choice of paper must align with the exact document you are applying for. Never assume that because glossy paper was accepted for a U.S. visa, it will be accepted for another nation's immigration document. Always check the official government source for the specific country, confirm whether they demand a particular finish, and follow that exact specification to guarantee your photo meets the official technical requirements.
Why Does the Type of Photo Paper Matter for Official Documents?
The type of photo paper matters because physical passport and visa photos are not just kept in a paper file; they are digitally scanned by government authorities to extract your biometric data. Choosing the wrong paper directly interferes with this digital conversion and frequently results in a rejected application.
The government scanning process relies entirely on precise technical quality. To work accurately, the automated software requires good sharpness, correct exposure, and natural skin tones with absolutely no color cast. When you submit a physical print, the paper itself acts as the critical carrier for this biometric information.
Consequently, paper texture and finish directly impact how the scanner reads the image. If the paper introduces a heavy texture or causes a blinding reflection under the scanner's intense light, the facial recognition software cannot verify essential biometric markers, such as the exact distance between your eyes or the clear outline of your face. In practice, "low technical quality" is one of the most common reasons authorities reject photos. Even if your expression and background were perfectly aligned with the rules, a heavy glare off an overly glossy surface or a blurry scan caused by a textured paper finish renders the photo completely unusable.
Understanding how your physical print interacts with government technology is a critical step. If you plan to prepare your own documents, you can find full details on paper types and home-printing rules in our passport photo printing guide.
Get your document photo in 2 minutes
Upload a normal selfie and receive a compliant document photo that meets the official technical requirements for your country and document — ready to print or submit online.
Make my photoCan You Print Passport Photos on Regular Printer Paper?
Absolutely not. Printing on plain standard printer paper is a universal cause for immediate application rejection. In practice, submitting a document photo printed on ordinary office paper falls under the critical category of low technical quality, invalidating the application before it is even processed.
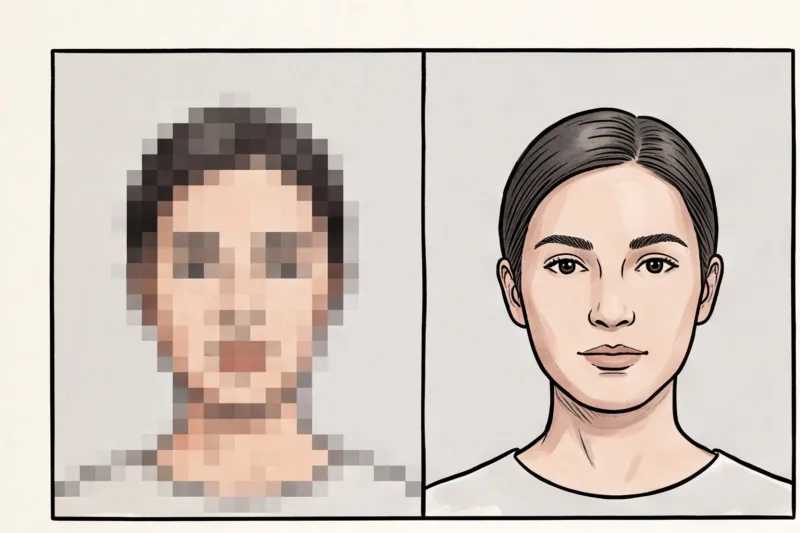
The physical properties of regular copy paper make it entirely unsuited for biometric documents. Standard paper is highly porous; it absorbs printer ink quickly and unevenly. When you print a complex image on it, the ink bleeds into the fibers. This microscopic bleeding ruins the sharp edges of your facial features, causing the photo to become blurry, pixelated, and heavily desaturated. Official biometric scanners must accurately verify the precise distance between your eyes and the outline of your face. If the paper causes the ink to feather, the software cannot read those vital markers.
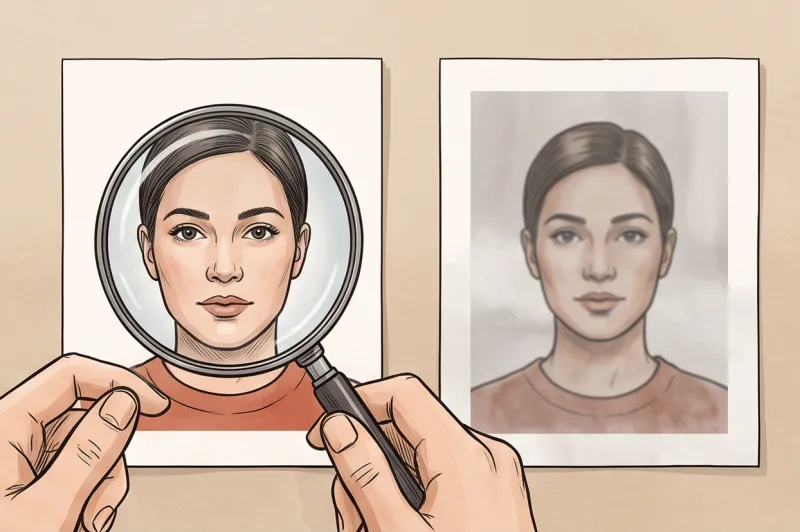
A standard modern smartphone easily exceeds the typical print resolution requirements for official photos, which commonly sit between 300 and 600 DPI (dots per inch). However, this impressive detail is entirely lost if the image is not printed on dedicated photographic paper. Your smartphone camera’s quality is rendered useless the moment the ink hits standard office paper. Whether the specific country requires a glossy or matte finish, the universal baseline is that you must use premium photo paper designed to hold ink cleanly on its surface, preserving the absolute clarity of your image.
Common Print Rejection Mistakes to Avoid
In practice, a perfectly shot biometric photo is frequently rejected at the final stage due to physical print errors. The most common print-related rejection causes include submitting the wrong paper finish, leaving visible white borders, color shifting from low printer ink, and providing multiple photos that are not perfectly identical.
Using the wrong paper finish: Submitting a glossy photograph when matte was strictly required by that specific country is an immediate rejection trigger. A glossy finish on a matte-only application causes scanner glare, obscuring your facial features. Always verify the destination country's official guidelines before loading your paper tray.
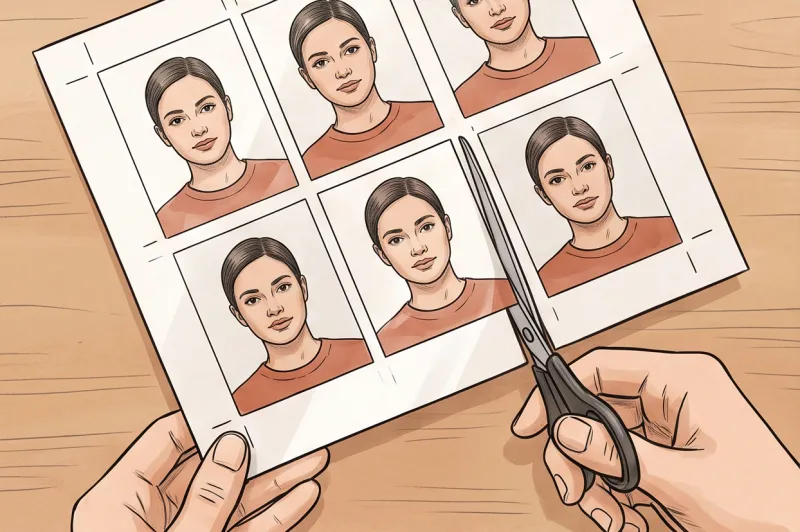
Visible borders: Unless explicitly specified by the authority, printed photos should not have white borders. If an application requires a 35 × 45 mm format (standard for much of Europe) or a 2 × 2 inch square (for the United States), the image must bleed all the way to those exact edges. Failing to trim the photo cleanly alters the required head-height ratio within the frame.
Color shifting: Biometric standards universally demand natural skin tones and correct exposure without any color cast. A typical mistake when printing at home is using a printer with low ink levels. A depleted cyan or magenta cartridge can cast a subtle yellow or green tint over the entire image. Even if the digital file was perfectly lit, this physical color shift violates the rule that the photo must accurately reflect your current appearance.
Inconsistent prints: Many applications require two identical prints. If you print these two photos on different days, use different printer settings, or pull from different paper batches, they might exhibit slight variations in contrast or saturation. To meet the official technical requirements, both photos must be cut from the exact same print run on the same sheet of photo paper.
Ready to prepare your document photo?
Skip the studio. Upload a selfie and get a professionally prepared photo that meets the official technical requirements in about two minutes.
Get startedHow to Ensure Your Printed Photos Meet the Official Standard
To ensure your printed photos meet the official standard, you must combine a strictly compliant digital image with the exact physical dimensions and the specific passport photo paper required by the destination country. Even a flawless physical print will be rejected if the underlying biometric data is incorrect.
Before sending any image to a printer or a local pharmacy kiosk, follow this checklist to secure a compliant result:
- Start with a compliant digital file: The foundation of a successful print is the source image. Ensure the photo was taken within the last 6 months so it reflects your current appearance. You must maintain a completely neutral expression (no smiling, mouth closed, both eyes open) and be photographed against a plain, light, uniform background free of any shadows or objects.
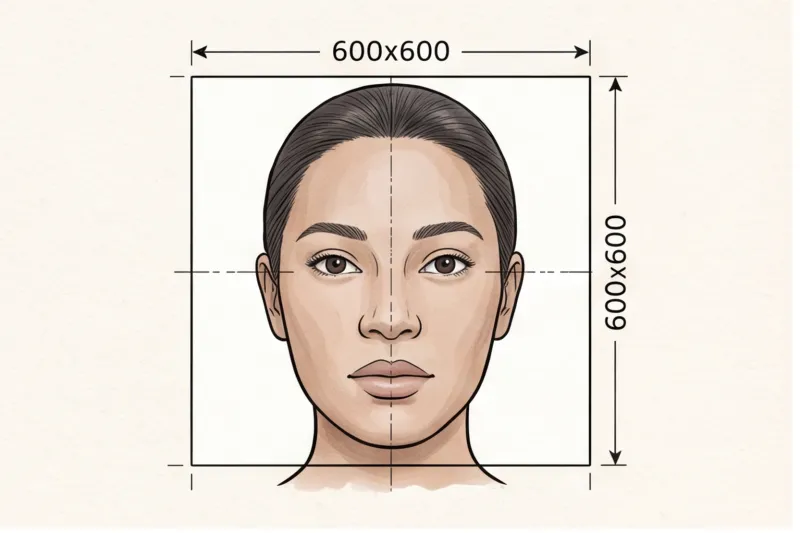
- Verify the exact size: There is no single global size for official documents. For example, most of Europe, the UK, and Australia require a 35 × 45 mm format, while the United States strictly mandates a 2 × 2 inch (51 × 51 mm) size for passports and visas. Do not guess the dimensions or attempt to manually crop the photo yourself. Incorrect head-height proportions or distorted aspect ratios guarantee an immediate rejection.
- Select the right paper finish: Purchase premium photo paper that matches the official requirement of the issuing authority. Whether the government specifies a glossy or matte finish, it must be dedicated photographic stock capable of rendering sharp details and natural skin tones without ink bleeding.
- Avoid digital manipulation: Do not apply filters or use software to digitally beautify the image before printing just to make it look "better" on paper. International biometric standards strictly forbid reshaping facial features, smoothing skin unrealistically, or applying heavy retouching. The printed photo must look exactly like you.
The Easiest Way to Get Correctly Formatted Passport Photos
The most reliable way to secure a correctly formatted document photo is to use a dedicated professional service that processes a standard smartphone image into a compliant, print-ready template. Preparing a biometric file manually — trying to crop the head size to the exact millimeter, ensuring the correct aspect ratio, and configuring complex printer settings for your chosen passport photo paper — can be deeply frustrating and highly risky. In practice, tiny calculation errors during the manual formatting stage, or a printer automatically scaling an image, are leading causes of final application rejections.
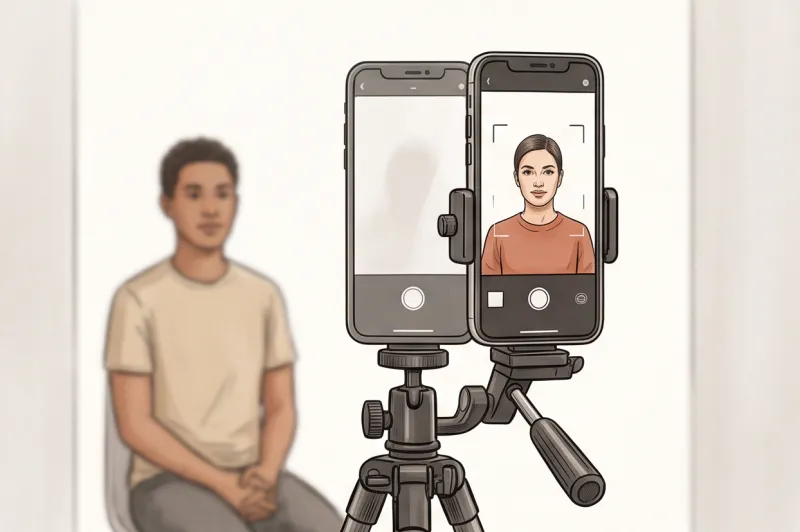
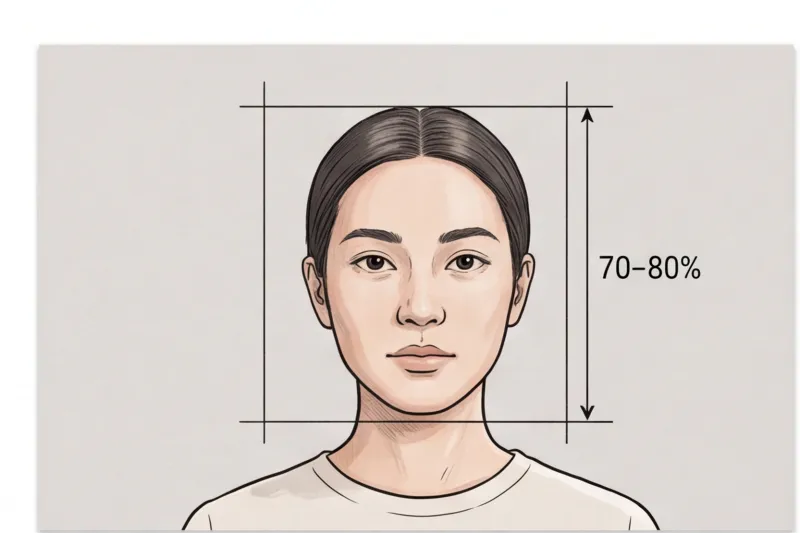
Instead of guessing if your head fills the required 70–80% of the frame or struggling with printer dialogue boxes, you can simplify the entire process. Using PhotoID24, you can upload a simple selfie taken with your smartphone. As long as you follow the basic universal biometric principles — maintaining a neutral expression, keeping both eyes open, and standing against a plain light background — your phone's camera easily captures the high resolution necessary for official documents.
Once uploaded, the service automatically checks the image against the official technical rules for your specific destination. Whether your application demands a 35 × 45 mm format for a European visa or a 2 × 2 inch (51 × 51 mm) image for the United States, the system crops the photo to the precise proportions and head-height ratio mandated by that country's official authority. In minutes, it removes the guesswork and provides a professional, ready-to-print template.
You receive a perfectly arranged digital print sheet containing multiple identical photos. This specific layout is crucial because home printers often default to "fit to page" settings or add automatic margins, which can instantly ruin exact document dimensions. The arranged sheet bypasses these errors, allowing you to print at home on your preferred photo paper (matte or glossy, depending on your target country's official requirement) without worrying about incorrect scaling. If you do not have a high-quality photo printer or the correct paper finish on hand, you can opt for physical delivery of correctly printed photos directly to your door, ensuring compliance with zero extra effort.
Get your document photo in 2 minutes
Upload a normal selfie and receive a compliant document photo that meets the official technical requirements for your country and document — ready to print or submit online.
Make my photoSecuring official travel documents is stressful enough without fighting with photo alignment and ink settings. Your immediate next step is simple: check your destination country's official authority (such as the U.S. Department of State, GOV.UK, or your local government portal) to confirm whether they require a physical print or a digital upload. If they require a print, confirm their specific preference for a matte or glossy paper finish. Once you know that single detail, take your selfie in even, natural light, upload it to our service, and let the system handle the exact technical measurements. You will have a fully compliant image ready in minutes, freeing you to focus on the rest of your application.