What Are the Standard Sizes for Passport Photo Printing?
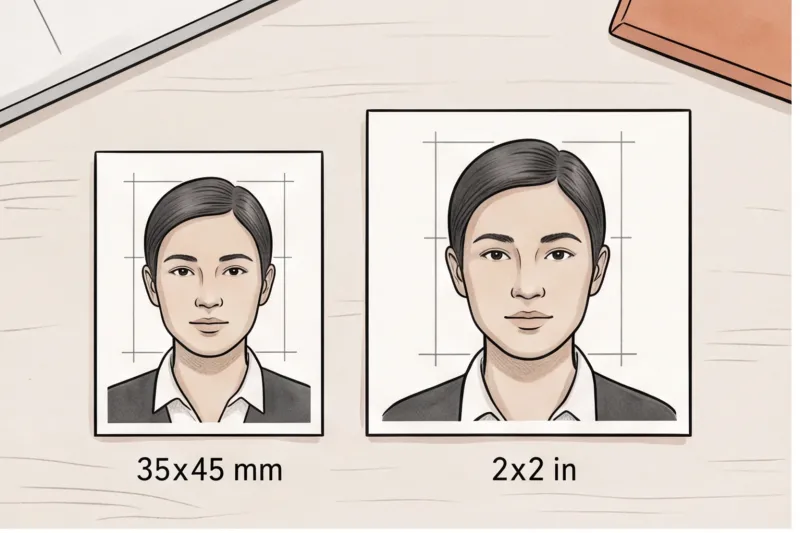
There is no single universal size for passport photo printing. While 35 × 45 mm is the standard for most of Europe, the United States requires exactly 2 × 2 inches (51 × 51 mm). Assuming one size fits all documents is one of the most common reasons applications are rejected.
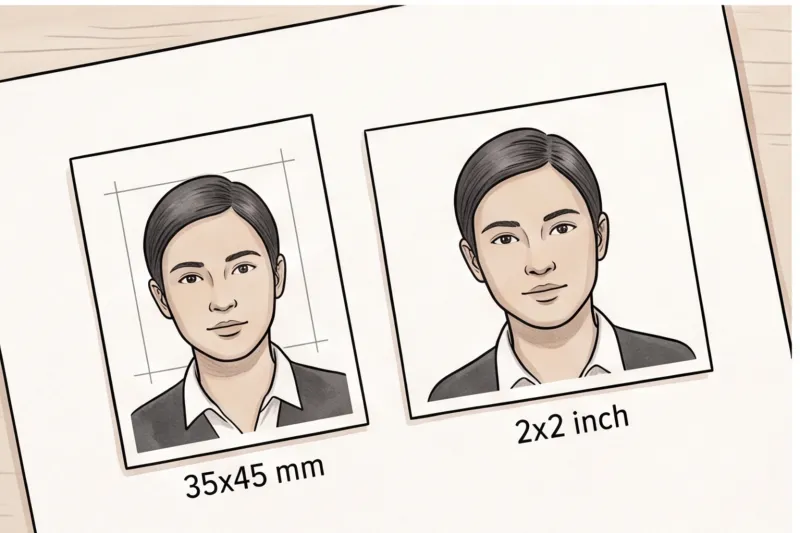
In practice, many applicants attempt to reuse a photo file from a previous document for a new foreign visa, not realizing the size discrepancy. When you print a photo at the incorrect physical dimensions, the biometric markers — such as the distance between the eyes or the measurement from the chin to the crown — no longer align with the government's scanning templates. The official technical requirements are strict, and close enough is never enough.
To ensure a successful application, you must know which of the main sizing categories your destination country uses:
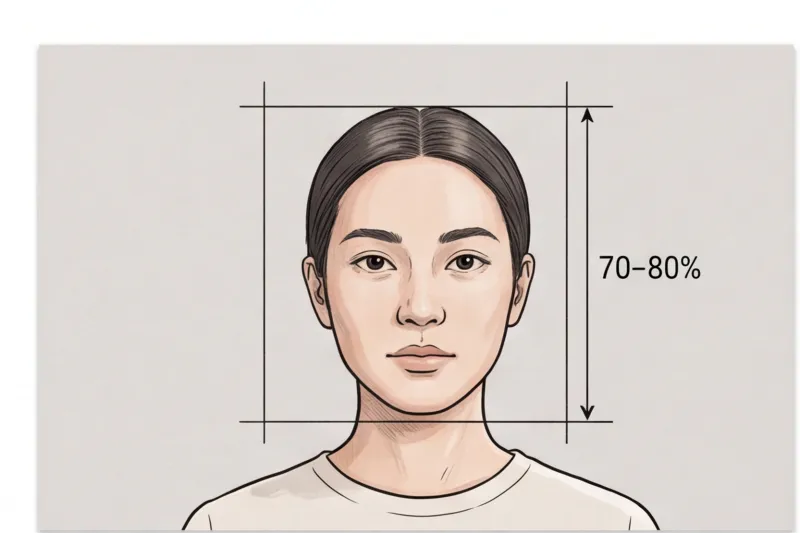
- 35 × 45 mm: This is the most widespread format globally. It aligns broadly with the international guidelines set by ICAO Doc 9303. This is the exact dimension required if you are printing a photo for a passport or ID card in the United Kingdom, Australia, and almost every country within the European Union. In these photos, the face must typically fill roughly 70–80% of the frame height, making precise cropping essential before it hits the paper.
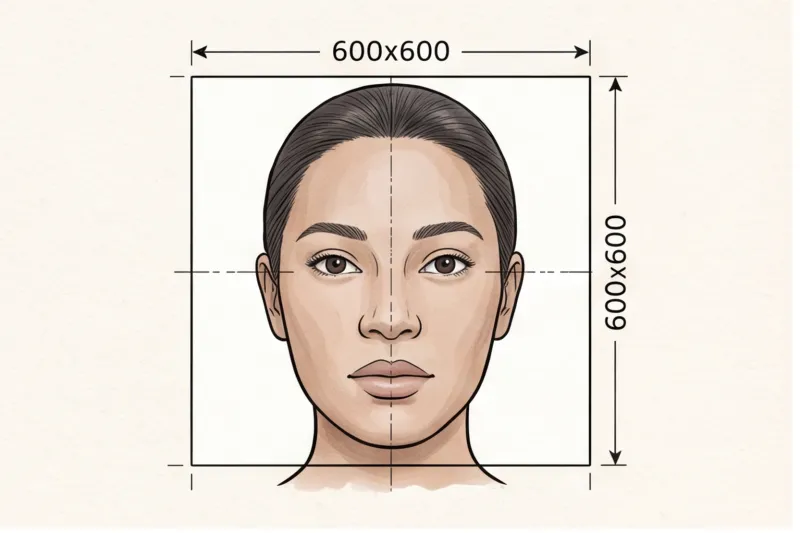
- 2 × 2 inch (51 × 51 mm): The United States Department of State strictly mandates this square format for both US passports and visas. This exact size is also the standard for several other nations, including India. Attempting to submit a 35 × 45 mm European standard photo for a US passport will result in immediate rejection.
- Other specific formats: Beyond the two major categories, numerous national documents demand unique dimensions. For instance, a Chinese visa application requires a specific 33 × 48 mm photo. Other national identity cards and specialized documents might specify sizes like 35 × 40 mm, 40 × 60 mm, or even a larger 50 × 70 mm print.
Before you load your printer or head to a local kiosk, you must verify the exact dimensions required for your specific application. Always check the destination country and document's exact requirements directly on the official government website — such as GOV.UK or travel.state.gov — or consult the PhotoID24 country catalog. Getting the size right is the non-negotiable first step; a perfectly lit, sharply focused photo is entirely useless if it is printed to the wrong physical dimensions.
What Paper Should You Use to Print Passport Photos?
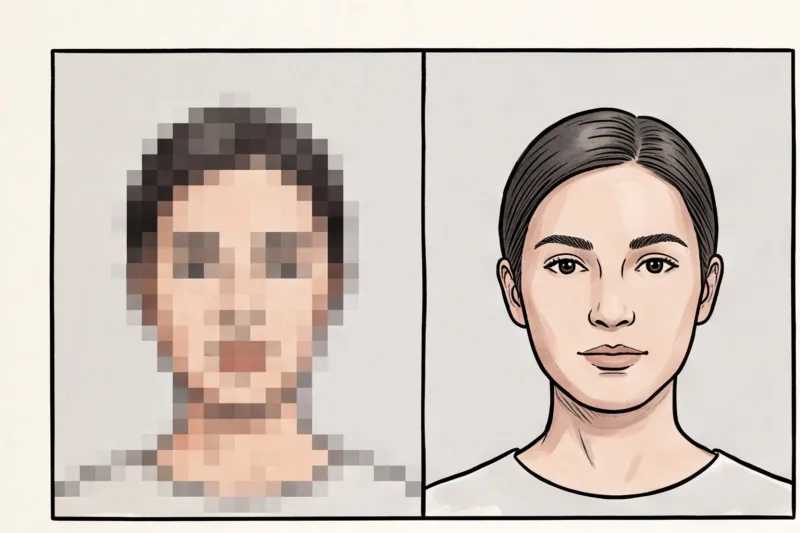
You must print your passport photo on dedicated, high-quality photographic paper capable of supporting high-resolution printing. Standard office or printer paper is universally rejected. Regular paper absorbs ink unevenly, leading to a pixelated appearance, muted colors, and distorted biometric facial features. Depending on the specific country's official rules, you will need either a matte or glossy finish.
In practice, one of the most common reasons a printed photo is rejected is the wrong paper finish. Rules differ significantly by country. For example, the United States Department of State explicitly allows both matte and glossy photo paper for a standard 2 × 2 inch passport or visa photo. In contrast, several European Union countries strictly require a matte finish to prevent glare from obscuring the face during digital scanning at the passport office. Always verify the required finish with the destination country's official authority before loading your printer tray.
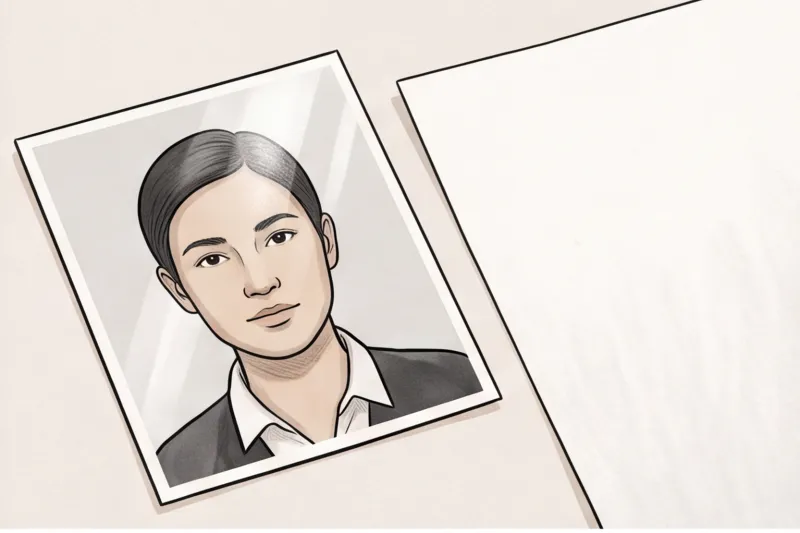
The photographic paper you choose must be capable of supporting high-resolution printing — commonly 300 to 600 DPI (dots per inch). This technical threshold ensures that the printed photo retains natural skin tones, good sharpness, and the precise focus required by ICAO standards. When inspecting photos, officials look for clear definition around the eyes and facial edges; low-quality paper that bleeds ink will fail this check. Furthermore, avoid heavily textured art paper, as the physical surface bumps can introduce false micro-shadows across your face when the photo is examined.
Additionally, pay close attention to the reverse side of the photo paper. Many national applications mandate that you, or a registered guarantor, write a signature, the current date, or a verification statement on the back of the printed photo. If your chosen paper has heavy manufacturer watermarks or a plasticized, non-porous back, the ink from a standard pen will smear or fail to adhere. This smeared ink can even transfer onto the front of the second identical photo in your application envelope, ruining both copies. Always choose photo paper with a plain, writeable back if your application procedure requires physical signatures.
Get your document photo in 2 minutes
Upload a normal selfie and receive a compliant document photo that meets the official technical requirements for your country and document — ready to print or submit online.
Make my photoHow to Print Passport Photos at Home: Step-by-Step Guide
Printing your own passport photos at home is entirely acceptable for official applications, provided you strictly meet the technical standards required by the issuing authority. Government agencies do not check where a photo was produced; they only verify if the dimensions, paper quality, and biometric rules are correct.
To guarantee success, do not attempt to send a single, tiny image file directly to your printer. The standard, error-free method is to print a multi-photo layout on a standard 4x6 inch (10x15 cm) sheet. Most home photo printers are mechanically optimized for this size, and it allows you to fit multiple identical photos on one page, giving you backup copies in case of a cutting mistake.
Starting with a technically compliant digital file is essential. The most efficient route is to use a professional service like PhotoID24. You can simply upload a normal selfie, and our system will verify it against the biometric rules for your specific document, instantly generating a perfectly formatted, print-ready 4x6 inch sheet.
Before proceeding, physically inspect your printer. Check that you have sufficient colored ink. Running low on a single color cartridge frequently causes banding — visible horizontal lines across the face — or introduces a color cast that gives the skin an unnatural blue or magenta tint. Either defect will cause an immediate rejection. Additionally, ensure the correct photographic paper is loaded into the tray, paying attention to whether the printable side is facing up or down according to your machine's manual.
Adjusting Printer Settings to Avoid Scaling Errors
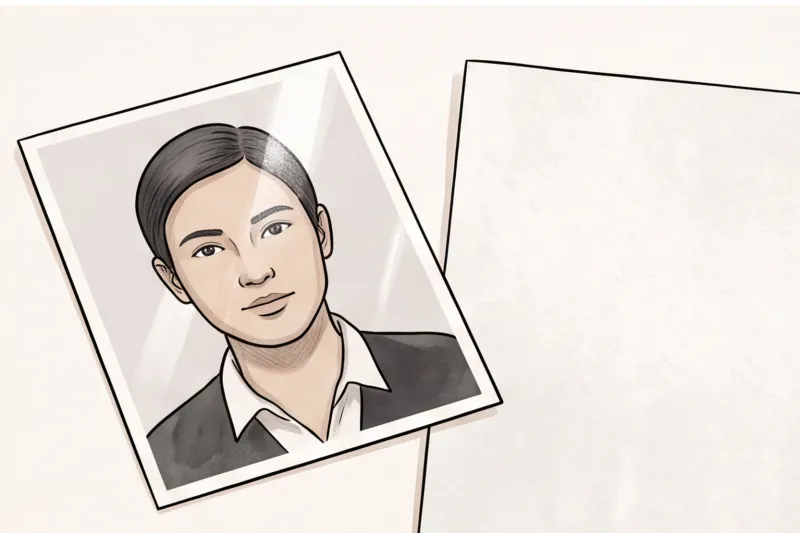
The single most critical step when printing passport photos at home is setting your print scale strictly to 100% or "Actual Size." You must manually disable default convenience settings like "Fit to Page," "Scale to Fit," or "Borderless Printing" in your system's print dialogue before clicking print.
In practice, automatic scaling is the leading cause of dimension-based rejections for home-printed photos. If you are printing a US passport photo and leave "Scale to Fit" active, the software will shrink the entire 4x6 layout slightly to accommodate the printer's mechanical margins. As a result, your 2 × 2 inch (51 × 51 mm) photo prints at roughly 1.9 inches. This not only shrinks the overall border but also ruins the internal head-height ratio. The face must fill a specific percentage of the frame (roughly 70–80% in most standard formats), and altering the print scale guarantees those precise millimeter measurements will fail official inspection.
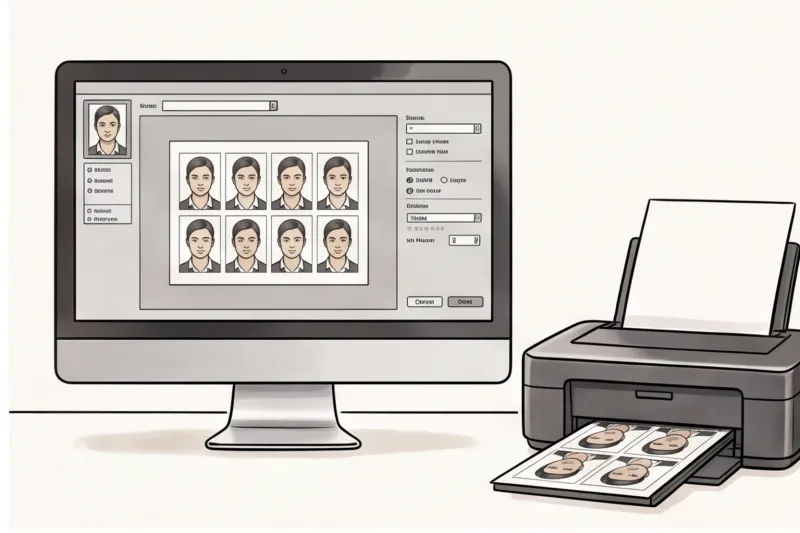
Once the scale is locked at 100%, you must adjust the output quality. Standard document printing modes conserve ink but reduce sharpness, failing the technical requirement for a clear, focused biometric photo. Change the quality dropdown from "Normal" or "Draft" to "Best" or "Maximum DPI." This ensures the printer utilizes its full resolution (commonly a minimum of 300–600 DPI) to render crisp facial features.
Finally, define the correct media type in the printer settings. Select the exact paper profile that matches what is in your tray, such as "Glossy Photo Paper" or "Premium Matte." If the printer assumes it is depositing ink onto standard office paper, it will output the wrong volume of ink. This leads to pooling, smudging, or a loss of sharp focus, instantly turning a compliant digital file into an unacceptable physical print.
Where Can You Print Passport Photos if Not at Home?
If you lack a high-quality photo printer, local pharmacies, drugstores, or dedicated photo printing kiosks are excellent alternatives for producing document photos. By bringing a pre-formatted digital template to a standard kiosk, you can secure professional-grade prints on proper photo paper without needing any home equipment.
Many applicants assume that without a home setup, they must pay premium prices for a full-service, in-store passport photo session at a retail counter. In practice, there is a much more efficient workaround. When you use our service, PhotoID24, you receive a perfectly sized, print-ready digital sheet alongside your single digital photo. This layout is specifically formatted as a standard 4x6 inch (10x15 cm) postcard.
Rather than requesting an expensive "passport service" from the store clerk, you simply upload this 4x6 inch sheet to a standard photo printing kiosk. You can usually do this by connecting your smartphone, inserting a USB drive, or using the pharmacy’s online printing portal. Because the file is already precisely scaled and checked against official biometric rules, the kiosk’s automated system prints it exactly as required.
This straightforward approach costs pennies compared to full-service retail options while yielding identical, high-resolution results. Commercial drugstore kiosks utilize high-end dye-sublimation printers that eliminate the ink banding issues common with cheap home inkjet models. They also use genuine photographic paper. As long as you select the correct paper finish required by your destination country—such as matte or glossy—and ensure the kiosk does not apply any automatic "zoom" or "crop to fit" filters, your final print will easily meet the rigorous technical standards for official documents.
Ready to prepare your document photo?
Skip the studio. Upload a selfie and get a professionally prepared photo that meets the official technical requirements in about two minutes.
Get startedWhy Do Printed Passport Photos Get Rejected? (Common Mistakes)
Printed passport photos are rejected primarily because they fail to meet strict physical dimensions, exhibit poor technical print quality, or use an unauthorized paper finish. In practice, the most frequent reasons a physical photo is denied at the application counter stem from automatic printer scaling errors, low ink creating visible lines across the face, and submitting multiple photos that are not exactly identical.
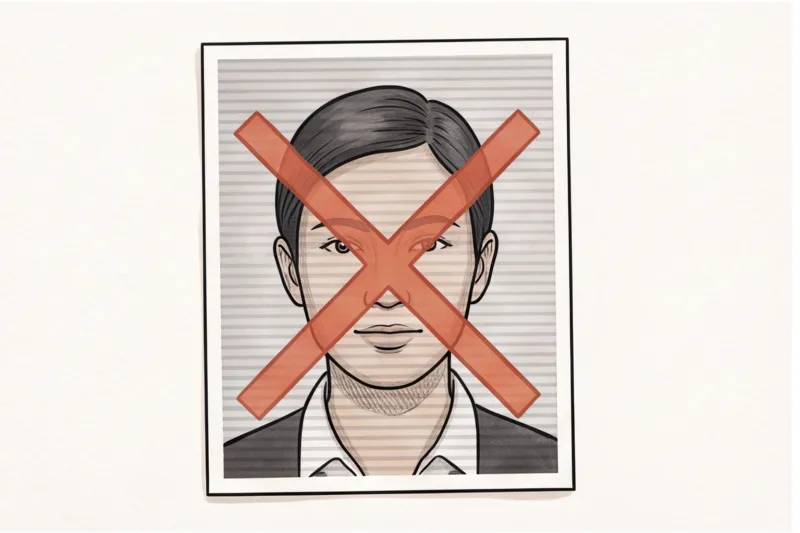
Understanding these specific pitfalls will save you from costly application delays. When reviewing physical submissions, officials consistently reject photos for the following technical errors:
- Print and Paper Issues: A flawless digital file is easily ruined by the wrong printing medium. Submitting photos printed on plain copy paper is a universal cause for rejection; authorities strictly require dedicated photographic paper. Furthermore, using the incorrect paper finish will halt your application. While the U.S. Department of State accepts both glossy and matte finishes for 2 × 2 inch photos, many European Union authorities strictly mandate matte paper to prevent glare during digital scanning. Additionally, low ink or clogged print heads cause "banding" — visible horizontal or vertical lines across the image. Any visible printer lines, ink smudges, or scratches over your facial features will invalidate the photo.
- Scaling and Dimension Errors: A common mistake when printing at home is failing to disable automatic printer formatting. Settings like "Scale to Fit," "Fit to Page," or "Borderless Printing" artificially stretch or shrink the digital file. For instance, accidentally printing a file formatted for a 35 × 45 mm passport at 40 × 50 mm alters the aspect ratio. This directly distorts the head-height measurement, causing your face to fall outside the roughly 70–80% frame height required by most ICAO-aligned international standards. The final print must match the exact physical dimensions dictated by the issuing country.
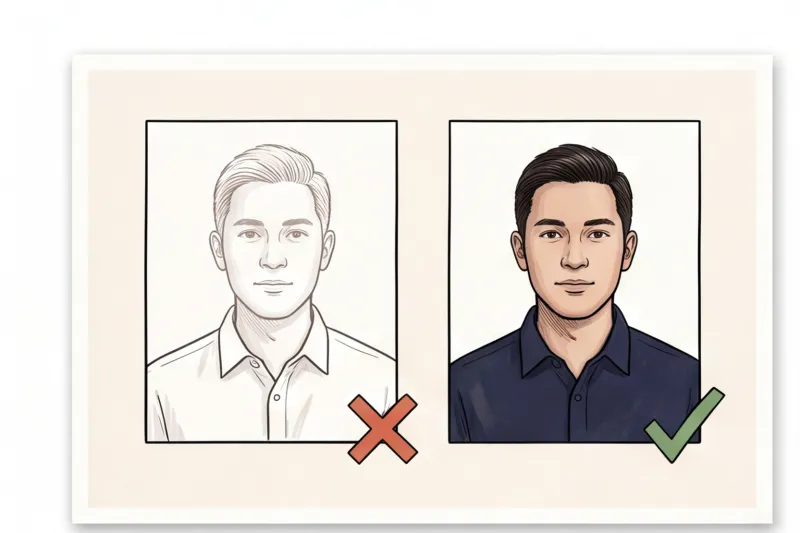
- Poor Technical Quality: High sharpness, correct focus, and accurate color rendition are mandatory for biometric reading. Heavy JPEG compression artifacts, pixelation, or blurry focus prevent officials from verifying your features. This low technical quality often occurs if a digital file is saved at too low a resolution before printing. You must ensure the file is printed at a high resolution (commonly 300 to 600 DPI). Additionally, a poorly calibrated printer can cause a color cast, rendering natural skin tones artificially pink, blue, or yellow — an immediate rejection trigger.
- Non-Identical Prints: When a passport or visa application requires two physical photos, they must be two perfectly identical prints of the exact same image. Submitting two slightly different takes from the same photoshoot — even if both separately meet the neutral expression and lighting rules — will result in rejection. The safest approach is to print a single sheet containing multiple identical copies of the same exposure.
Do You Even Need to Print? Print vs. Digital Submission
Before you load paper into your printer for passport photo printing, verify your specific application instructions—you might not need a physical print at all. Many governments now actively encourage or mandate digital photo submissions for online applications. For instance, standard online passport renewals processed through GOV.UK and the US Department of State rely entirely on direct digital photo uploads rather than physical mail.
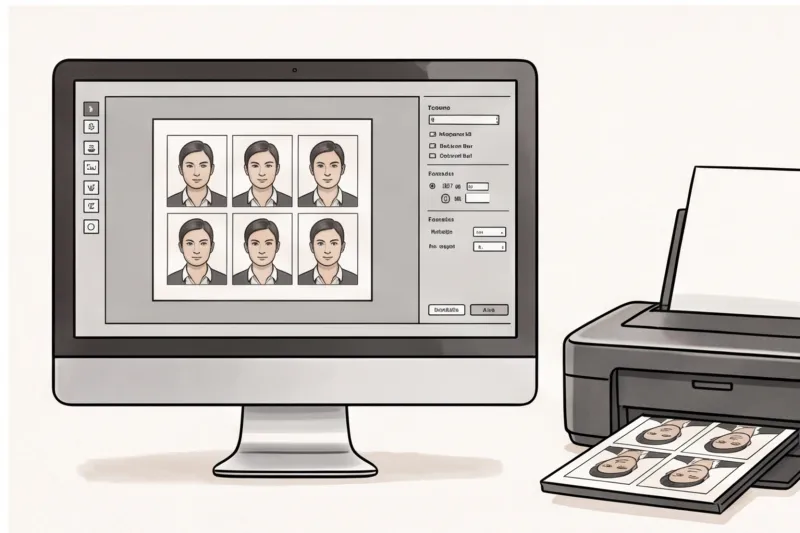
However, opting for a digital submission does not mean the biometric rules are relaxed. Digital document photos carry their own strict technical specifications that replace physical millimeter measurements. Instead, you must adhere to exact pixel dimensions. A digital US passport photo, for example, must be a minimum of 600 × 600 pixels. Additionally, authorities impose precise file-size limits and formatting rules, usually requiring a standard JPEG file that is small enough to upload but high-quality enough to avoid pixelation.
In practice, one of the fastest ways to trigger an automatic rejection during an online application is attempting to digitize an existing physical photo. Never scan a printed passport photo to create your digital file. Flatbed scanners and smartphone scanning apps capture the micro-texture of the photo paper and introduce harsh glare from the glossy or matte finish. Scanning also severely degrades the native resolution and often alters the color profile, resulting in unnatural skin tones.
To ensure your image meets the official technical requirements, you must obtain a natively compliant digital file from the start. A direct digital file guarantees pristine resolution, correct lighting, and the precise pixel crop mandated by the destination country's authority, bypassing the hazards of home scanning entirely.
Get your document photo in 2 minutes
Upload a normal selfie and receive a compliant document photo that meets the official technical requirements for your country and document — ready to print or submit online.
Make my photoHow to Cut Your Printed Passport Photos Correctly
To cut your printed passport photos correctly, use a guillotine paper trimmer or very sharp scissors to slice exactly along the image outline, leaving no white borders unless specifically required by the issuing authority. When you print a standard sheet containing multiple photos, you must separate them accurately before submission.
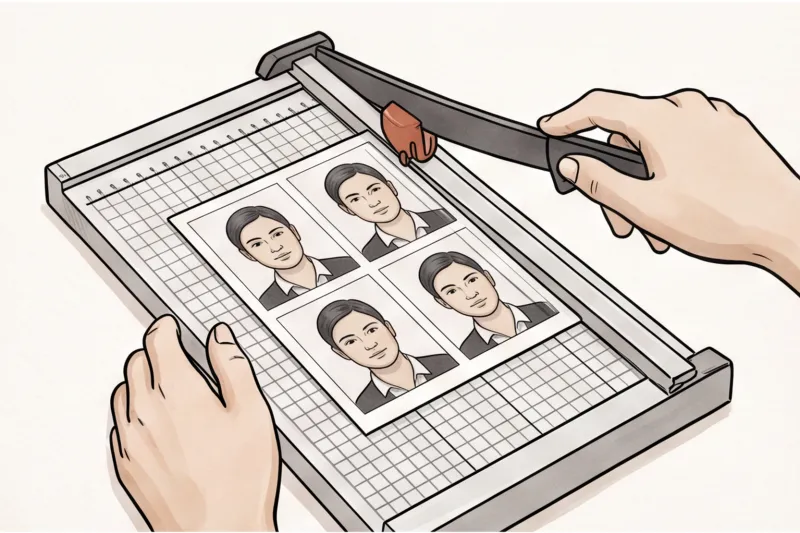
In practice, a sloppy cut can compromise an otherwise perfect print. Jagged edges, slight tears, or crooked margins can lead to application delays because official scanning equipment relies on perfectly straight, rectangular boundaries. A guillotine paper trimmer is the safest tool for this task, as it provides a clean, straight edge in a single motion. If a paper trimmer is unavailable, use high-quality, very sharp scissors. Make long, deliberate cuts rather than short, choppy snips. While separating the images, remember to handle the photo paper strictly by its edges. Pressing your fingers onto the face of a printed photo can leave smudges that affect the visibility of your features.
You must cut precisely along the edges of the image. A frequent error is leaving a thin white border around the picture out of fear of cutting into the background. However, if your document requires a standard format—such as the 2 × 2 inch (51 × 51 mm) size for a US passport or 35 × 45 mm for a European ID—the final physical photo must match those dimensions exactly from edge to edge. Do not leave white borders around the photo unless explicitly required by the destination country's authority. Trim away the excess paper completely to ensure your physical submission meets the exact official technical requirements.
Passport Photo Printing Checklist
A successful passport photo print requires a compliant digital file, exact physical dimensions for your specific country, the correct paper finish, and precise printer settings without auto-scaling. Before submitting your application, run through this final review to ensure your prints meet all official technical requirements.
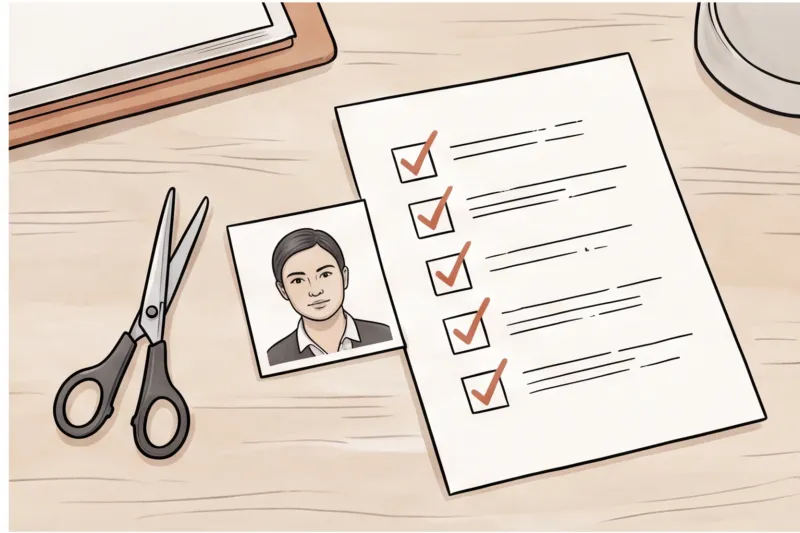
- Compliant digital file: Start with an image that follows fundamental biometric rules. You need a neutral expression with your mouth closed, a plain light background, and even lighting with no harsh shadows on your face.
- Exact country-specific size: The physical dimensions must strictly match the destination country's official standard. This might be 35 × 45 mm for most of Europe and the UK, or 2 × 2 inches (51 × 51 mm) for the United States.
- Correct photo paper: The print is on high-quality photographic paper featuring the exact finish—either matte or glossy—mandated by the issuing authority.
- Zero auto-scaling: Your printer dialogue was set to 'Actual Size' or 100% scale. Any "fit to page" setting alters the physical dimensions and ruins the required head-to-frame ratio.
- Maximum print resolution: The printer quality was set to its highest setting, outputting at a minimum of 300–600 DPI to ensure all facial features remain sharp and clearly visible.
- Clean, precise edges: The photos are neatly cut using a paper trimmer or very sharp scissors, with no jagged edges and no unapproved white borders left around the image.
Ready to prepare your document photo?
Skip the studio. Upload a selfie and get a professionally prepared photo that meets the official technical requirements in about two minutes.
Get startedStop Guessing: Get Print-Ready Passport Photos in Minutes
Preparing a photo for print does not have to involve complex desktop software, manual cropping, or measuring precise head-height ratios with a ruler. The most reliable way to guarantee your printed image meets strict biometric standards is to start with a professionally formatted digital file, generated specifically for your target document.
In practice, trying to manually scale a photo to exactly 35 × 45 mm for a European passport or 2 × 2 inches (51 × 51 mm) for a United States visa often leads to hidden dimension errors. Even a slight miscalculation in the face-to-frame ratio can trigger a frustrating application rejection. With PhotoID24, you bypass this technical hurdle entirely. Simply take a normal selfie against any background. Our professional service evaluates the image, adjusts the background to a compliant plain light color, corrects the crop, and checks the result against the exact official requirements for your chosen country and document.
In minutes, you receive a perfectly cropped, compliant digital file alongside a free, ready-to-print sheet. This print-ready sheet is a crucial tool for anyone planning to produce physical copies. It arranges multiple identical photos onto a standard 4x6 inch (10x15 cm) layout. Because the individual passport photos are mathematically locked into this larger layout at their exact required physical dimensions, you neutralize the risk of printer software inadvertently shrinking or stretching the image. When you print this sheet at 100% actual size, the photos emerge perfectly sized for your application.
This streamlined process protects you from the most frequent home printing pitfalls, such as incorrect margins or accidentally generating non-identical physical copies. It also provides maximum flexibility for modern applications. If your application requirements suddenly shift and you need an online upload instead of a physical print, you already have the standalone digital file ready to go, complete with the correct pixel dimensions and file size limits mandated by the government authority.
Skip the stress of scheduling studio visits, paying premium pharmacy service fees, and wasting expensive photo paper on trial-and-error prints. Your clear action step for today is simple: find a spot in your home with even, natural lighting, ensure you have a neutral expression with your mouth closed, and snap a clear photo. Upload it directly to our service to ensure your image meets the official technical standards. Whether you finalize it on your own high-quality photo printer or take the digital print sheet to a local drugstore kiosk, you will have exactly what you need to complete your document application confidently.
Guide Chapters
Best Passport Photo Printer for Home Use
Discover how to choose the best passport photo printer for home use to ensure your photos meet official biometric and size requirements.
Best Passport Photo Paper: Glossy vs Matte
Should you print your passport photos on glossy or matte paper? Find out how to choose the correct finish to avoid having your application rejected.
How to Print 2x2 Photo at Home or Store
Printing a 2x2 passport photo requires strict precision to avoid rejection. Learn the exact sizing and best ways to print your photos perfectly.