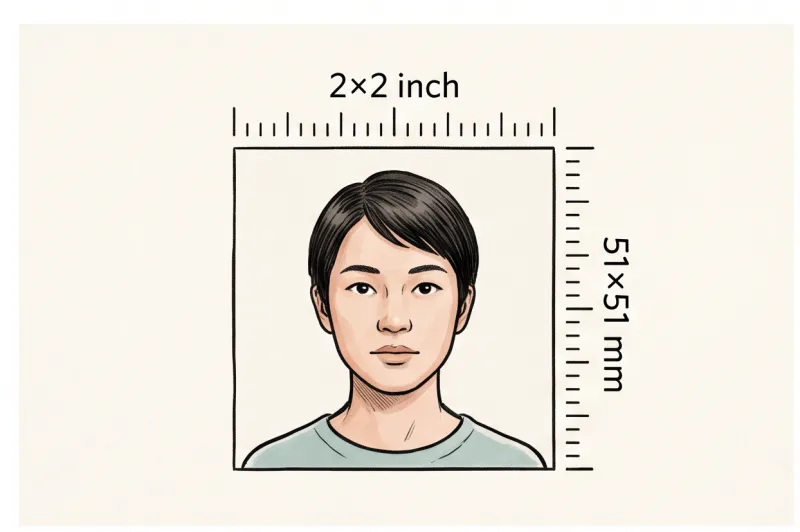
What Does a 2x2 Passport Photo Actually Mean?
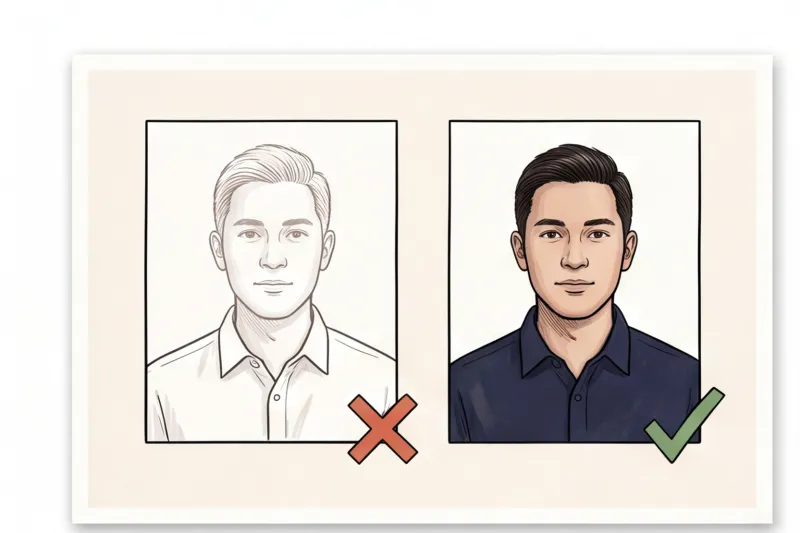
A 2x2 passport photo is not a rough estimate; it is exactly 51 by 51 millimeters. When you set out to print a 2x2 photo, you are dealing with a strict biometric standard where even a millimeter of incorrect scaling can cause an automatic rejection by scanning software.
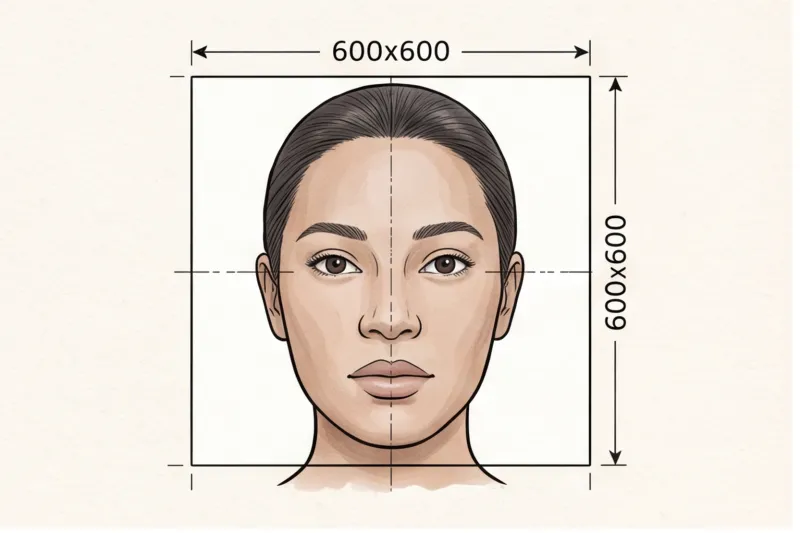
Make one first: use our 2x2 photo maker to get the exact 600×600 px size before printing.
This 2 x 2 inch (51 x 51 mm) dimension is the absolute mandate for United States passports and visas. According to the official specifications provided by the U.S. Department of State (travel.state.gov), this size is non-negotiable. While the 35 x 45 mm format dominates most of Europe, the 2x2 format is the required standard for the US, as well as for several other nations like India for specific visa applications.
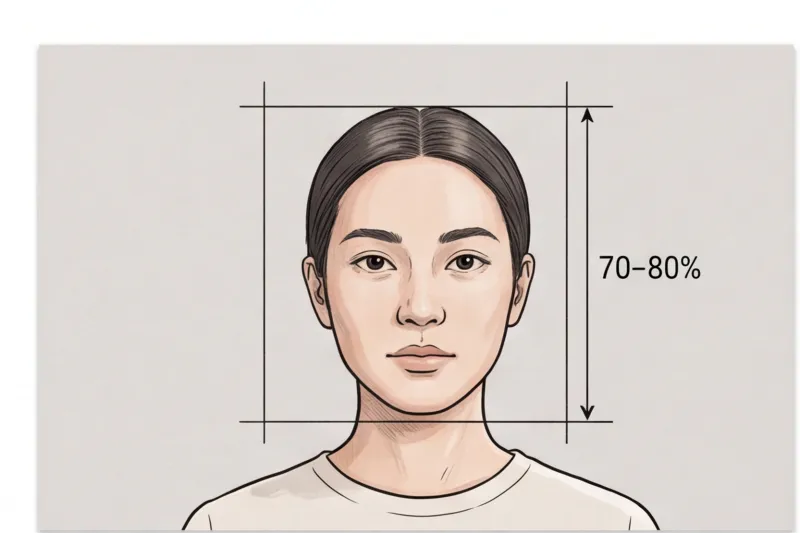
The requirements go far beyond the outer borders of the paper. Within that 2x2 inch square, your head must be perfectly centered. The U.S. Department of State dictates that your face must fill roughly 70–80% of the total frame height. In practice, this means the distance from the bottom of your chin to the top of your head must be strictly controlled so that facial recognition software can map your features without distortion.
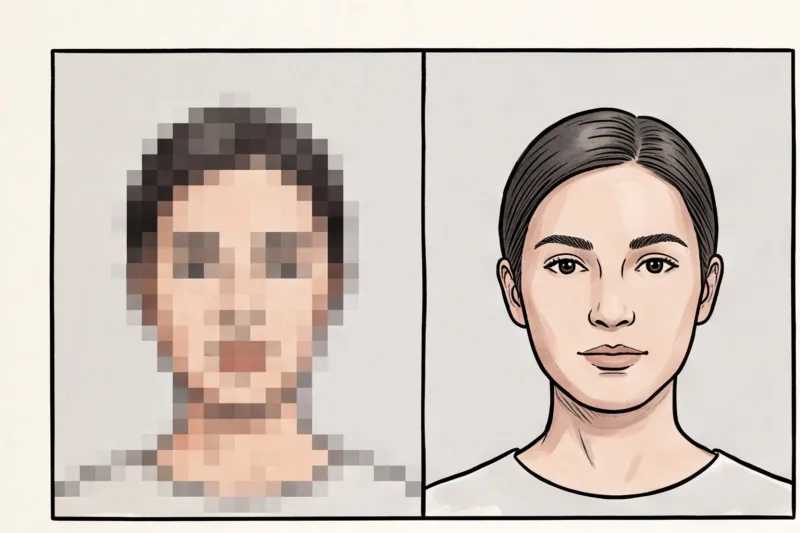
Capturing the image is rarely the problem. A standard modern smartphone easily exceeds the U.S. minimum digital requirement of 600 x 600 pixels. The most frequent failure we see in practice happens during formatting. Cropping a photo manually without a biometric guide almost always results in an incorrect head-height ratio or an off-center face. Most default phone editors do not let you lock a true 2x2 ratio while simultaneously measuring the chin-to-crown distance. If the face is too large or too small within those 51 millimeters, the photo is useless. For a deeper look at how these technical specifications compare across different document types and materials, see our complete passport photo printing guide.
Can You Print a 2x2 Photo on Regular Printer Paper?
No, you cannot print a 2x2 passport or visa photo on regular printer paper. Standard copy paper absorbs wet ink and bleeds, causing blurry facial edges and immediate rejection by official passport scanners due to low technical quality.
Government authorities mandate the use of high-quality, dedicated photo paper for all physical applications. In practice, attempting to use standard, low-weight office paper is one of the most frequent reasons a perfectly framed photo is denied. When printer ink hits plain or heavily textured paper, the fine details required for biometric facial recognition are immediately lost to pixelation and smudging.
Whether you should load matte or glossy photo paper into your printer depends on the specific country's rules. For a United States passport or visa, the U.S. Department of State generally accepts both finishes, provided the paper is completely untextured and supports high-resolution output. We cover the specific material rules and finishes for various documents in our complete guide.
Beyond just selecting the right paper, the final print must maintain strict technical standards. The physical 51x51 mm image must exhibit perfect sharpness and focus. The exposure must be exact, neither too dark nor artificially brightened by your printer's automatic color correction settings. There must be no color cast shifting your natural skin tones. Ultimately, even a highly compliant digital file will fail the application process if the physical print output is grainy, dull, or printed on plain stock.
Get your document photo in 2 minutes
Upload a normal selfie and receive a compliant document photo that meets the official technical requirements for your country and document — ready to print or submit online.
Make my photoHow to Print 2x2 Passport Photos at Home: A Step-by-Step Guide
To print a 2x2 photo at home without scaling errors, you must use a standard 4x6 inch template printed at exactly 100% scale on dedicated photo paper. Trying to send a single 2x2 inch digital file directly to a home printer almost always results in the printer's software stretching the image, which instantly invalidates the strict 51x51 mm biometric requirement.
Printing your own document photos requires precision, but the process is straightforward if you bypass default printer behaviors. Follow these steps to ensure the final physical print meets official technical requirements.
- Step 1: Obtain a compliant 4x6 inch print template. Never try to print a single 2x2 image on its own. Standard home printers and their driver software are optimized for standard photo sheet sizes. Instead, you need a 4x6 photo layout that places two identical 2x2 inch squares side-by-side. This 4x6 format acts as a reliable carrier sheet, ensuring the printer does not get confused by custom dimensions and automatically resize your face.
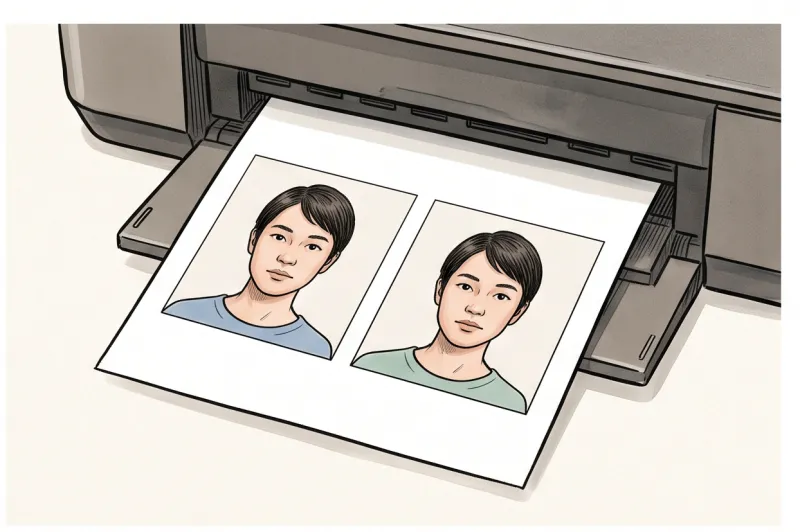
- Step 2: Check your printer ink and load glossy or matte photo paper. Standard copy paper is an immediate rejection cause. Load high-quality photo paper into your printer tray. Whether you use glossy or matte depends on the destination country's rules (the U.S. generally accepts both, as long as they are untextured). Before printing, ensure your color cartridges have sufficient ink. Low ink causes banding or streaks across the face, leading to a rejection for "low technical quality." The final print must display natural skin tones and a uniform background with no color cast.
- Step 3: Lock in crucial printer settings. This is the step where most do-it-yourself prints fail. When the print dialog box opens, you must select exactly 100% scale or "Actual Size." You must manually disable default features like Fit to Page, Scale to Fit, or Borderless Printing. Borderless printing artificially zooms into the 4x6 image to bleed ink over the physical edge of the paper. This stretching alters the dimensions of the 2x2 squares inside the template, meaning your head will no longer fill the mandated 70–80% of the frame height required by authorities like the U.S. Department of State.
- Step 4: Cut the photos precisely. Once the sheet is printed and the ink is fully dry, cut the photos out. Use a sharp pair of scissors or a photo guillotine trimmer to ensure a perfectly straight edge. You must cut exactly along the printed edges with no white borders left around the 2x2 square. If you leave an uneven white border, the physical print will exceed 2x2 inches, and the biometric markers will misalign when the official agent scans it.
By using a standard 4x6 template and locking your printer to its actual size, you avoid the scaling issues that cause the vast majority of home-printed photo rejections.
How to Print a 2x2 Photo at a Pharmacy or Print Shop
If you do not own a high-quality color printer, local photo kiosks at pharmacies and print shops are the most reliable alternative. You can print a 2x2 photo by bringing a prepared digital 4x6-inch template on your smartphone or a USB drive, allowing you to bypass expensive in-store photography services.
Instead of paying a premium for a clerk to take your picture against a pull-down screen, you process the transaction as a standard 4x6 photo print. Because a professional service has already placed two identical 51x51 mm squares onto a 4x6 digital canvas, you only pay the standard few cents required for a normal snapshot. When you connect your device to the kiosk, select the exact 4x6 print size on high-quality photo paper.
However, there is a major trap when using commercial printing machines. You must ensure the kiosk does not apply automatic color correction, red-eye removal, or digital beautification. Kiosk software is built for holiday snapshots and often applies these filters by default.
In practice, auto-enhancement at drugstores often alters natural skin tones or removes facial blemishes in a way that violates the strict "no retouching" rule enforced by the U.S. Department of State and other passport authorities. A biometric photo must look exactly like you. If a machine artificially smooths your skin or boosts the contrast, the digital manipulation will invalidate the photo and trigger a rejection.
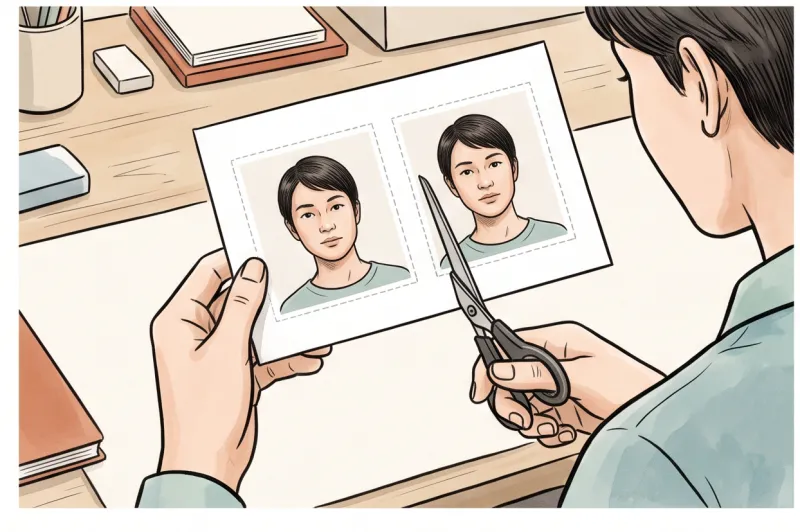
Before pressing print, carefully check the kiosk's preview screen. Disable any settings labeled "auto-enhance," "vivid colors," or "zoom to fit." The machine must print the file exactly as it was provided to maintain the strict 2x2 inch scaling and the unedited reality of your original image.
Once the machine dispenses your print, handle it entirely by the edges. Pharmacy kiosks often use thermal dye sublimation printers, which are excellent for sharp, smudge-free results, but fingerprints on the glossy surface can still obscure your facial features and lead to issues. Take the intact 4x6 sheet home so you can cleanly cut out the photos in a well-lit space.
Ready to prepare your document photo?
Skip the studio. Upload a selfie and get a professionally prepared photo that meets the official technical requirements in about two minutes.
Get startedCommon Mistakes That Ruin 2x2 Photo Prints
Even a flawless digital file will face immediate rejection if the final print suffers from scaling errors, bad source lighting, an outdated appearance, or banned accessories. In practice, the most frequent reasons a printed passport photo is rejected stem from mistakes made before the image ever reaches the photo paper.
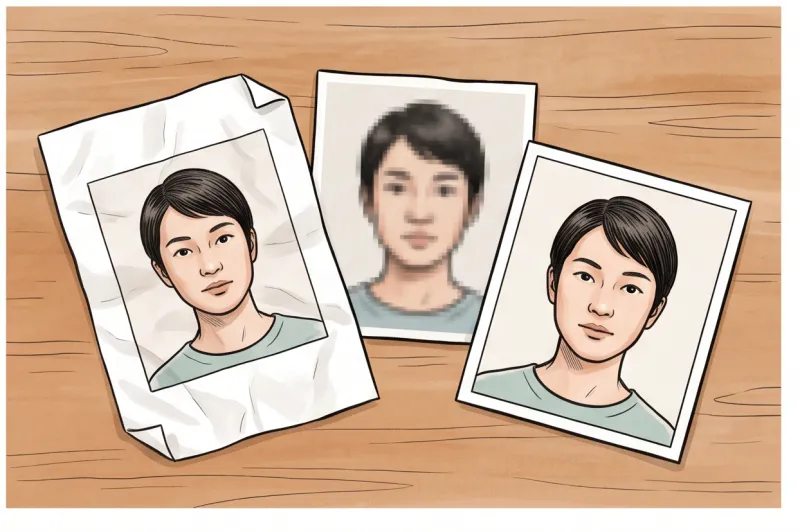
Scaling issues: The most critical physical mistake happens in your computer's print dialogue box. If a 2x2 inch photo is printed at 95% scale due to an automatic "fit to page" setting, the resulting image is no longer exactly 51x51 mm. This unintentional shrinkage alters the strictly regulated head-height ratio. When the passport agency scans your physical print, the biometric markers will fail to align, and the photo will be rejected.
Bad original lighting: High-end photo paper cannot salvage a flawed digital image. No printer can fix a photo with harsh shadows on the face, red-eye, or a textured background. The original shot must be captured with completely even lighting and set against a plain, light uniform background (typically white or off-white). If there is a shadow cast behind your head or uneven exposure in the source file, it will only look worse in print.
Not being recent: A common trap for home printing is reusing an old 2x2 template file saved on a hard drive. Printing a 2x2 photo from a file that is over 6 months old violates the current appearance rule. Passport authorities require your photo to reflect exactly how you look right now; submitting an outdated image is a guaranteed rejection.
Wearing glasses: This recency rule also applies to what you wear. Attempting to print an old photo where you are wearing glasses is no longer acceptable for many documents. Glasses are increasingly banned outright for passports and IDs to prevent lens glare and frame obstruction. The U.S. Department of State, for example, strictly bans glasses in all US passports and visas unless supported by a medical certificate. If your existing 2x2 file shows frames, you must take a new photo before printing.
The Easiest Way to Get a Perfect 2x2 Print Template
Bypassing the frustration of manual formatting is simple: you need a correctly proportioned 4x6 inch digital template generated from a standard photograph. Instead of struggling with manual cropping and printer scaling in generic editing software, use our service, PhotoID24. This ensures your file is mathematically precise before it ever reaches the printer.
In practice, attempting to manually format a 2x2 inch square often distorts the aspect ratio. When a face is slightly stretched or squashed, it fails biometric scanning instantly. Furthermore, a modern smartphone camera easily exceeds the U.S. digital minimum of 600x600 px, meaning image resolution is rarely the issue. The bottleneck is almost always the cropping and the head-height ratio. To solve this, you simply need to capture a raw image and let a professional system handle the strict measurements.
To begin, take a standard selfie facing a window for even, natural lighting. Ensure there are no harsh shadows on your face or behind your head. Follow the universal biometric rules: face straight to the camera, shoulders square, and looking directly at the lens. You must maintain a neutral expression with your mouth closed and both eyes clearly visible. Remember to remove your glasses entirely, as they are banned for U.S. passports and visas.
Once you upload a selfie taken straight-on with a neutral expression, the system automatically processes the image to meet the official technical requirements for a U.S. 2x2 passport or visa photo. It aligns your head centrally, applies a plain, light uniform background, and ensures your face fills roughly 70–80% of the frame height, exactly as mandated by the U.S. Department of State.
The final result is a ready-to-print 4x6 template containing two perfectly sized 51x51 mm photos. Because this layout is checked against official rules, you can confidently use it for home or store printing. When you print this 4x6 template at 100% scale at a pharmacy kiosk or on your home printer, the two passport photos within it will remain exactly 2 by 2 inches.
Get your document photo in 2 minutes
Upload a normal selfie and receive a compliant document photo that meets the official technical requirements for your country and document — ready to print or submit online.
Make my photoYour final action step before submitting your application should always be a physical measurement. Once you print a 2x2 photo and cut it out along the template lines, take a physical ruler and measure the square. It must be exactly 51x51 mm from edge to edge. Starting with a strictly compliant template is the only reliable way to lock in those dimensions, avoid biometric distortion, and secure your document without unnecessary delays.