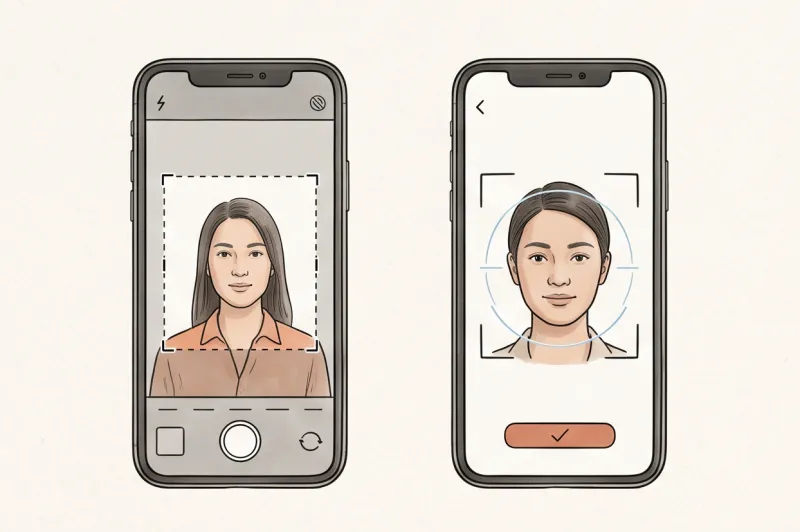
What Makes the Best Passport Photo App?
If you have ever had a document application rejected because your head was a few millimeters too large in the frame, you know that official photos leave no room for error. The primary purpose of a dedicated passport photo app is to eliminate that guesswork. Instead of acting as a basic image cropper, the best applications function as precision tools designed to align your picture with strict official guidelines, ensuring the final file meets exact biometric requirements.
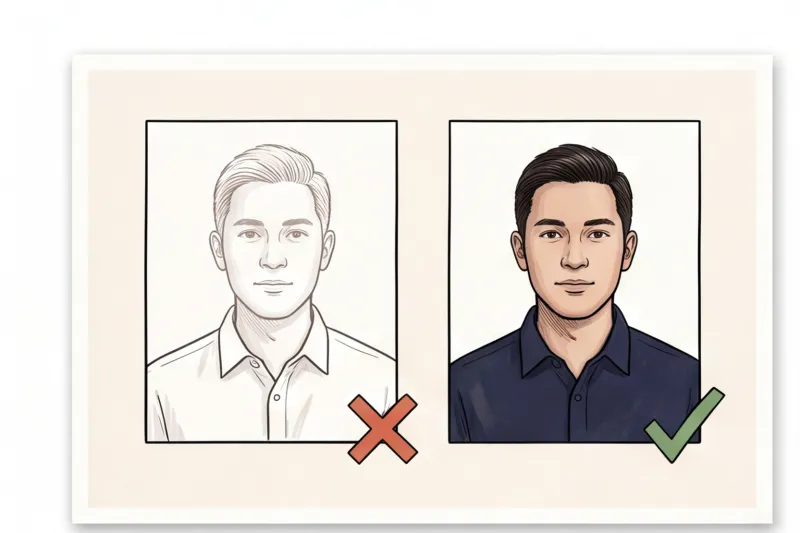
While standard consumer photo editors prioritize sleek interface design and fun filters, a professional document service focuses entirely on technical compliance. Digital beautification is one of the most common reasons government authorities reject submissions. The service's job is not to create a flawless portrait, but to produce a highly accurate, sharp image without digital manipulation. Removing temporary blemishes is generally acceptable, but reshaping facial features or applying skin-smoothing filters directly violates biometric rules.
The foundation of these technical checks comes from international standards, most notably ICAO Doc 9303. This global framework for machine-readable travel documents dictates precise rules that a reliable service must verify: a neutral expression with the mouth completely closed, a plain, uniform light background with no other objects, and even lighting that prevents harsh shadows on the face or wall. We explain exactly how to achieve this lighting and posture in our complete guide to taking a document photo at home.
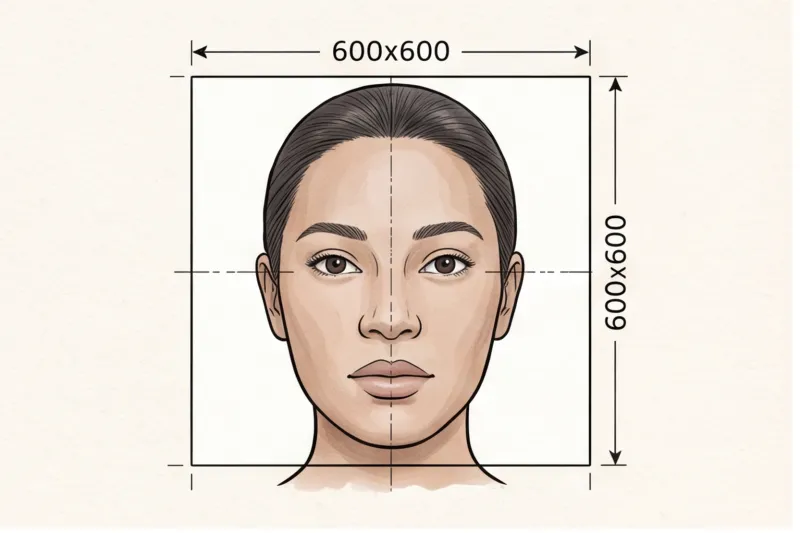
Crucially, a dependable application must account for the fact that there is no single global document photo size. An app that only outputs a 2 × 2 inch (51 × 51 mm) image — the required format for the United States Department of State — will generate a file that is instantly rejected for a UK passport, which strictly requires a 35 × 45 mm layout. The best solutions automatically adapt the crop, digital file size, and head-height ratio to the specific destination country and document type, meaning you never have to memorize the dimensions yourself.
Free DIY Croppers vs. Professional Passport Photo Apps: What is the Difference?
The primary difference between a free DIY cropper and a professional passport photo app is compliance automation. Free tools provide a manual resizing frame but leave the technical requirements — like background uniformity, lighting, and exact head-height proportions — entirely up to you. In contrast, professional services automatically adjust the image to meet strict government biometric standards without guesswork.
When you use a standard free cropping tool, you are usually given a generic rectangular outline. You are instructed to manually pinch, scale, and drag your image until your chin and the top of your head appear to fit within two guiding lines. This basic method places the entire burden of biometric accuracy directly on the user. In practice, manual croppers often fail to correct for tilted heads or off-centre shoulders, leading to rejection. Even if you manage to align your chin perfectly, free apps cannot evaluate if your posture is straight, if the lighting on your face is even, or if your background is genuinely plain and light.
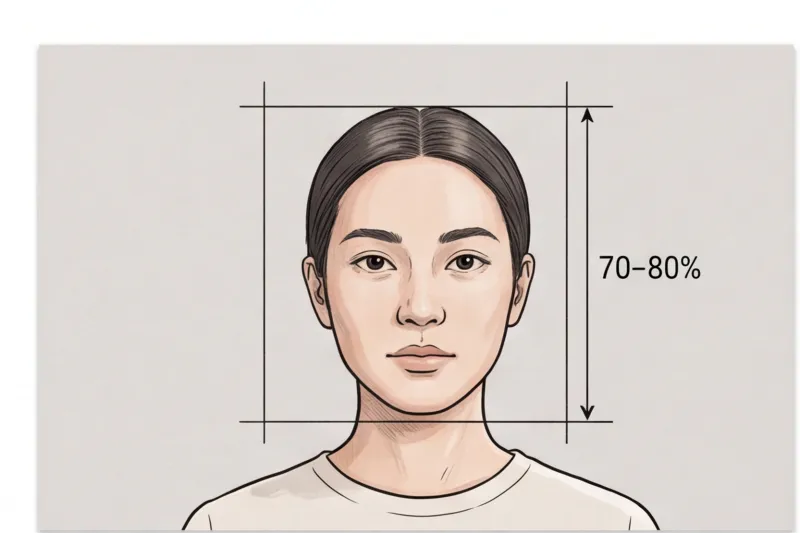
Professional, full-service applications take a fundamentally different approach. They do not just cut a picture to size; they process the image against the official technical requirements of the specific destination country. For instance, professional services automatically align the photo to ensure the face fills roughly 70–80% of the frame height (depending on the exact national rule for the selected document). You do not have to calculate the millimetre distance from your chin to your crown. If you want to ensure your raw image is set up perfectly before processing, we cover the full requirements in our complete guide on how to take a passport photo at home.
The risk of relying on basic tools is significant: using a basic resizer often results in a photo that looks fine to the user but fails the government's rigorous automated checks. A photo cropped slightly too tight or exported with the wrong pixel dimensions will stall your application, wasting both time and money.
Get your document photo in 2 minutes
Upload a normal selfie and receive a compliant document photo that meets the official technical requirements for your country and document — ready to print or submit online.
Make my photoWhy Do Government Systems Reject Photos from Standard Apps?
Government systems reject photos from standard apps primarily because these tools allow prohibited digital manipulation, fail to flag uneven lighting, and do not enforce uniform backgrounds. A generic photo editor prioritises making you look good, whereas passport authorities only care about strict biometric accuracy.
The most common reasons photos from generic apps fail involve digital manipulation, such as filters or automatic beautification. Many standard smartphone camera apps and free editing tools apply subtle skin smoothing, teeth whitening, or facial contouring by default to enhance portraits. Government authorities, including the U.S. Department of State and the United Kingdom's GOV.UK, explicitly ban digital alteration that changes a person's appearance. Biometric software measures the exact physical distance between your facial features; any digital tweaking that slims the jaw or widens the eyes alters these precise coordinates.
We strongly warn against apps that aggressively smooth skin or remove natural blemishes, as these violate the fundamental "no retouching" rule. While the physical removal of a temporary spot in real life is one thing, digitally blurring out permanent freckles, wrinkles, or moles will invalidate the picture. The photo must accurately reflect how you look in person.
Another major failure point is the background and lighting. A basic app will let you crop a photo taken against a textured wall, or a room with a visible drop shadow behind your shoulders. Official biometric rules dictate a plain, light, uniform background — typically white or light grey — with absolutely no patterns, objects, or other people in the frame. Furthermore, standard apps will not stop you from exporting an image where half your face is cast in harsh shadow. Uneven lighting obscures facial features and triggers instant automated rejections from government upload portals.
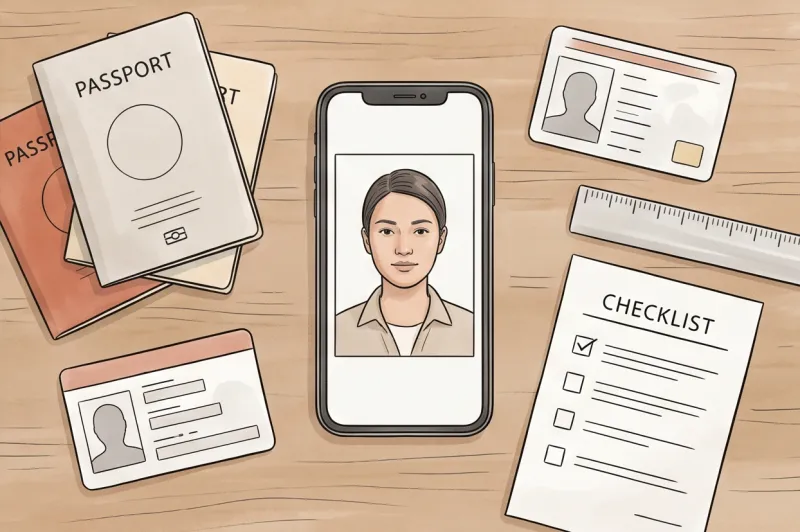
How Does a Professional Passport Photo Service Work?
A professional passport photo service works by transforming a standard smartphone picture into a compliant document image, automatically checking it against the precise technical requirements of your specific country and document. Instead of manually cropping or guessing head-height ratios, you simply upload a raw photo, and the platform handles the complex sizing and background adjustments in minutes.
The workflow with our service, PhotoID24, acts as the ultimate shortcut. It eliminates risky DIY guesswork and entirely replaces the need to visit a professional photography studio. The process is broken down into three straightforward steps:
- Capture the raw image: Take a photo using a standard smartphone camera while standing slightly away from a plain, light wall. Ensure you have even lighting to prevent harsh shadows on your face or the background, and maintain a neutral expression.
- Select and upload: Choose the exact country and document type you are applying for, then upload your picture.
- Professional automated checks: The system instantly verifies your photo against official rules. It automatically corrects non-uniform backgrounds to the required plain white or light grey, aligns your eyes, and scales your head to fill the correct percentage of the frame — seamlessly adapting to whether you need a 35 × 45 mm European format or a 2 × 2 inch (51 × 51 mm) U.S. photo.
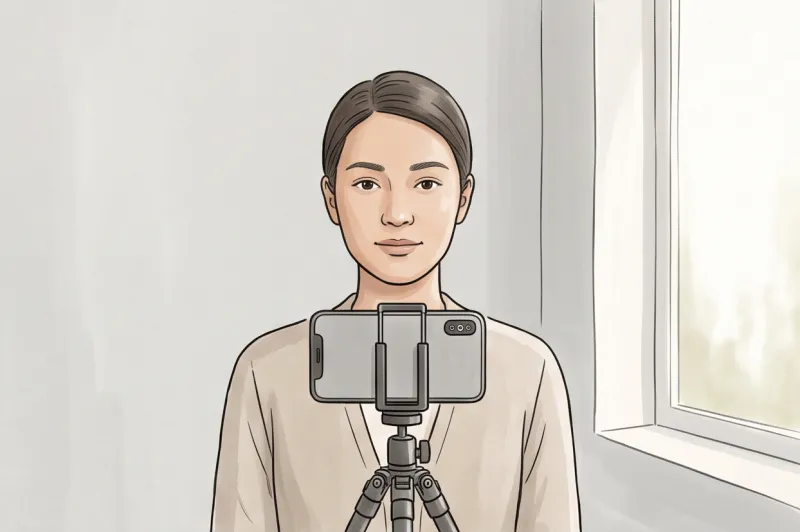
Once the technical verification is complete, the output provides everything necessary for immediate submission. You receive a perfectly sized digital file, strictly tailored to the pixel requirements and file-size limits of online government portals. Additionally, the service provides a layout sheet formatted for printing. This means you can confidently print identical copies on standard photo paper without worrying about incorrect borders or scale.
In real photo practice, the most frequent reason DIY attempts fail is a minor technical violation — like the face being a few millimeters too small or a faint drop shadow visible on the wall. Using a professional service guarantees that the final image meets the official technical requirements of the destination country, allowing you to bypass the stress of unexpected application rejections.
Checklist: How to Prepare Before Using a Passport Photo App at Home
To get a compliant result from a passport photo app at home, you must start with a raw image that features even lighting, a strictly neutral expression, and a plain background. While a professional service handles the technical sizing and formatting, it relies on you to set up the physical environment correctly.
In practice, the majority of government rejections stem from simple environmental mistakes made before the camera even clicks. Follow this step-by-step preparation checklist to ensure your raw photo easily meets international biometric guidelines:
- Find even, natural light: Face a large window directly. Overhead room lighting is a primary cause for biometric rejection because it casts harsh shadows under the eyes, nose, and chin. The light on your face must be completely uniform, with no overexposed bright spots or dark shadows.
- Step away from the background: Position yourself in front of a plain, light-coloured wall, such as white or light grey. To minimize the risk of a visible drop shadow behind your head, stand slightly away from the wall (roughly half a meter) rather than leaning against it. Ensure no other people, patterns, or textures are in the frame.
- Maintain a strictly neutral expression: Biometric software maps the precise distance between your facial features. You must keep your mouth closed, both eyes fully open, and refrain from smiling, frowning, or raising your eyebrows. Keep your head level and your shoulders perfectly square. When shooting, look straight into the camera lens, not at your phone screen.
- Remove your glasses: Authorities are increasingly strict about facial visibility. The U.S. Department of State and most EU passport regulations now explicitly ban glasses in document photos. Even where permitted, lens glare or frames covering the eyes are top rejection triggers, so removing them entirely is the safest approach.
- Take off non-medical head coverings: Hats, headphones, and fashion headbands are prohibited. Head coverings are only allowed for documented religious or medical reasons. If you wear one for these reasons, you must ensure it does not cast any shadows on your face, and your features must be entirely visible from the bottom of your chin to the top of your forehead.
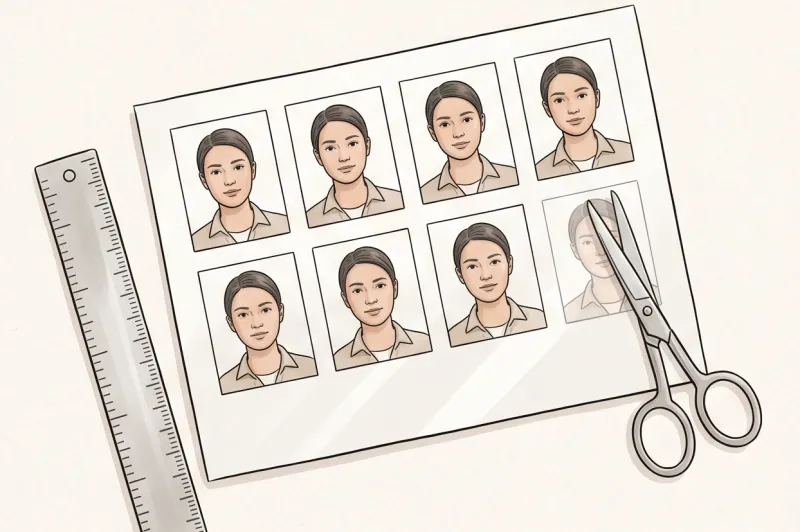
Once your environment is set up properly, capturing the image takes only seconds. A standard modern smartphone camera easily exceeds the resolution requirements, meaning your focus should remain entirely on posture and lighting.
Ready to prepare your document photo?
Skip the studio. Upload a selfie and get a professionally prepared photo that meets the official technical requirements in about two minutes.
Get startedFrequently Asked Questions About Passport Photo Apps
When using a passport photo app, the most common concerns revolve around hardware capability, photographing infants, and navigating different national standards. The short answer is that modern smartphones and professional digital services handle all of these seamlessly, provided you follow the specific biometric rules.
Can I use my smartphone camera?
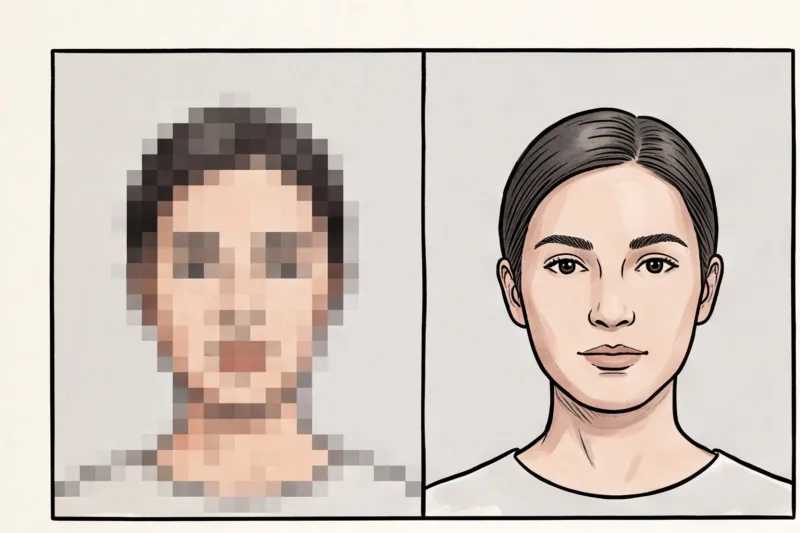
Yes, you can confidently use your smartphone camera. The rear lens on any modern device easily exceeds the typical 300–600 DPI print resolution requirements set by most governments for official documents.
You do not need a DSLR camera or professional studio equipment to get a compliant result. A standard smartphone captures far more detail than a physical 35×45 mm or 2×2 inch print can display. In practice, the primary issue with smartphone photography is not resolution, but technique. Always use the rear camera rather than the front-facing selfie lens, which often distorts facial proportions. Have another person hold the phone at eye level, roughly 1.5 to 2 metres away. This ensures your head and shoulders remain square and properly proportioned in the frame.
Can I take a passport photo of my baby with an app?
Yes, but you must adhere to special infant biometric rules, primarily ensuring that no supporting hands, toys, or pacifiers are visible in the frame against a plain light background.
Photographing babies is notoriously difficult in a commercial studio, making a home application highly practical. The most effective method is to lay the infant on their back on a plain white or light grey sheet. While many authorities (such as the U.S. Department of State or the UK's GOV.UK) relax the rules regarding a strictly neutral expression or fully open eyes for newborns, the core technical requirements remain rigid. The photo must feature only the child, with even lighting that prevents harsh drop shadows on the bedding or across the baby's face.
Do I need different apps for different countries?
No, you do not need multiple tools. A global service like PhotoID24 automatically adapts the exact dimensions, head ratio, and background colour based on the specific country and document you select.
It is vital to understand that there is no universal passport photo size. For instance, submitting a 51×51 mm (2×2 inch) photo for a UK passport — which requires a strict 35×45 mm format — will result in an automatic rejection. Different governments also enforce varying head-height proportions; while ICAO Doc 9303 guidelines generally state the face should fill 70–80% of the frame height, the exact measurement depends entirely on the issuing country. By selecting your destination nation within a comprehensive service, the system aligns your raw image with that specific authority's official technical specifications.
Stop guessing which crop box is correct or whether your living room lighting meets government standards. Your immediate next step today is to prepare your environment: find a plain, light-coloured wall opposite a window, take a well-lit test shot without glasses or head coverings, and let a professional tool handle the formatting. Upload your image to our service, PhotoID24. Within minutes, you will receive a professional, compliant photo that meets the official technical requirements for your exact document, ready for direct online submission or at-home printing.