How Does a Post Office Passport Photo Service Actually Work?
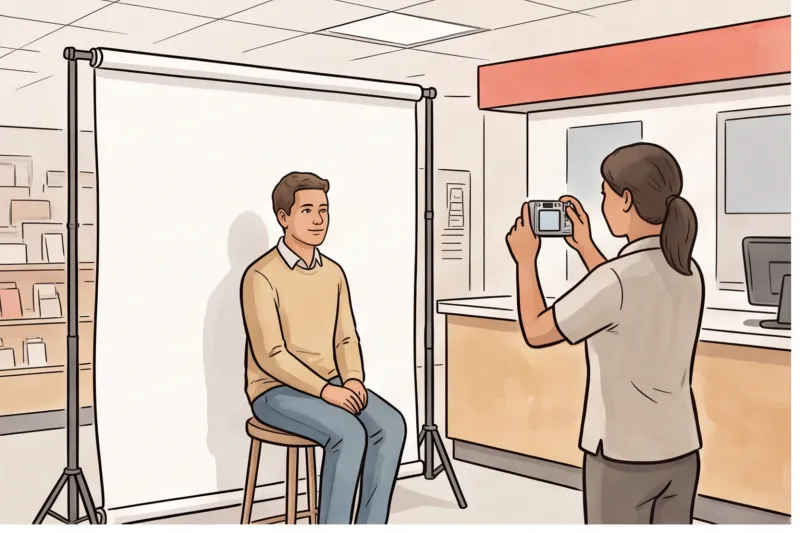
Getting a post office passport photo involves waiting in line at a local branch, sitting in front of a pull-down white or light grey screen, and having a postal clerk take your picture with a standard point-and-shoot camera. It is a traditional retail transaction squeezed into a busy public space, not a dedicated photography studio.
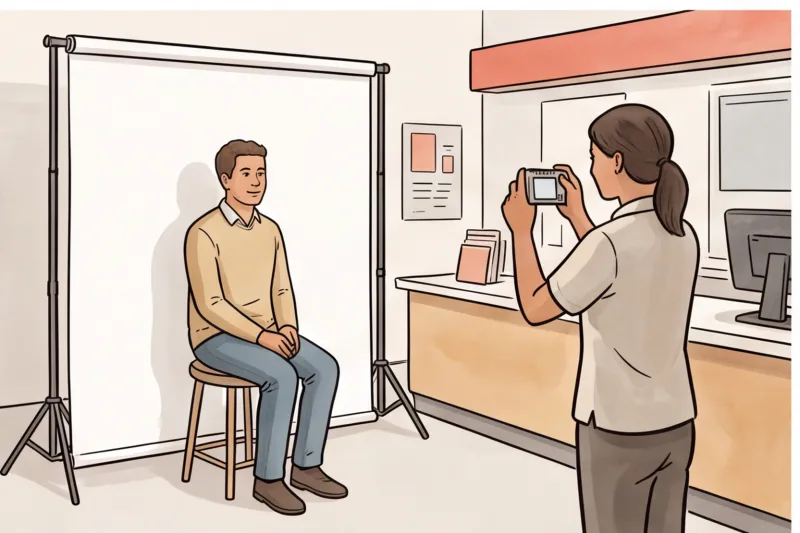
The most significant friction with this route today is scheduling. While you used to be able to simply walk in and wait your turn, many national post offices now require you to book an appointment weeks in advance. In practice, the rigid process of retail photography often involves rushed appointments and basic equipment. Clerks managing heavy mail queues are rarely biometric specialists, meaning you might wait weeks for a time slot only to be hurried through a session where subtle rules—like maintaining a perfectly neutral expression—are overlooked. If you are facing an urgent deadline, we cover the full requirements and quicker options in our complete guide.
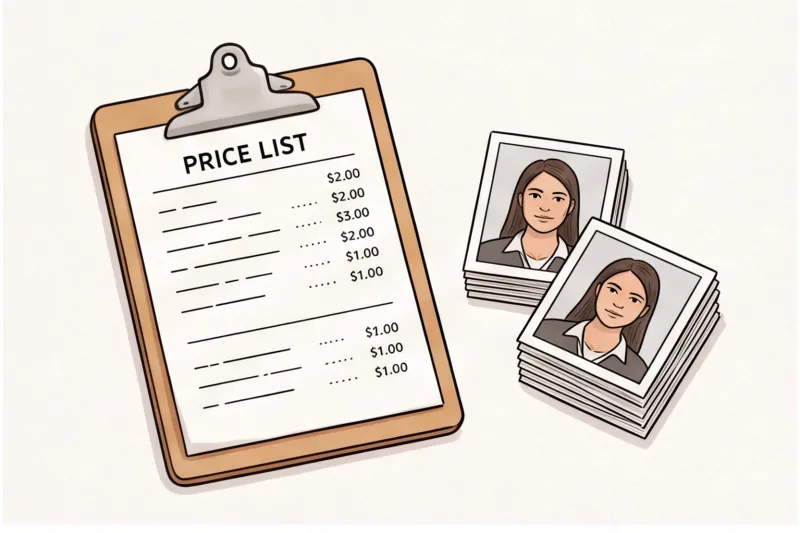
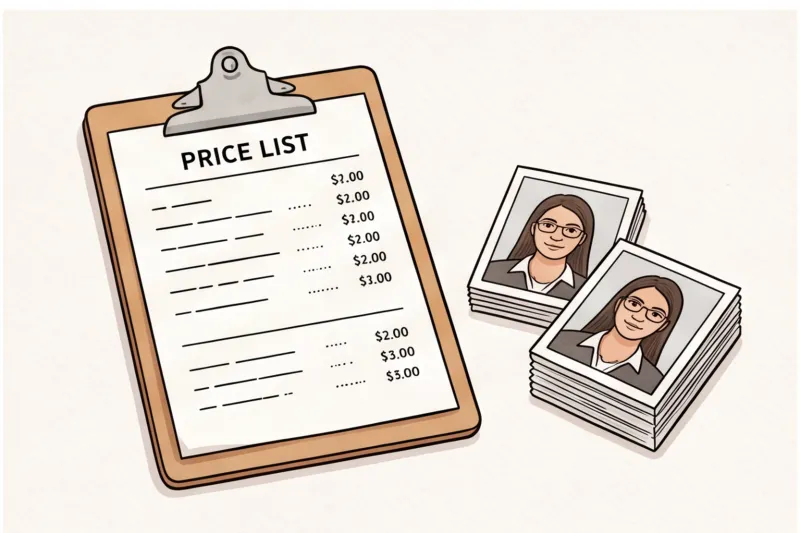
Once the picture is taken and manually trimmed, you usually leave with two identical physical prints. This output is fine if you are mailing in a standard paper application. However, it severely lacks flexibility for modern online renewals. With many official authorities now mandating digital photo uploads with exact pixel dimensions and strict file-size limits, a printed sheet from a post office branch cannot be directly uploaded without introducing scanner pixelation or risking technical rejection.
Post Office Passport Photo Cost: Is the Premium Price Worth It?
Getting a post office passport photo is a premium retail service because you are paying for both a staff member's time to take the picture and the immediate physical printing of the images. While it offers an in-person solution, modern digital alternatives are often significantly more cost-effective.
The exact cost varies heavily depending on your country and the specific branch you visit. For example, pricing at the United States Postal Service (USPS), the UK Post Office, or Australia Post will all differ, and fees can even change based on whether you bundle the photo with your document application. We recommend checking the local postal authority’s official fee schedule for the most current prices.
When evaluating the price, consider what you actually receive. Traditional post offices typically provide only physical printed photos, which are necessary for paper forms but lack flexibility if your government authority requires a digital upload. If you are exploring local and online options, the modern alternative separates the compliance check from the printing process.
By using a professional online service, you pay specifically for the digital file to be checked against official technical requirements. Once you have a compliant digital photo, you can submit it online immediately or print the ready-made template sheet at any standard photo kiosk for mere pennies, entirely bypassing the heavy retail markup.
Get your document photo in 2 minutes
Upload a normal selfie and receive a compliant document photo that meets the official technical requirements for your country and document — ready to print or submit online.
Make my photoWhy Do Post Office Passport Photos Sometimes Get Rejected?
Post office passport photos typically get rejected because of harsh retail lighting that creates shadows, inaccurate manual cropping at the counter, and staff who may lack specialized biometric training. While you are paying for an in-person service, a standard post office branch is rarely optimized for the strict international guidelines set by ICAO.
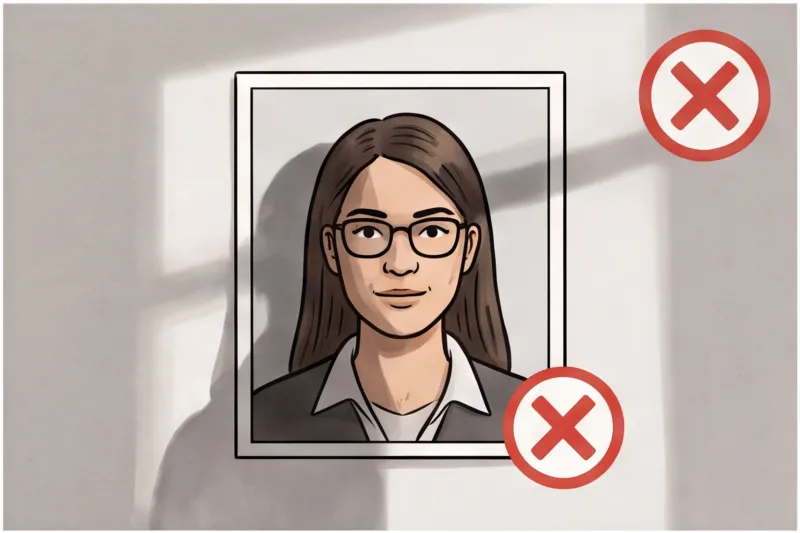
In practice, the most frequent reason a photo is rejected by government authorities is improper lighting. Retail locations rely heavily on bright, overhead fluorescent panels rather than balanced photographic lighting. This overhead setup inevitably casts harsh shadows under your chin, deep around your eyes, or directly onto the background behind your head. Biometric systems require entirely even lighting with absolutely no shadows, as dark areas prevent facial recognition software from correctly mapping your features.
Another major issue stems from outdated guidance provided by untrained staff. Postal clerks manage a wide variety of retail tasks and are not dedicated biometric photo specialists. They may fail to instruct you to maintain a strictly neutral expression with a closed mouth. Crucially, they often miss regulatory updates regarding eyewear. Many authorities now completely ban glasses in passport and ID photos — including most EU and UK passports. If a clerk permits you to wear frames that even slightly obscure your eyes or catch lens glare, the application will be denied.
Finally, manual cropping errors cause completely avoidable technical rejections. After taking the shot, postal workers often trim the physical print using scissors or a manual punch tool. Every document has exact rules for both the outer dimensions (commonly 35×45 mm in Europe or 2×2 inches in the United States) and the internal head-height ratio. A slightly misaligned cut at the counter can easily remove too much headroom, leave irregular white borders, or skew the face-to-frame percentage, causing the photo to fail the moment it is scanned by the passport office.
Print vs Digital: Can the Post Office Provide Digital Passport Photos?
Most local post office branches cannot provide a digital passport photo file; they are equipped only to hand you a physical, printed sheet of photos. Because official authorities worldwide — particularly the U.S. Department of State and the UK's HM Passport Office via GOV.UK — now heavily encourage or explicitly mandate digital photo uploads for online renewals, this printed-only service is a major limitation.
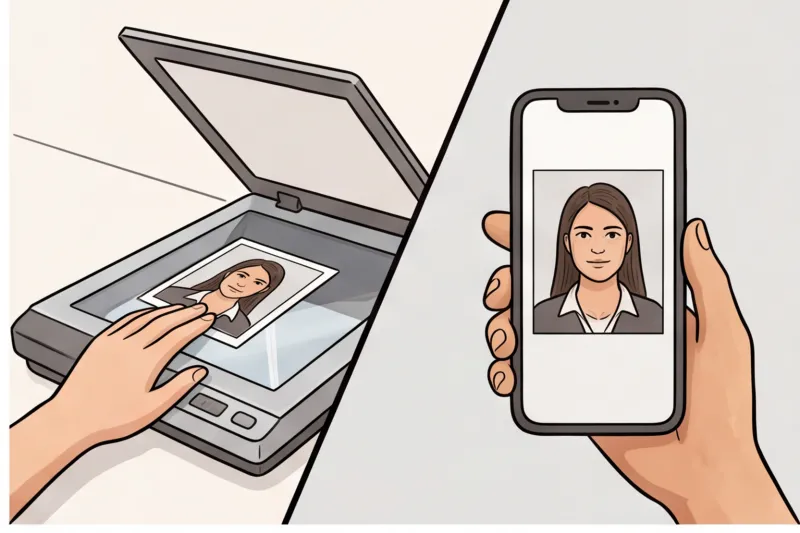
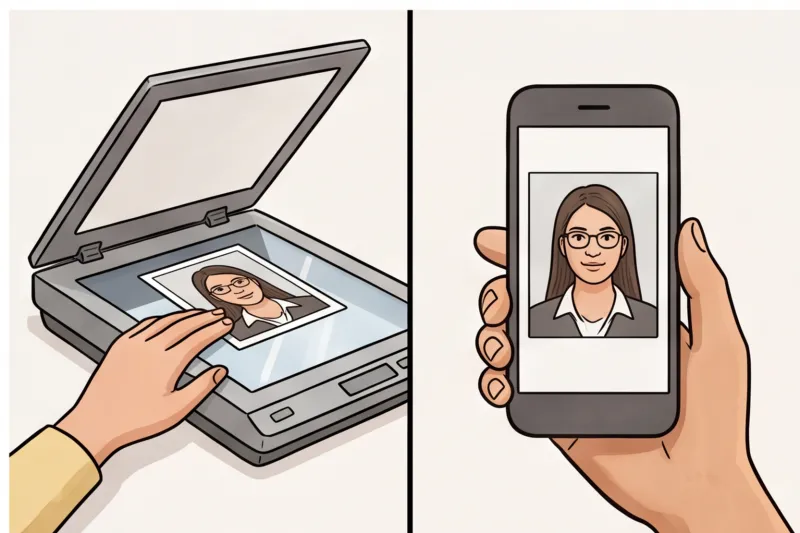
When you apply through a modern online portal, the system requires a native digital image. Authorities prefer these digital uploads because they allow the system to run immediate automated biometric checks on background uniformity and facial positioning, significantly speeding up your application. In practice, many applicants try to work around the post office's physical limitation by placing their new paper print on a home scanner or taking a picture of it with their phone. This almost never works.
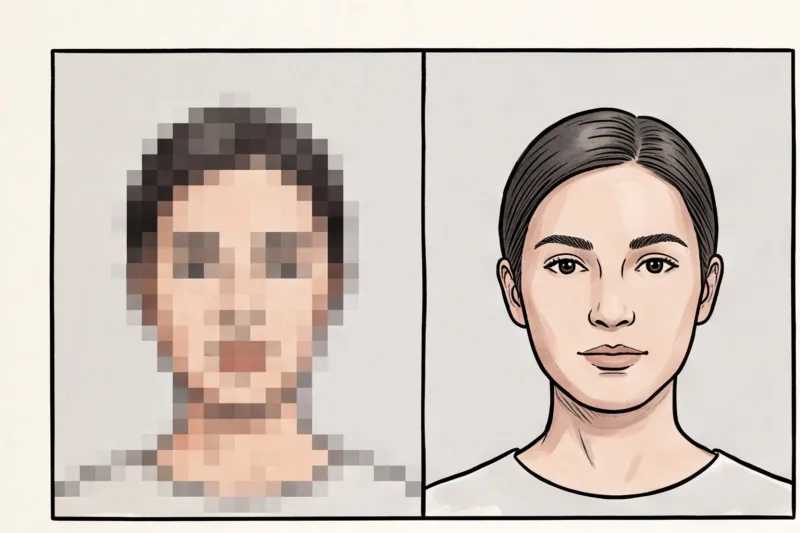
Scanning a physical print degrades the image quality significantly, introducing pixelation and a visible texture known as a moiré pattern. Furthermore, if the post office printed your photo on glossy paper, the scanner's light will create a harsh glare across your face, violating strict even-lighting rules.
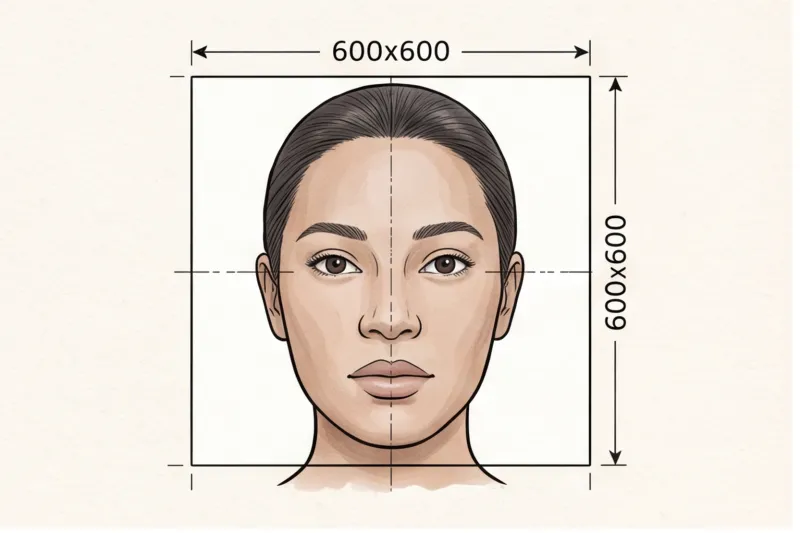
Beyond visual artifacts, home scans routinely fail the required technical parameters for online submission. Official portals enforce strict pixel dimensions (for example, the U.S. Department of State requires a minimum of 600 × 600 pixels) and maximum file sizes. A digitized paper photo will struggle to maintain the correct head-to-frame ratio and file specifications. If you are completing a digital application, paying a premium for a traditional retail print leaves you without the exact format you actually need.
Ready to prepare your document photo?
Skip the studio. Upload a selfie and get a professionally prepared photo that meets the official technical requirements in about two minutes.
Get startedWhat Are the Faster Alternatives to a Post Office Photo?
The fastest alternative to visiting a retail branch is taking a passport photo from home using a standard smartphone, then using a professional online service to format the image to strict government requirements. This modern approach completely bypasses the need to book appointments weeks in advance or stand in long queues.
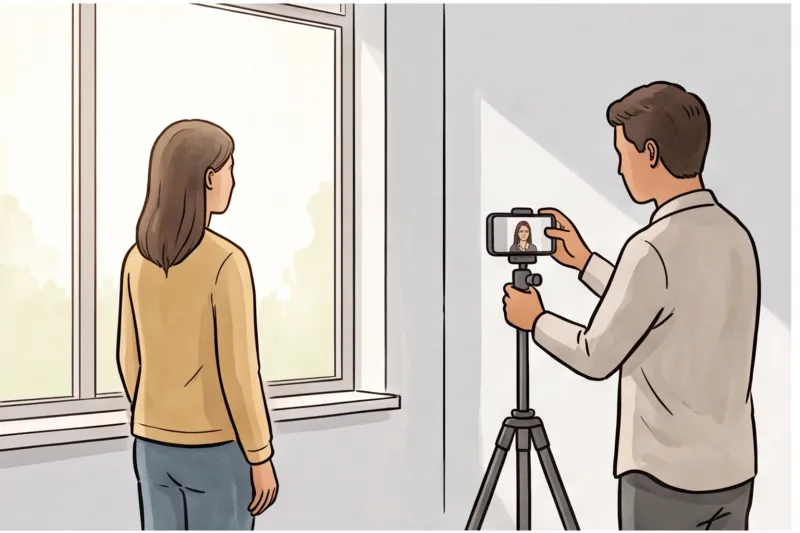
In practice, a standard modern smartphone easily exceeds the typical resolution requirements for biometric documents. By taking the picture during the day facing a window, you capture soft, even, natural lighting. This simple setup avoids the harsh overhead shadows on the face or background that frequently cause traditional retail photos to be rejected during official checks.
Instead of guessing dimensions or struggling to remove a textured background, you can use our professional service, PhotoID24, to handle the complex technical specifications. You simply upload a normal portrait, and the service automatically processes the image to meet the official technical requirements for your specific country and document in minutes. Whether you need a 2 × 2 inch (51 × 51 mm) format for a U.S. passport or a standard 35 × 45 mm size for the UK and Europe, the system adjusts the background to a plain, uniform colour and scales your head size to the precise ratio mandated by that country's authority.
This shortcut completely solves the digital-versus-print limitation of physical retail shops. You receive a correct, properly exposed digital file tailored to the exact pixel dimensions required for immediate online upload. Additionally, if your specific application still requires a physical submission, the result includes a perfectly formatted print-ready sheet. Taking control of the process from home saves time, removes retail friction, and ensures professional compliance.
Common Mistakes When Avoiding the Post Office (DIY Fails to Avoid)
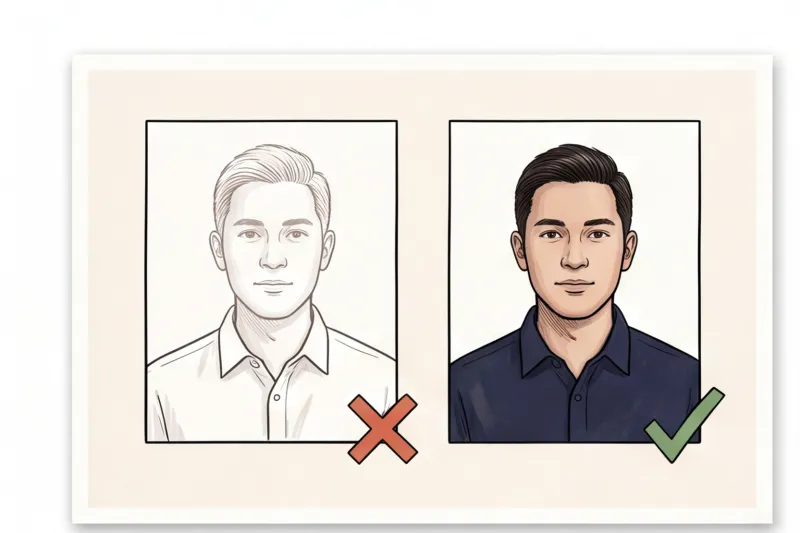
Taking your own document photo at home often results in rejection when applicants rely on free resizing tools, apply digital beauty filters, or take close-up selfies that distort their facial proportions. A successful home photo requires strict adherence to technical biometric rules, not just a casual snapshot.
In practice, the most frequent reason a DIY photo fails is the use of free online resizers. These tools often apply heavy file compression that destroys image sharpness, or they fail to correctly replace the background with the required uniform, light colour. Official authorities demand high technical quality, and a blurry or heavily pixelated file will not pass the system checks.
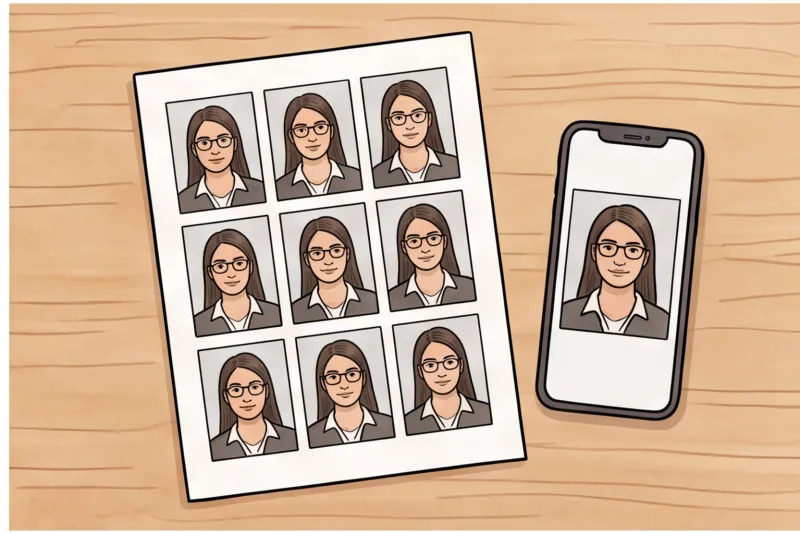
Another major trap is digital manipulation. A universal biometric rule across all international standards is that the photo must reflect your true appearance. Never use beauty filters or retouching apps. While it is acceptable to have a temporary blemish or spot visible, smoothing your skin texture, reshaping your jawline, or altering your eyes violates strict biometric requirements. If the digital geometry of your face is altered, border control systems cannot match the photo to your actual face.
Finally, never submit a standard selfie. Holding a smartphone at arm's length creates a wide-angle lens effect, physically distorting the face by enlarging the nose and pushing the ears out of view. To get the correct head-to-camera geometry, always use a tripod or have someone else take the picture from about 1.5 meters away, keeping the camera exactly at eye level.
Get your document photo in 2 minutes
Upload a normal selfie and receive a compliant document photo that meets the official technical requirements for your country and document — ready to print or submit online.
Make my photoChecklist: Getting Your Passport Photo Sorted Today
Sorting your passport photo today is a straightforward process that takes just a few minutes if you follow the core biometric rules: secure even natural lighting, use a plain light background, and maintain a strict neutral expression. Instead of joining a queue at a retail branch or waiting weeks for an appointment, you can complete the entire task at home using a standard smartphone.
To capture an image that aligns with international ICAO standards and your specific country’s official requirements, follow this practical checklist:
- Take the photo during the day facing a window: Even lighting is the single most important technical requirement. By standing directly in front of a window during daylight hours, natural light illuminates your face evenly. This prevents the harsh shadows under the eyes or chin—and the dark shadows cast on the wall behind you—that frequently cause post office photos to be rejected.
- Ensure a plain, light, uniform background: Position yourself in front of a completely blank wall, typically white or light grey depending on the specific document rules. The space directly behind your head must be entirely free of patterns, textures, wall hangings, shadows, and other people. If you do not have a perfectly bare wall, you can hang a smooth, unwrinkled light sheet as a temporary backdrop.
- Maintain a neutral expression and straight posture: Face straight to the camera with your head centred, looking directly at the lens. You must hold a neutral expression with your mouth closed—no smiling, frowning, or raised eyebrows. Keep your shoulders square and ensure your head is not tilted in any direction.
- Keep both eyes clearly visible: Your eyes must be fully open. Tuck voluminous hair behind your ears so it does not obscure your face outline or cast shadows across your forehead. If you wear glasses, the safest official guidance is to remove them; many national authorities have completely banned glasses in passport photos to eliminate the risk of lens glare or frames covering the eye line.
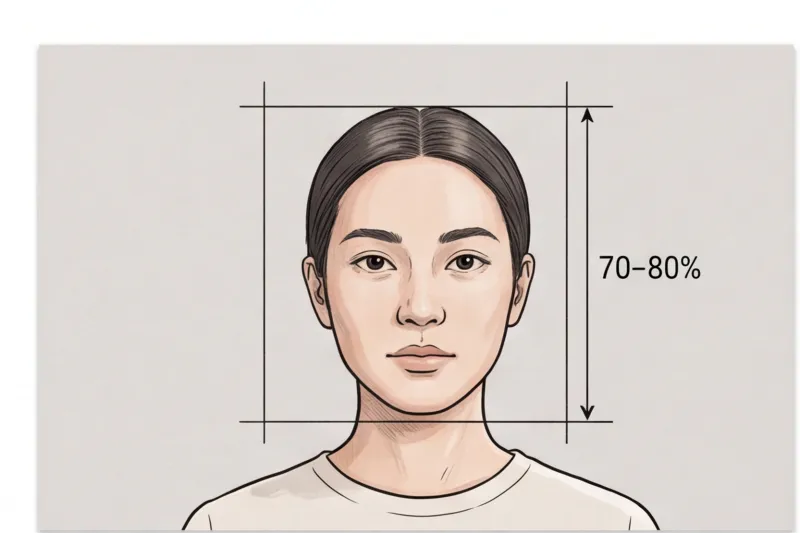
Once you have captured a clear, evenly lit portrait, the final step is formatting. Every document authority enforces strict, unique measurements. There is no universal size. For example, most European passports require a 35 × 45 mm format, while a United States passport demands a 2 × 2 inch (51 × 51 mm) square. Beyond the outer dimensions, authorities strictly measure the head-height ratio, meaning your face must fill an exact percentage of the total frame (commonly between 70% and 80%).
Attempting to manually crop a photo to these precise fractions at home often leads to immediate rejection by the passport office. To eliminate this risk, upload your raw portrait to our professional service at PhotoID24. The service automatically processes the image to ensure the size, head-height ratio, and background meet the exact official mandate for your specific country and document. In just a couple of minutes, you will receive a fully compliant digital file ready for online upload, alongside a print-ready template if your application requires a physical copy.