Where Can I Get a Passport Photo Near Me?
When an impending trip or expiring document forces you to scramble for an application, typing "passport photo near me" into a search engine is usually the first reflex. If you need a compliant document photo today, you have two primary options: visiting a traditional local retail spot like a pharmacy, or bypassing the queue entirely by generating a technically correct digital photo from your own home.
The fastest option — skip the trip: make your passport photo online for free, then print it at a store near you (we cover CVS, Walgreens, Walmart and 30+ more worldwide). A compliant photo in minutes — no studio queue.
Historically, applicants relied heavily on brick-and-mortar locations. Pharmacies, shipping centers, local post offices, and professional photography studios remain the most common physical spots offering document photography. While these traditional options are familiar, they come with built-in friction. Your ability to get a photo quickly depends entirely on store opening hours, appointment availability (especially at post offices), and local retail queues.
Furthermore, relying on a local shop carries technical risks. In practice, retail staff are rarely biometric photo specialists. They typically use basic pull-down screens and harsh fluorescent overhead lighting, which frequently causes uneven shadows on the face or background — one of the most common reasons authorities reject photos. Staff may also overlook strict, country-specific rules, such as the complete ban on wearing glasses for passports in many jurisdictions.
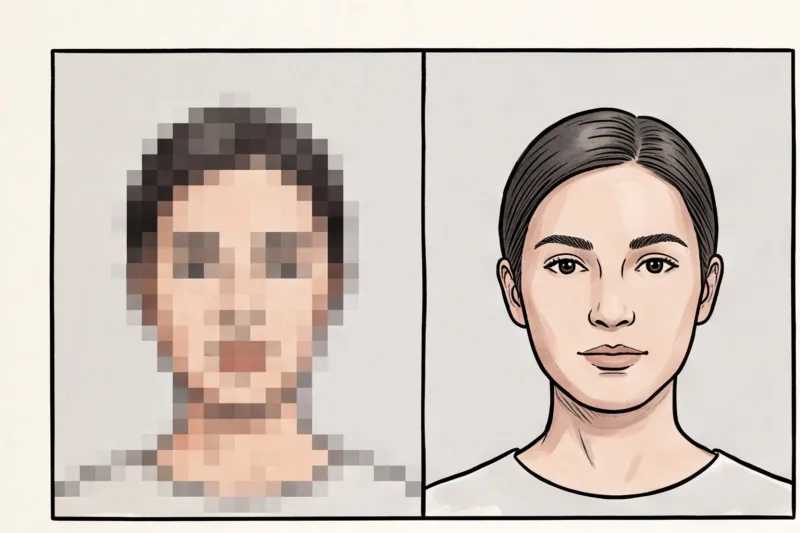
Fortunately, the application process has evolved, significantly reducing the need for a physical store visit. Official authorities worldwide — including the U.S. Department of State and the United Kingdom's GOV.UK — now actively process online applications that require a digital photo upload rather than a physical paper print. These digital submissions come with their own strict pixel dimensions and file-size limits that a standard retail print cannot satisfy.
Because of this digital shift, the fastest location is often your smartphone. By taking a clear photo against a plain wall and uploading it to a professional service like PhotoID24, you can obtain an image that meets the official technical requirements for your specific country and document in minutes, completely avoiding the local retail hassle.
Why Your Smartphone is the Fastest 'Location' for a Passport Photo
The fastest "location" to get a passport photo is not a local retail store, but the smartphone already in your hand. By taking the picture at home and using a professional online service, you skip the commute and instantly get a document photo that meets official technical requirements.
In practice, the hidden cost of getting a photo locally is the time you lose to logistics. When you factor in driving, securing parking, and waiting in line behind other customers at a shipping center or pharmacy, a simple task quickly consumes an hour of your day. You are also restricted by store opening hours and staff availability. Compare this to standing in your own living room, facing a window for even, natural light, and snapping a photo exactly when you are ready. Avoiding travel immediately reclaims your time and eliminates the stress of rushing to a studio before it closes.
Another practical advantage is the freedom to get the picture right. At a physical store, you usually get one or two attempts. If your expression is not quite neutral or your eyes are half-closed — both universal reasons for biometric rejection under ICAO Doc 9303 standards — you might feel pressured to accept a flawed photo because a queue is forming. At home, you can take as many pictures as you need until you capture one with your head centered, mouth closed, and both eyes clearly visible against a plain, light background.
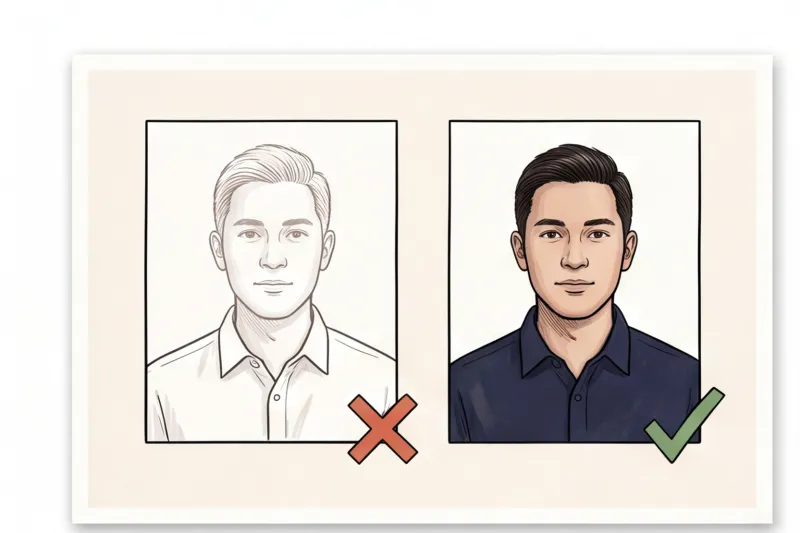
Of course, a raw smartphone selfie is not ready for submission on its own. It needs precise cropping and verification against strict biometric guidelines. This is where our service, PhotoID24, steps in. You simply upload your standard selfie, and the system processes it to deliver a professionally formatted, technically compliant photo in about two minutes.
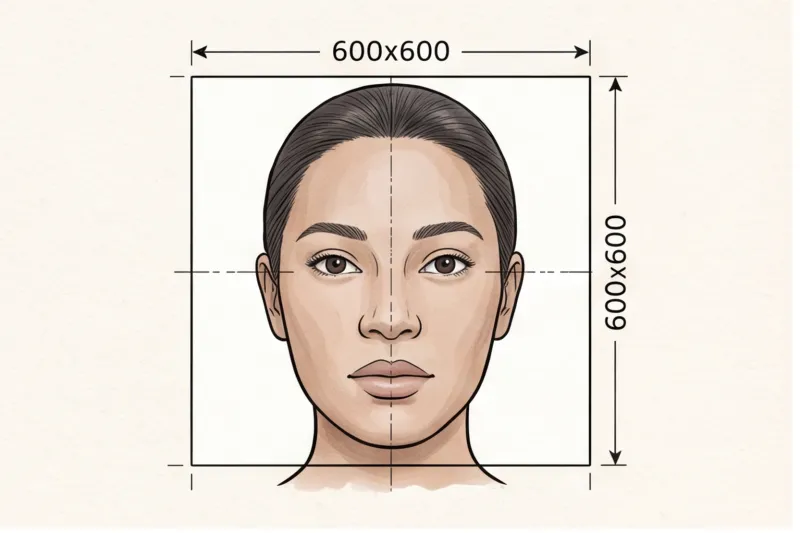
This automated verification process completely removes the guesswork. Requirements differ significantly by country — for instance, the U.S. Department of State mandates a 2 × 2 inch (51 × 51 mm) format, while most European authorities require a 35 × 45 mm photo. Instead of hoping a retail clerk remembers the correct head-height ratio for your specific document, the online system aligns and crops the image to the exact legal standard of the destination country, ensuring it is ready for immediate print or digital submission.
Get your document photo in 2 minutes
Upload a normal selfie and receive a compliant document photo that meets the official technical requirements for your country and document — ready to print or submit online.
Make my photoLocal Store vs. Online Service: Which Prevents Application Rejections?
An online professional service prevents more passport application rejections than a local retail store because it automatically checks your image against exact international biometric standards. While local staff may use a one-size-fits-all approach, a dedicated platform verifies proper cropping, lighting, and facial expressions for your specific document.
In practice, the most frequent reasons a photo is rejected are non-neutral expressions, harsh shadows on the background, and incorrect physical dimensions (such as the face being too large or too small in the frame). When you visit a local pharmacy, shipping centre, or post office for a passport photo, you are typically relying on untrained staff who balance multiple retail duties. The physical setup usually involves basic pull-down screens and harsh overhead fluorescent lighting. This environment practically guarantees uneven light and casts sharp, dark shadows on the face or directly behind the head — a direct violation of universal biometric photo principles.
Furthermore, local retail staff frequently miss critical, evolving document rules. A prominent example is eyewear. Many authorities now ban glasses entirely for official IDs and passports. For instance, spectacles must be removed for most EU and UK passports, and they are strictly prohibited by the U.S. Department of State. Retail clerks often forget to ask applicants to take their glasses off. If you submit a photo wearing glasses when the destination country forbids them, or if there is even slight glare on the lenses, your application will face immediate rejection.
In contrast, online platforms are designed specifically to enforce these strict rules. When you use our service, PhotoID24, the system ensures your photo meets all ICAO-aligned requirements before you ever submit it. It confirms that the background is plain and light, checks for a completely neutral expression with the mouth closed and both eyes clearly visible, and applies the exact required crop for the country and document you select. This professional standard removes the risk of human error at a local print counter.
Common Technical Mistakes to Avoid (Even When Taking Photos at Home)
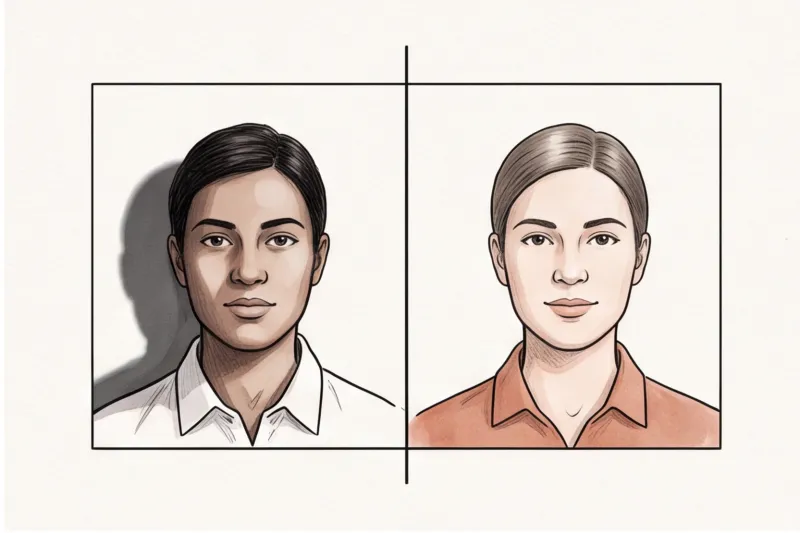
The most common technical mistakes made when taking document photos at home include casting hard background shadows, improper head alignment, applying digital beautification filters, and submitting outdated images. Correcting these errors ensures your image complies with official technical requirements.
Even without the harsh fluorescent lights of a retail shop, taking a photo at home carries its own technical risks if you do not follow biometric guidelines. A typical mistake is standing right up against a wall. This immediately creates a hard, dark shadow behind the head and shoulders. To resolve this, you must stand roughly half a metre away from a plain, light-coloured, uniform background. This distance allows ambient light to fall evenly behind you, eliminating shadows and satisfying the universal requirement for a clean background.
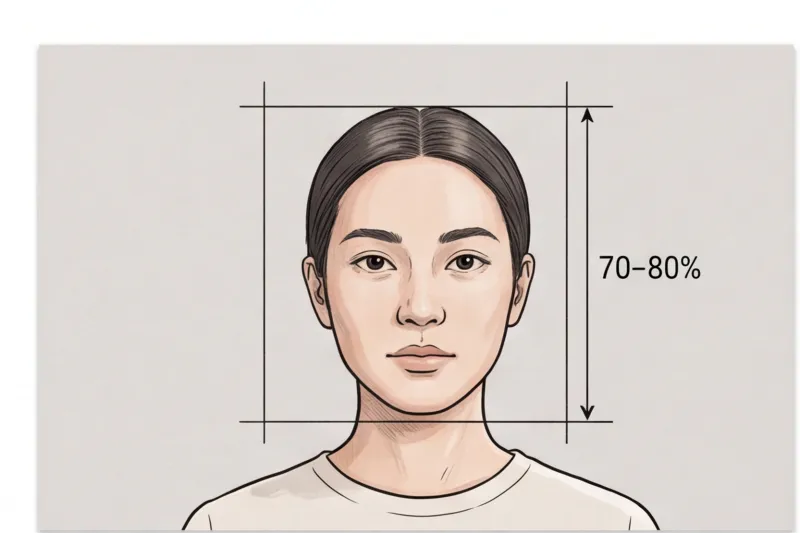
Head position is equally strict. Looking away from the lens, dropping your chin, or tilting your head compromises the biometric data. Your eyes and head must be perfectly level, with shoulders square and your face pointing straight at the camera. The face must fill a specific portion of the frame — roughly 70–80% of the frame height in most standards, though the exact head-height ratio is country-specific. If your head is off-centre or tilted, the image will be rejected for incorrect positioning.
Digital manipulation is another frequent cause for rejection. Under the ICAO Doc 9303 standard — the international blueprint for machine-readable travel documents — filters, digital beautification, and heavy retouching are entirely banned. The photo must accurately reflect your natural appearance and show natural skin tones. While removing a temporary blemish is generally acceptable, using smartphone filters that smooth skin texture, alter eye shape, or reshape the jawline will result in an invalid photo.
Finally, always ensure the photo is recent. The universal rule across nearly all authorities is that the photograph must have been taken within the last 6 months. Some specific visa applications even require a photo from the last 3 months. Attempting to recycle an old, flattering photo that no longer matches your current appearance is a fast track to rejection. By avoiding these common errors and using a professional compliance check, you secure a photo that meets all official criteria on the very first try.
What Are the Exact Passport Photo Requirements I Need?
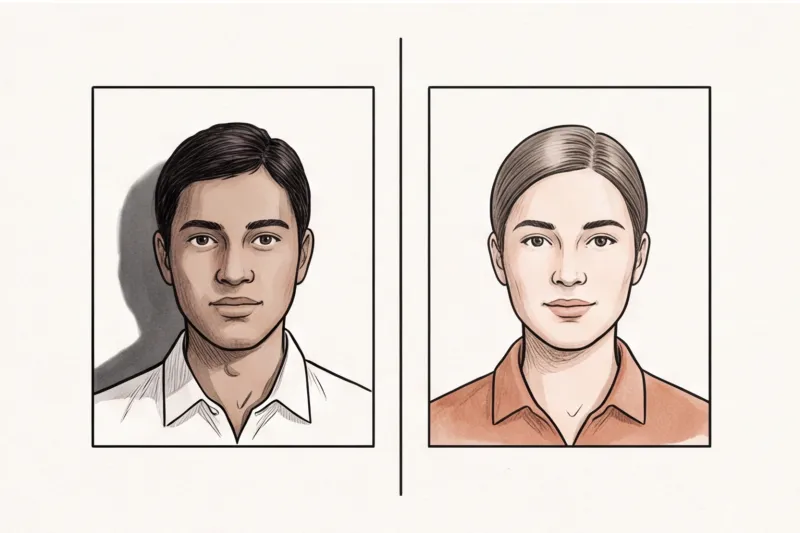
There is no single "global" passport photo size or specification. While most national requirements are derived from the international biometric standards established by ICAO Doc 9303, the precise dimensions, background colors, and formatting rules depend entirely on the country issuing your specific document.
In practice, assuming that one size fits all is a frequent cause for formatting rejections. Dimensions vary significantly across borders. For instance, the most widespread format is 35 × 45 mm, which is the standard for most of Europe, the UK, and Australia. In contrast, the United States Department of State strictly mandates a 2 × 2 inch (51 × 51 mm) square photo for U.S. passports and visas. Assuming a European photo will work for a U.S. application, or vice versa, guarantees your image will be cropped incorrectly.
Despite these differences in physical and digital dimensions, the fundamental biometric principles remain highly consistent. To ensure facial recognition systems can properly process your image, you must adhere to these universal rules:
- Neutral expression: You must keep your mouth completely closed and avoid smiling, frowning, or raising your eyebrows.
- Clear eye visibility: Both eyes must be fully open and looking straight at the camera lens. Your hair cannot fall over your eyes or obscure the outline of your face.
- Plain, uniform background: The backdrop must be light-colored (typically plain white or light grey) without any patterns, textures, objects, or visible shadows behind your head.
- Correct posture: Keep your head level (no tilting up, down, or to the side) and your shoulders square to the camera.
Beyond the outer borders of the image, the internal scaling is strictly enforced through a specific head-height ratio. Most authorities require your face (measured from the bottom of the chin to the crown of the head) to fill roughly 70–80% of the total frame height. If you stand too far back and your head is too small in the frame, or too close so that your chin or hair is cut off, the photo will fail the biometric check, even if the outer dimensions are perfectly cut.
Because these specifications dictate exact millimeter heights, digital pixel limits, and even specific file sizes for online portals, never rely on guesswork. We strongly advise you to check the exact technical specifications in the PhotoID24 catalog for your specific country and document before you begin. Matching the exact official requirement is the only way to ensure a seamless application.
Ready to prepare your document photo?
Skip the studio. Upload a selfie and get a professionally prepared photo that meets the official technical requirements in about two minutes.
Get startedHow Can I Print My Digital Passport Photo Nearby?
To print a digital passport photo nearby, generate a standard print template using a professional online service, then print that single sheet at any local pharmacy or photo kiosk for just a few pennies. If the specific country requires a physical print rather than a digital upload, this method safely bridges the gap between digital convenience and physical compliance.
Retail stores typically charge a high premium for their in-house "passport photo" service because an employee manually takes and aligns the picture. However, if you already have a verified, compliant digital file, you only need to use their standard printing hardware. By preparing your image with PhotoID24, you receive a digital file formatted for online submission alongside a standard print sheet containing multiple, identical passport photos. This sheet is already scaled to exact official requirements.
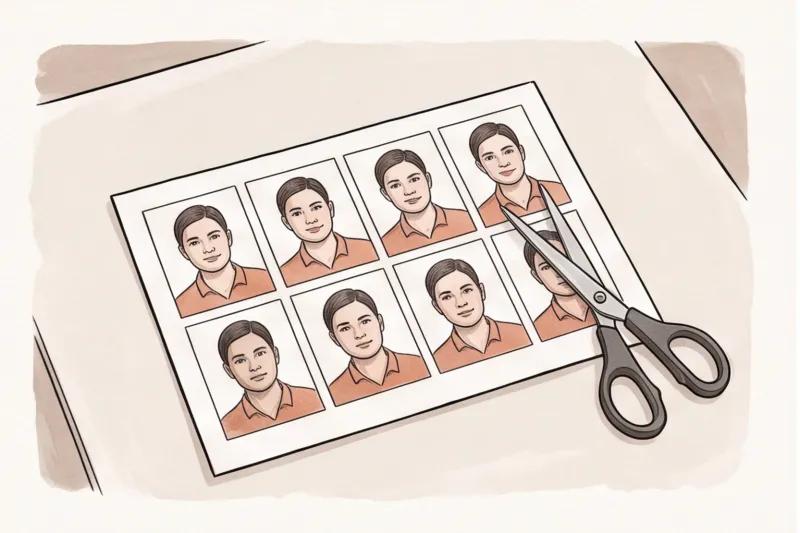
Take this ready-to-print template to your nearest local kiosk and upload it directly from your smartphone or a USB drive. Because the kiosk registers the template as a standard photograph, you bypass the premium manual service and pay only the standard print rate.
When operating the local photo kiosk, you must follow strict physical production rules to prevent application delays. In practice, print quality issues are a common reason photos are rejected. Keep the following technical guidelines in mind:
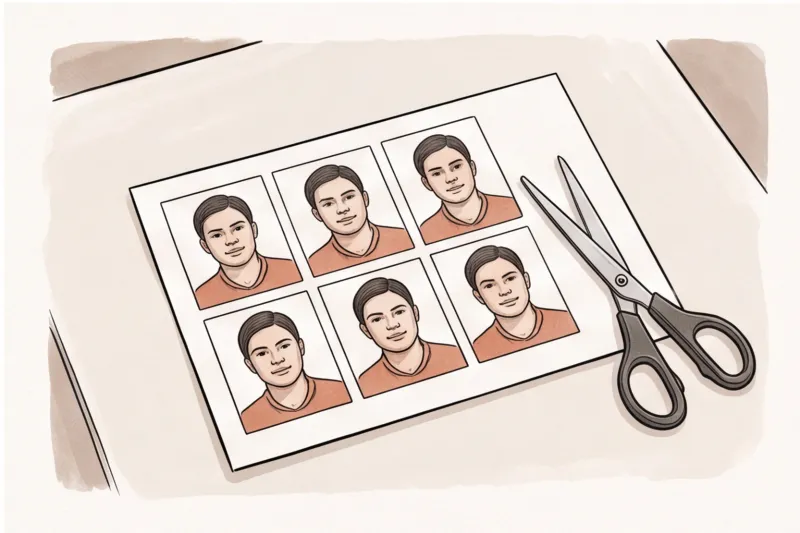
- Paper type: Always use high-quality photographic paper. Authorities will immediately reject photos printed on standard copy paper.
- Finish requirements: Check the official source for the country you are applying to. Some authorities explicitly demand a matte finish, while others require glossy.
- No automatic adjustments: Disable any "auto-correct" or color-enhancement features on the kiosk, as these can introduce an artificial color shift to your skin tones.
- Scaling and borders: Ensure the machine prints the template at exactly 100% scale. Do not allow the printer to add white borders around the image, as this alters the exact millimeter dimensions required for your document.
Step-by-Step Checklist: Getting Your Compliant Photo Right Now
Getting a compliant passport photo immediately requires only a smartphone, a window for natural daylight, a plain light-coloured wall, and a professional online service to properly format the result. By following five exact steps to capture the raw photo at home, you can bypass local store queues and ensure your final image meets strict international biometric standards.
In our practice, the vast majority of document photo rejections stem from basic physical setup errors before the picture is even formatted. To capture a flawless raw image that will easily pass official checks, follow this specific sequence:
- Step 1: Find a spot with even, natural lighting. Face a window during daylight hours so the light falls evenly across your face. Overhead room lighting is a frequent cause for rejection because it casts harsh, heavy shadows under the eyes, nose, and chin. The goal is flat, uniform illumination with no red-eye or heavy contrast on either side of your face.
- Step 2: Stand about half a metre away from a plain, light-coloured wall. Never lean your shoulders flat against the wall. Creating a slight distance between yourself and the background prevents your body from casting a visible drop shadow behind your head, which violates the universal requirement for a uniform, shadow-free background. Ensure the wall has no patterns, textures, or other objects in the frame.
- Step 3: Remove glasses, hats, and headphones. Glasses are a leading cause of application failure due to lens glare and frames obscuring the eyes. Today, authorities such as the U.S. Department of State and UK GOV.UK outright ban glasses in document photos. Unless you have a documented medical exception explicitly allowed by your specific country, take them off. Head coverings must also be removed unless worn for religious or medical reasons, in which case your full face must remain perfectly visible from the bottom of your chin to your forehead.
- Step 4: Maintain a neutral expression and look directly into the camera lens. Keep your mouth entirely closed and do not smile. Frowning, squinting, or raising your eyebrows alters your facial geometry and will fail biometric scanning. Ensure both eyes are fully open and look straight into the camera lens, not down at the smartphone screen. Your head must be perfectly level, with your shoulders square to the camera.
- Step 5: Upload your raw photo to a professional service. Do not attempt to manually crop the image to a specific size like 35×45 mm or 2×2 inches, as precise head-height ratios are strictly enforced and vary by country. Instead, upload your original picture to PhotoID24. The platform will automatically align your head, apply the precise country-specific crop, and check the image against official technical requirements.
Get your document photo in 2 minutes
Upload a normal selfie and receive a compliant document photo that meets the official technical requirements for your country and document — ready to print or submit online.
Make my photoBy delegating the complex formatting and technical checks to a dedicated platform, you eliminate the guesswork and digital manipulation errors that lead to delays. The final result is a precisely measured photo, guaranteed to meet the correct parameters for your specific application, ready for digital submission or local printing.
Frequently Asked Questions About Passport Photo Locations
You do not need to travel to a professional studio or retail store to get a valid document photo; government authorities fully accept photos taken at home, provided they meet strict biometric technical criteria. The official systems evaluating your application do not check the location where the photo was taken. Instead, they verify whether the lighting is even, the background is plain and light, and your head position is correct.
Do I need to go to a professional studio?
No, a professional studio is entirely optional. While standard retail locations and studios offer convenience for some, the international machine-readable travel document standard (ICAO Doc 9303) strictly governs the required outcome, not the photographer. As long as you maintain a neutral expression, keep both eyes clearly visible, and stand against a plain, uniform background without casting harsh shadows, your photo will be compliant. In practice, taking your own photo allows you multiple attempts to get the perfect shot without the pressure of a queue behind you.
Can a pharmacy fix a rejected photo?
Often, no. If a previous photo was rejected by a passport authority, taking it to a local pharmacy for correction is rarely effective. Most retail locations rely on basic, fixed pull-down screens and generic templates designed solely for one local document format. If your photo was rejected because of a subtle background shadow, glasses glare, or an incorrect head-height ratio, retail staff generally lack the specialized software and training to edit or rescue the file. By contrast, a professional online service adapts dynamically to the situation, correctly cropping and aligning the image to meet the specific requirements of the destination country.
How do I handle baby passport photos near me?
Searching for a local store to capture an infant's passport photo is often a frustrating experience. Local shops frequently struggle with newborns because babies cannot follow instructions, hold their heads upright, or maintain the required neutral expression. The bright, harsh fluorescent lighting in retail environments also makes infants uncomfortable.
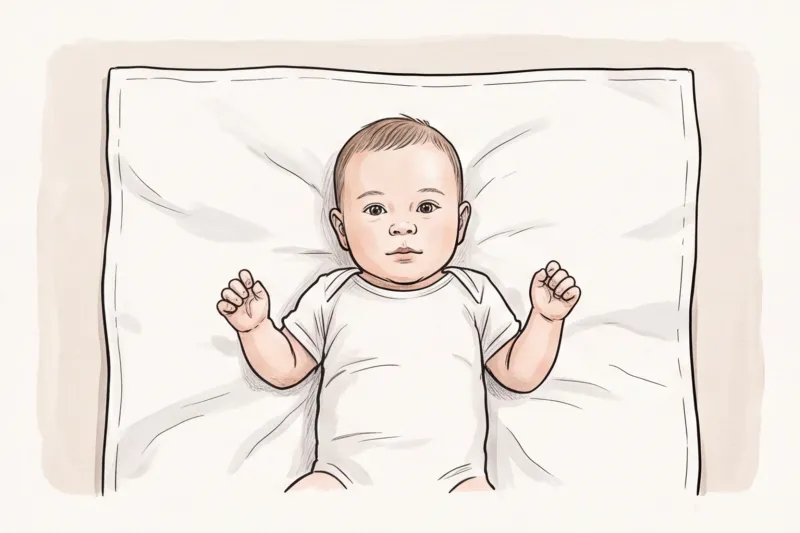
Taking baby passport photos at home is significantly less stressful and more likely to result in a compliant image. Simply lay the baby on their back on a plain white or light grey blanket, preferably on the floor near a large window for natural, even daylight. Stand directly over the infant to capture the photo. You must ensure that no hands supporting the head are visible in the frame, and absolutely no dummies, pacifiers, or toys are included. While many countries relax the strict "eyes open" and "neutral expression" rules for newborns, you must check the official authority of your specific country for exact exceptions.
The fastest solution for a "passport photo near me" is the one that prevents delays and puts you entirely in control of the timeline. Your most effective action today is to skip the local retail lines entirely. Find a well-lit space facing a window, remove any glasses or head coverings, and capture a clean, evenly lit image on your smartphone. You can then use PhotoID24 to automatically verify the technical rules, remove background shadows, and format the exact dimensions required for your specific country. Within minutes, you will have a fully compliant photo ready for immediate digital submission or local printing.