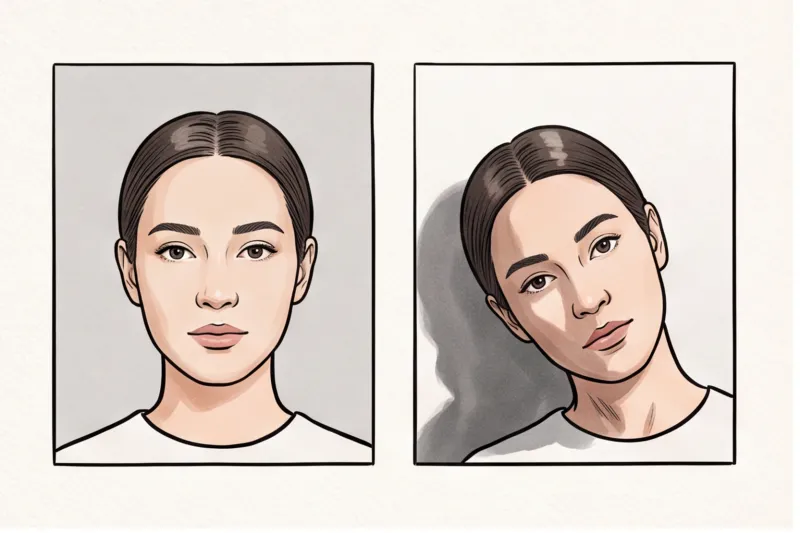
What Will Get a Passport Photo Rejected?
A modern passport photo is not a traditional portrait; it is a highly specific biometric dataset. When you walk through an automated border control gate, optical scanners map the precise facial geometry recorded in your document. Even minor deviations from the established biometric rules—such as a subtle shadow under your nose or a slight smirk—will cause an automatic rejection of your application. When reviewing passport photo examples that lead to these frustrating application denials, we consistently see the failures fall into three main categories: expression and posture, lighting and background, and technical quality.
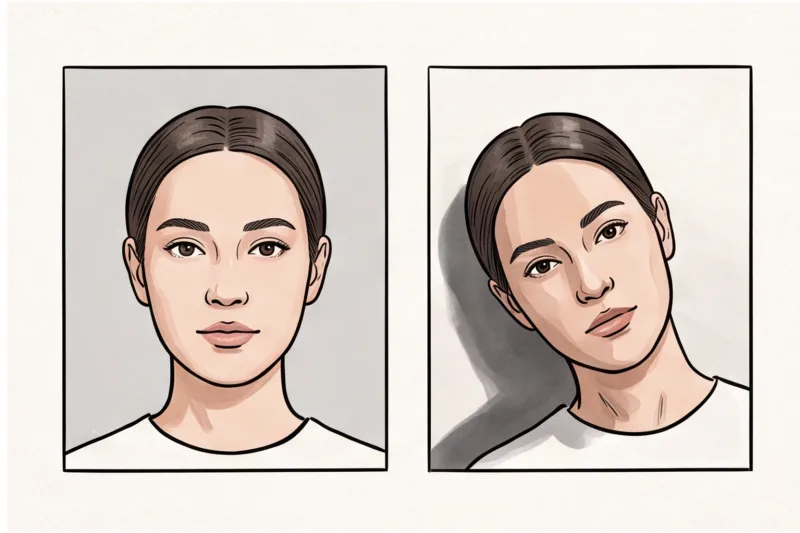
Before examining those categories, it is crucial to understand that the chronological age of the image is an immediate, non-negotiable disqualifier. Submitting an old photo that no longer matches your current appearance is a standard rejection reason explicitly enforced across global authorities, including the U.S. Department of State and the UK’s GOV.UK. As a universal rule, your photo must be taken within the last six months. If your appearance has changed significantly—due to substantial weight loss, facial surgery, or new permanent facial tattoos—you need a new photo even if the previous one is less than six months old.
These strict biometric thresholds are not arbitrary bureaucratic hurdles. They are defined by the international standard ICAO Doc 9303, a global framework that dictates exactly how governments worldwide must process machine-readable travel documents. For a deeper look into how these international standards apply across different borders, we cover the full requirements in the complete guide.
Examples of Expression and Posture Mistakes
Posture and expression rejections happen when your facial features cannot be mapped accurately by biometric software due to movement, emotion, or misalignment. In practice, the most frequent reason a photo is rejected in this category is a non-neutral expression.
A classic example of a rejected photo is one with a visible smile or an open mouth. While a smile makes for a great personal photo, it actively stretches your mouth, raises your cheeks, and narrows your eyes. This distorts the absolute distances between your core facial features, causing the automated facial mapping to fail. To pass, your expression must be completely neutral, with your mouth closed and your facial muscles relaxed.
Your eyes are the most critical anchor points for border control software. Both eyes must be completely open, clearly visible, and looking directly at the camera lens. If you are looking slightly away, half-blinking, or if your eyes are partially obscured by hair, the photo will not pass the initial scan.
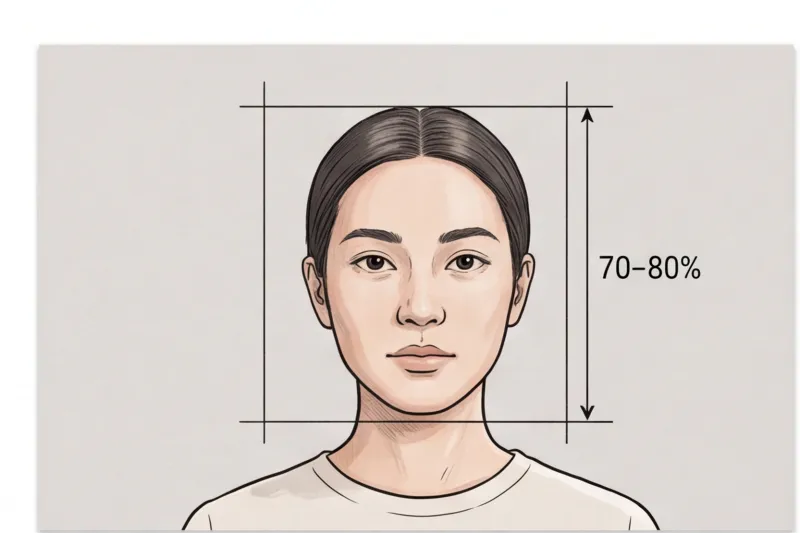
Furthermore, your posture must be perfectly straight. Your shoulders must be square to the camera, and your head cannot be tilted. Tilted heads—even if only slightly off-center—alter the critical head-height ratio. In most international standards, your face must fill roughly 70–80% of the frame height. If your head leans backward, forward, or to the side, this vertical proportion changes instantly, prompting the cropping software at the passport office to reject the image.
Examples of Lighting and Background Errors
Lighting and background mistakes trigger immediate rejections because they create false edges, confusing the software that attempts to isolate the natural outline of your head and shoulders.
Harsh shadows are among the most common errors when taking photos at home. Uneven light on the face—such as a bright window illuminating only one side of your face—or a visible, hard shadow cast behind your head on the background will result in a failed application. To a biometric scanner, a dark shadow under the chin or beside the nose registers as a physical facial deformity. The lighting must be even across your entire face.
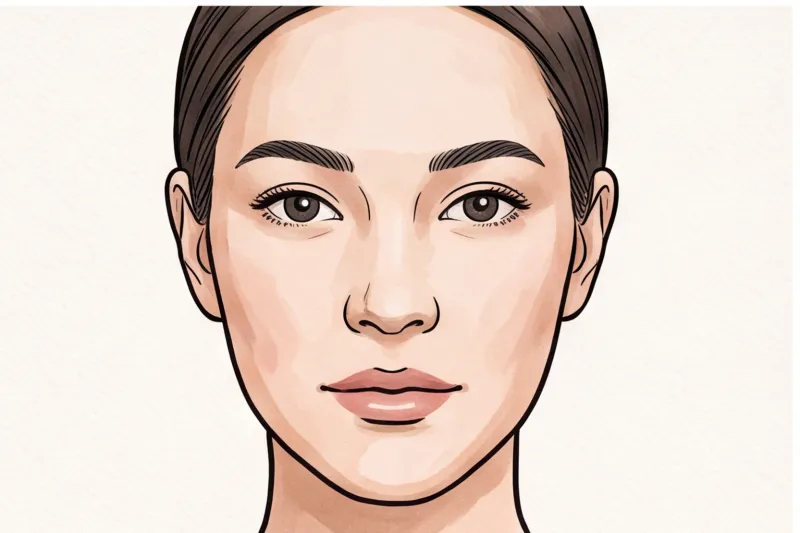
An incorrect background is another guaranteed point of failure. The background must be completely plain, light, and uniform. Most countries require a pure white or light grey backdrop. Textured walls, wood panels, wallpaper patterns, or household objects visible in the frame will cause a rejection. There can be absolutely no other people, hands, or pets in the shot.
Exposure and colour accuracy are equally scrutinized. Photos that are overexposed (too bright and washed out) or underexposed (too dark) fail to show your natural skin tones. A strong colour cast—often caused by warm yellow indoor light bulbs or blue light from a computer screen—violates the rule that the image must reflect your true, unedited appearance in natural daylight. Correct exposure ensures that your features are distinct and easily readable against the plain background.
Examples of Technical and Quality Failures
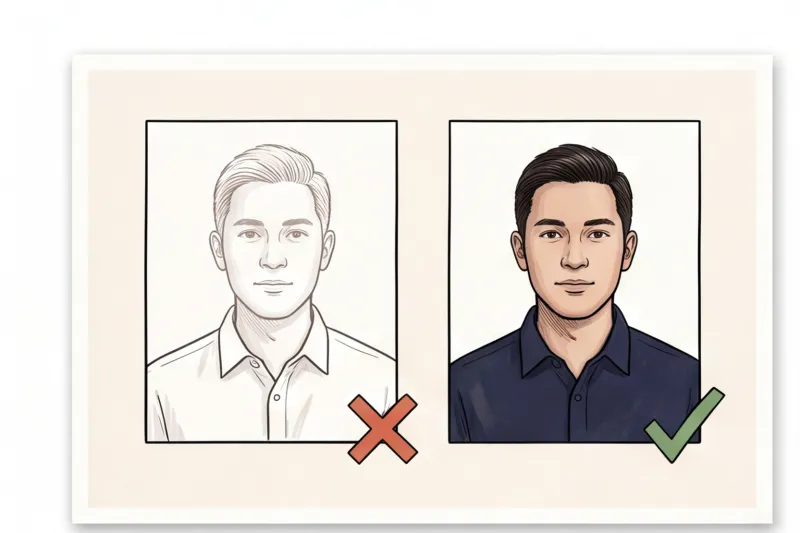
Even if you achieve perfect lighting and posture, your application will be denied if the technical file quality is poor or if the image has been digitally altered. The final submission must be a sharp, high-resolution, and highly accurate representation of reality.
Digital beautification is strictly prohibited by every passport authority. Using social media filters, airbrushing apps, or digital retouching software fundamentally corrupts the biometric data. While removing a temporary blemish like a spot might be tolerated in some jurisdictions, using software to reshape your face, slim your jawline, or enlarge your eyes means the photo no longer matches the real person standing at the border. Any obvious retouching leads to an instant ban of the photo.
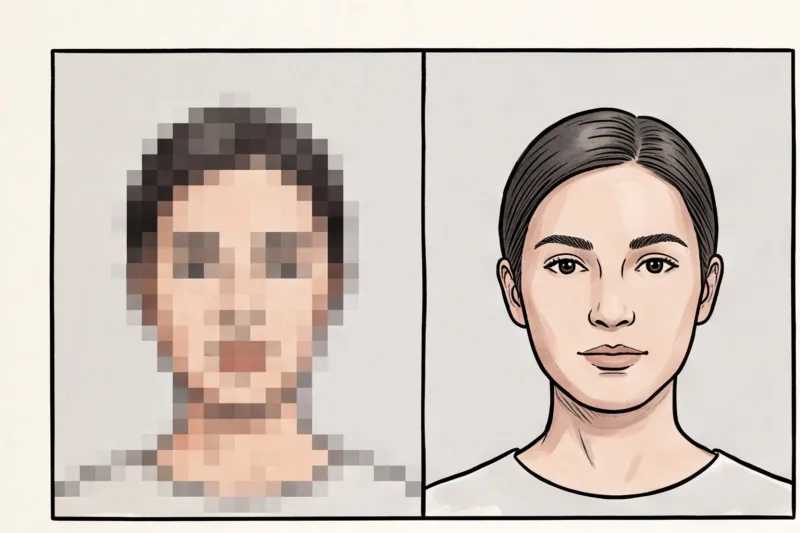
Blurry or pixelated images are another frequent point of failure. A lack of sharpness often occurs when an applicant digitally zooms in too far on a smartphone camera, reducing the resolution. Heavy JPEG compression can also create blocky digital artifacts around the high-contrast areas of your eyes and mouth. If your country requires a physical print, submitting it on standard plain copy paper instead of proper, high-quality photographic paper is an automatic rejection.
Finally, submitting a photo with the wrong dimensions or crop will stall your application. If you submit an image with an incorrect aspect ratio, or if the photo is cropped so that the top of your hair is cut off, it will fail. A compliant photo must have the exact required amount of headroom above the hair and chest below the chin, allowing the document processing software to frame your face correctly.
What Are the Rules for a Passport Picture? (The Correct Example)
A perfectly compliant passport photo is a sharply focused, evenly lit color image where you face the camera directly with a completely neutral expression against a plain, light background. While exact physical dimensions and pixel sizes differ by country, these core visual rules follow the universal biometric standards set by ICAO (Doc 9303) and apply to almost all global travel documents.
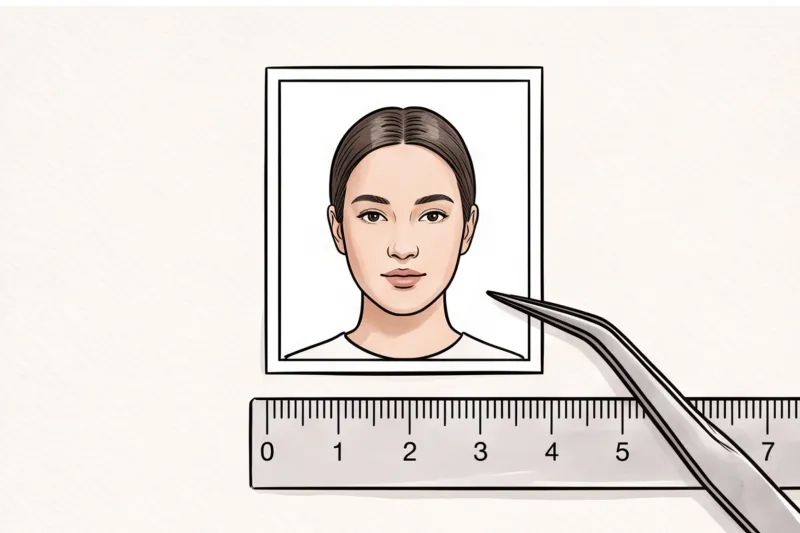
In practice, capturing the correct example means prioritizing biometric visibility over standard portrait aesthetics. To ensure your image meets the official technical requirements, follow this exact baseline:
- Posture: Keep your shoulders square, face straight to the camera, head centered, and eyes level. Do not tilt your chin up, down, or to the side.
- Expression: Maintain a completely neutral expression. Your mouth must be closed with no hint of a smile, and both eyes must be fully open, looking directly into the lens.
- Environment: Use a plain, light, and uniform background (typically white or light grey). The lighting must be even across your face, leaving no harsh shadows on your features or cast onto the wall behind your head.
- Visibility: Absolutely nothing must cover your face. Keep your hair tucked behind your ears or styled so that it does not obscure your eyes or the outer outline of your cheeks and jaw.
Because precise head-height ratios and exact print resolutions (such as 300–600 DPI) vary depending on the issuing authority, we cover the specific metrics for each nation in our complete guide.
Get your document photo in 2 minutes
Upload a normal selfie and receive a compliant document photo that meets the official technical requirements for your country and document — ready to print or submit online.
Make my photoWhat Are the Passport Photo Requirements for Makeup?
Yes, you can wear makeup in a passport photo, provided it does not alter your fundamental facial features or change your natural skin tones. Biometric software must be able to map your actual face shape, meaning a light, everyday look is perfectly acceptable, while transformative makeup is prohibited.
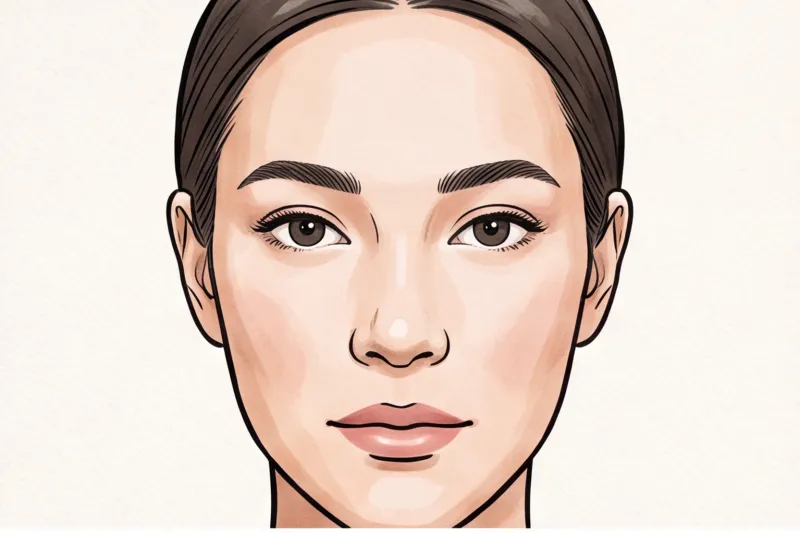
In practice, heavy contouring is a frequent cause of rejection because it artificially changes the appearance of your bone structure. Similarly, drawing on fake freckles, overlining lips, or applying thick eyeliner that alters the shape of your eyes will cause the official facial mapping scan to fail. Biometric standards dictate that the photo must reflect your true appearance, free from both physical alteration and digital beautification.
Opt for a minimal, natural look instead of glamorous styling. Use foundation that matches your true complexion to ensure natural skin tones are visible, and avoid heavy highlighters that can create artificial glare or reflections under lighting.
Keep in mind the practical reality of traveling: border agents will compare the passport picture to the person standing directly in front of them. Severe discrepancies between a heavily made-up photo and your everyday travel appearance routinely cause confusion. This kind of mismatch can lead to secondary screening and unnecessary delays at passport control. The safest approach is an everyday look that accurately represents your face.
Glasses, Hair, and Head Coverings: Tricky Edge Cases
Accessories and hair must never obscure your facial features or alter the biometric mapping of your face. To avoid automatic rejection, remove your glasses, keep hair tucked away from your face, and only wear head coverings if you have a valid religious or medical exemption.
Glasses: We strongly advise removing your glasses entirely. They are increasingly banned for passports and ID cards across the globe; for example, they are strictly prohibited in most EU and UK passports, as well as United States travel documents. If your specific country allows them for a documented medical reason, there must be zero glare on the lenses, no tint whatsoever, and the frames cannot cover any part of your eyes.
Hair: Voluminous hair is perfectly fine, but it must not cover your face or eyes. In practice, very large hairstyles can complicate the strict head-height measurement required by a country's standard. To ensure your face can be properly cropped to fill the frame, push your hair back so the clear outline of your jaw and cheekbones remains completely visible.
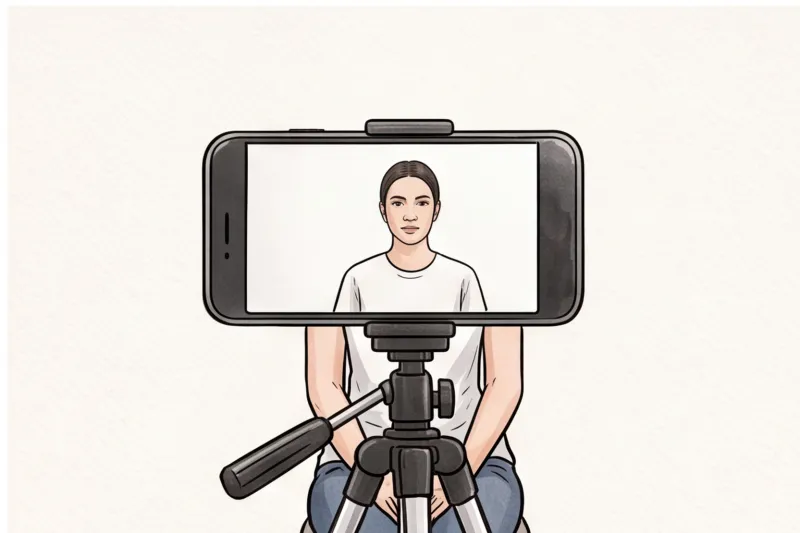
Head Coverings: Standard hats, caps, and large headbands are not allowed. Head coverings are only permitted for documented religious or medical reasons. If you wear one, your full face — from the bottom of your chin to your forehead — must be clearly visible, and the fabric must not cast any shadows on your skin.
Because medical and disability exceptions (such as the use of medical devices or the inability to open both eyes) vary by national authority, always check the specific exception rules of your destination country rather than assuming a universal standard.
Ready to prepare your document photo?
Skip the studio. Upload a selfie and get a professionally prepared photo that meets the official technical requirements in about two minutes.
Get startedHow Do I Make a 2x2 Photo for My Passport?
To make a 2x2 inch (51x51 mm) passport photo, you must format your image to meet the exact dimensional and pixel requirements set by the U.S. Department of State, avoiding manual edits that frequently cause border control scanners to reject the file.
It is important to clarify that there is no single global passport photo size. The 2x2 inch format is highly specific to the United States and a few other document types (such as the Indian visa). If you are applying for documents in the UK, Australia, or most of Europe, the required dimensions are entirely different — commonly 35x45 mm.
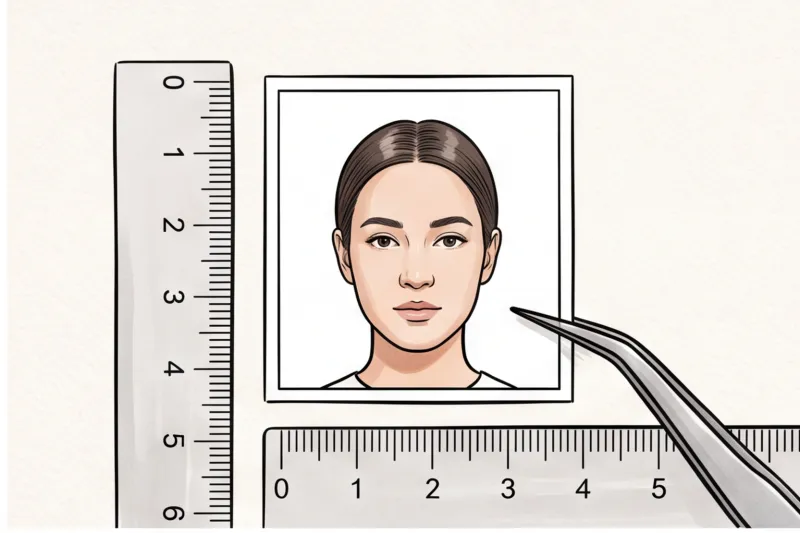
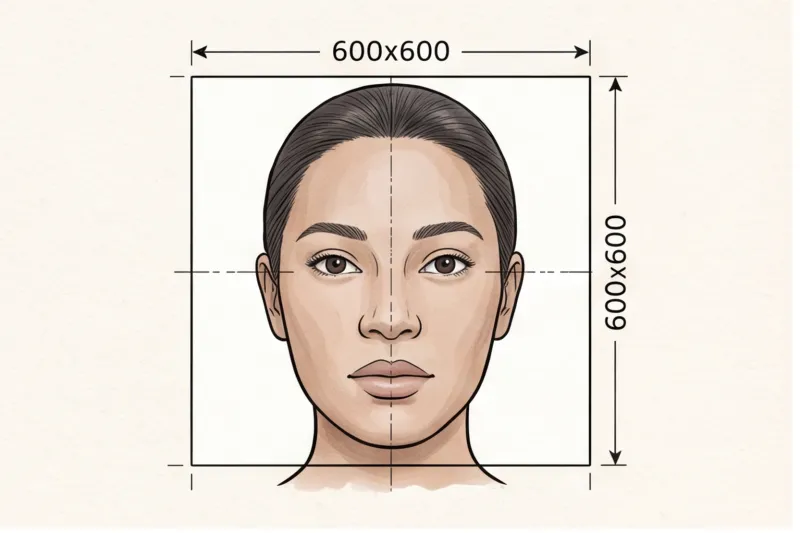
When trying to prepare a US passport photo at home, achieving the correct crop is notoriously difficult. The U.S. specifications mandate a precise head-height ratio where your face must fill roughly 70–80% of the frame. Furthermore, if you are applying through an online channel, the digital photo must be a minimum of 600 x 600 pixels. Manually cropping a photo to satisfy both the head-size ratio and the required digital pixel limits without stretching the image or cutting off essential headroom is a leading cause of the dimension rejections discussed earlier.
Instead of struggling with complicated photo editing software, you can use PhotoID24. Simply upload a standard selfie that follows the lighting and expression rules. Our professional service will automatically crop, size, and format it to meet the exact official technical requirements for your chosen country in minutes. To see the full specifications or to prepare your image right now, visit our US passport photo page.
Common Misconceptions About Passport Photos
Many passport photos are rejected because applicants rely on widespread myths about smartphone features, backgrounds, and printing rules. Misunderstanding these technical elements often leads to accidental violations of biometric guidelines.
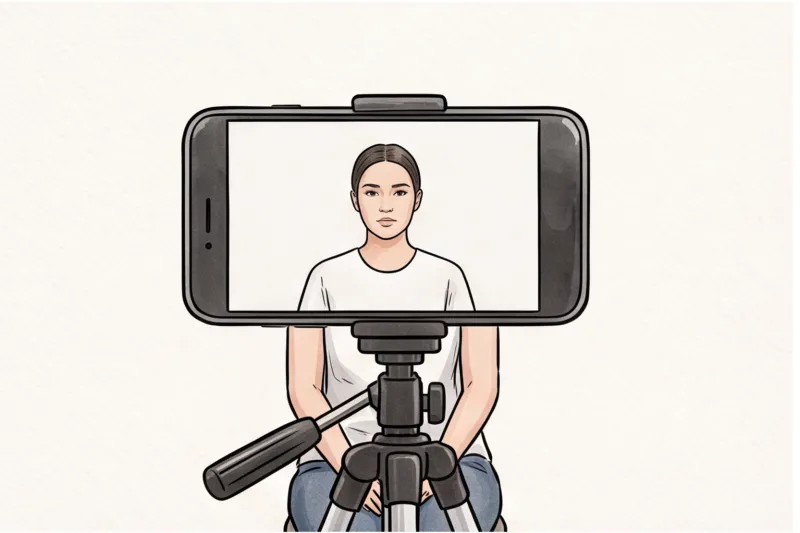
- Myth: Smartphone 'Portrait Mode' makes a better passport photo.
Reality: In practice, the artificial background blur applied by portrait modes alters the precise outline of your head, hair, and ears. This violates the strict universal rule against digital manipulation. You must use a standard camera setting so the entire image remains in sharp focus. - Myth: Any white wall works perfectly.
Reality: While a plain, light background is required, standing too close to the wall or using a direct camera flash will cast a hard shadow behind your head. Shadows on the background cause automatic rejection. To fix this, step slightly away from the wall to allow for even, ambient lighting. - Myth: 'I need to print this on a specific machine.'
Reality: Whether you need a digital file or a physical print depends entirely on the country's specific submission channel. For example, many online applications strictly require a digital photo, while offline routes require exact physical prints on specific photo paper. Always verify the format with the destination country's official source, such as the U.S. Department of State or GOV.UK.
Get your document photo in 2 minutes
Upload a normal selfie and receive a compliant document photo that meets the official technical requirements for your country and document — ready to print or submit online.
Make my photoThe Ultimate Pre-Submission Checklist
Before you attach a physical print or upload a digital file to your passport application, you must verify that the image meets strict biometric parameters. A rigorous final check against five core requirements is the most effective way to prevent your application from being automatically flagged and rejected by passport processing systems.
In practice, reviewing your photo logically—from the surrounding environment to your specific facial features—catches the subtle errors that a quick glance at a smartphone screen often obscures. Run through this final, actionable checklist before you submit your documents:
- Is your expression perfectly neutral? Both eyes must be fully open and looking directly at the camera lens. Your mouth must be closed with no visible smile, frown, or raised eyebrows. If your teeth are showing, the photo will fail.
- Is the background plain and light? The area behind your head must be uniform, typically white or light grey depending on your specific country's requirement. There must be no textures, wall patterns, visible objects, or other people in the frame.
- Are there zero shadows? Lighting must be even across your entire face. Check the sides of your nose and under your chin for harsh shadows, and ensure there is no visible drop-shadow cast onto the wall behind your head.
- Are your glasses removed? Because many major authorities—including the U.S. Department of State, GOV.UK, and most EU passport offices—have completely banned glasses in standard document photos, taking them off is the safest and most reliable approach. Unless you have a documented medical exemption that your specific country explicitly allows, remove them entirely to avoid automatic rejection due to glare or frame obstruction.
- Was the photo taken within the last 6 months? Your picture must accurately reflect your current appearance. Using an older photo, even if you feel you look exactly the same, is a frequent cause of rejection if the border agency notices discrepancies or cross-references the image date.
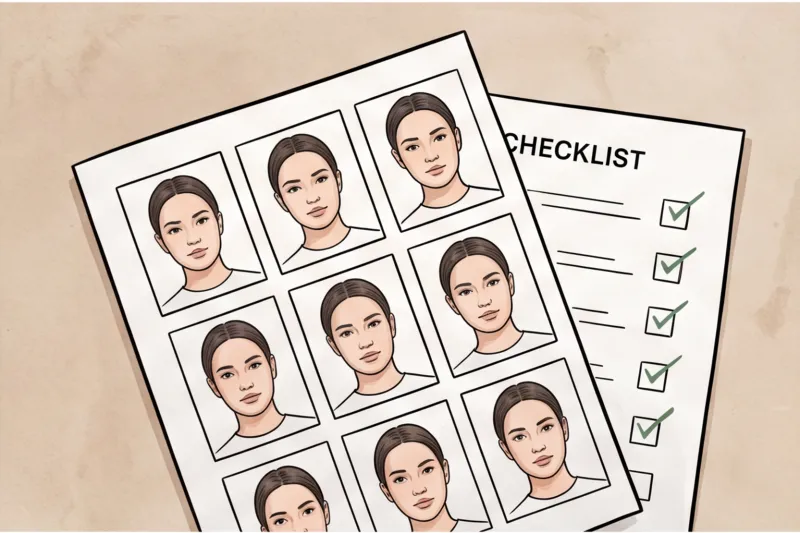
Do not just look at the overall picture; inspect the technical details. Zoom in on your eyes: the irises should be sharply in focus, and you should not see heavy pixelation or digital artifacts. If you are printing the photo at home, ensure you use high-quality photo paper—matching the glossy or matte requirement of your destination country—rather than plain copy paper, which will immediately fail technical quality checks. Finally, confirm that you have not applied any digital filters or smartphone beauty enhancements, as these permanently alter your facial geometry.
A rejected photo does not just mean taking another picture; it halts your entire application process. Depending on the issuing authority, a single biometric failure can result in weeks of delay and missed travel deadlines.
Get a Guaranteed Passport Photo
Don't risk application delays. Use PhotoID24 to get a photo checked against official rules, correctly sized, and ready for digital submission or printing in minutes.
Make Your Passport Photo Now