What is the Cheapest Way to Get a Passport Photo?
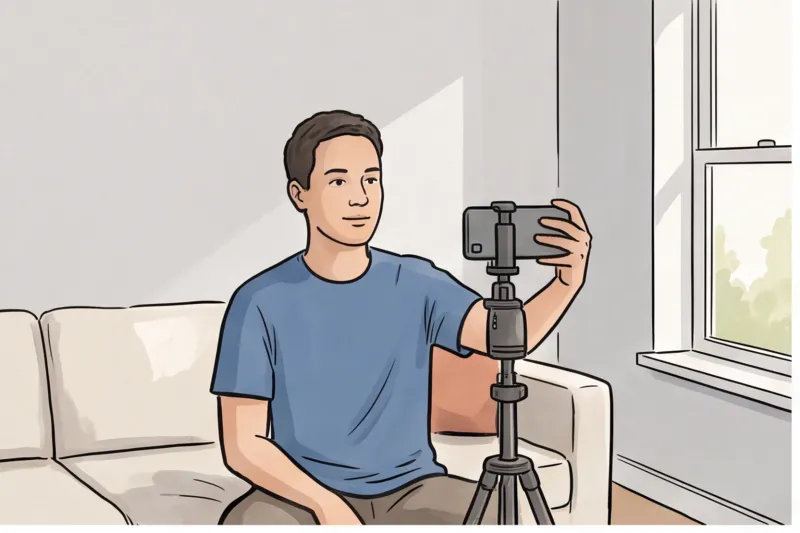
The cheapest passport photo is the one you take at home with your smartphone and process through a professional online service to ensure it meets strict official standards. Instead of paying premium prices at a photography studio or waiting in line at a local pharmacy, taking your own picture combines a zero-cost camera — the one already in your pocket — with a low-cost, highly accurate digital formatting tool.
However, when calculating expenses, you must remember that the true cost of a document photo is rarely just the initial price tag. The real expense lies in the cost of technical compliance. A completely free, do-it-yourself cropping tool might seem like a bargain, but it will not reliably verify international biometric standards. In practice, a rejected photo triggers significant hidden costs: it leads to delayed travel plans, wasted time spent re-shooting, and potentially lost application fees. We break down the differences between retail, studio, and digital processing expenses in our complete guide on passport photo costs.
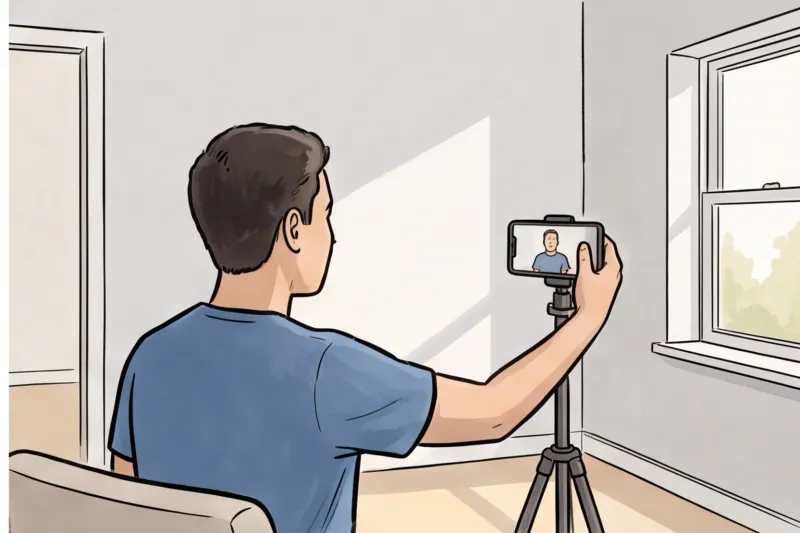
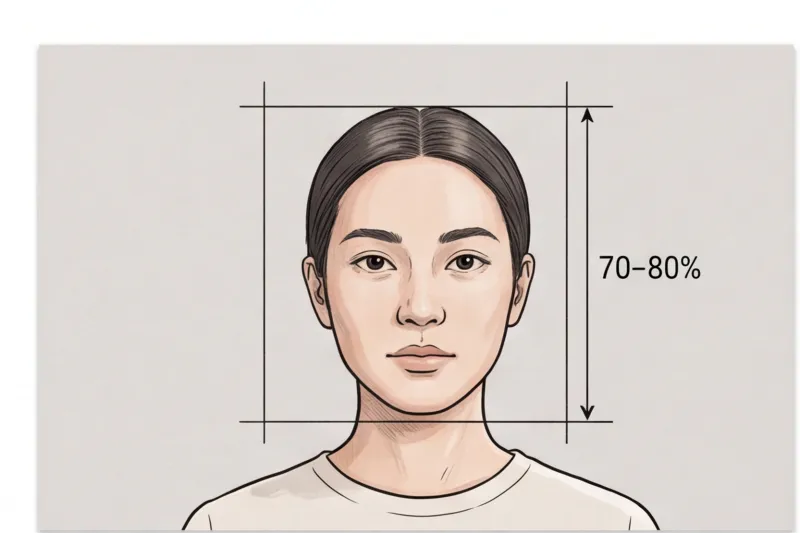
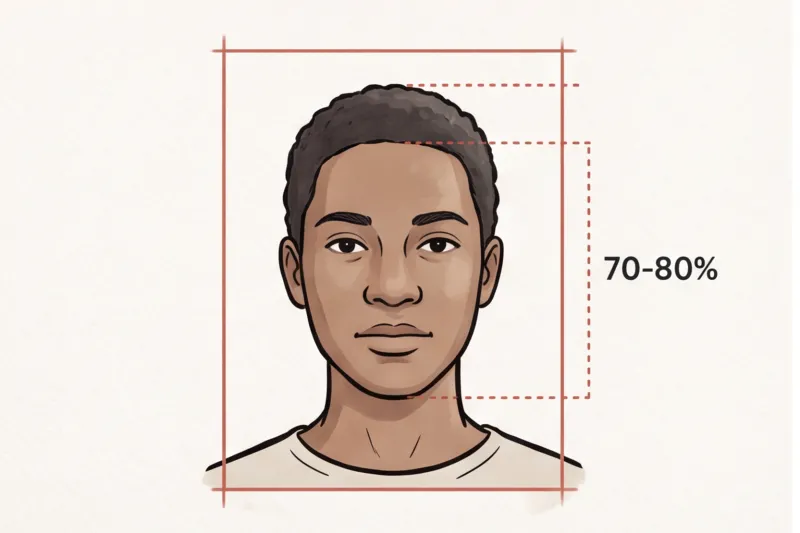
To avoid these expensive mistakes without paying high studio rates, you need a process that formats your image correctly the first time. Our service, PhotoID24, offers a professional, fast solution. You simply upload a normal selfie, and we convert it into a compliant document photo in minutes. Instead of guessing if your face fills the required 70–80% of the frame or if your lighting is sufficiently even, our platform formats the image to meet the official technical requirements for your specific country and document. It is the most reliable way to keep your upfront costs low while entirely eliminating the financial risks of a rejected application.
Why 'Free' DIY Passport Photos Often Cost More in the End
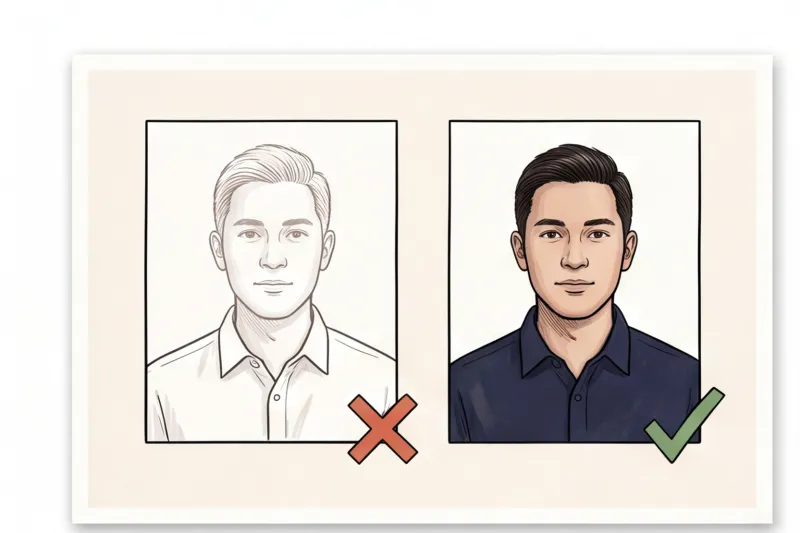
Relying on a completely free DIY photo resizer is a false economy because these basic tools cannot verify strict biometric compliance. When an unverified photo is rejected, you face delayed travel, lost application fees, and the cost of retaking the photo, making the "free" option much more expensive overall.
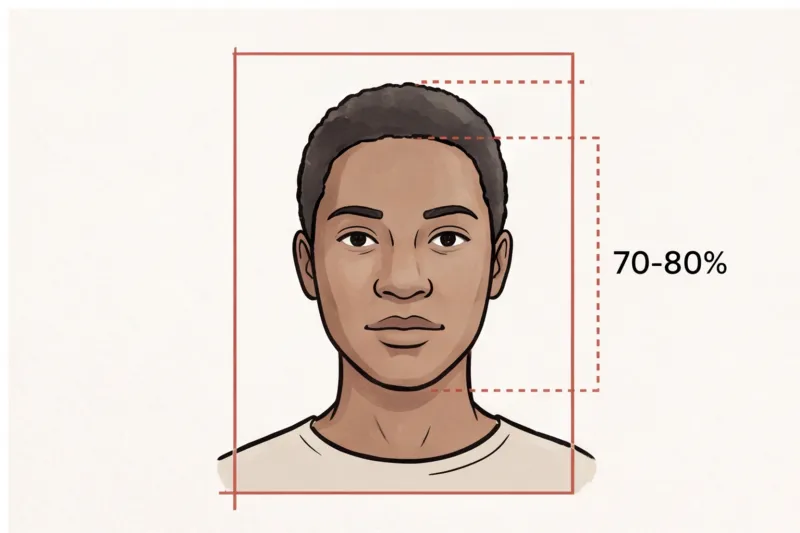
In practice, incorrect head-height ratios and digital manipulation (such as applying filters) are top reasons DIY photos fail. People often assume that cropping an image to a generic size is enough. However, a proper document photo must adhere to specific proportions. For example, most international standards mandate that the face fills roughly 70–80% of the frame height. Free automated resizers simply chop the image to a dimension; they do not calculate the exact head size, verify the correct aspect ratio, or check if your background is uniformly light without shadows.
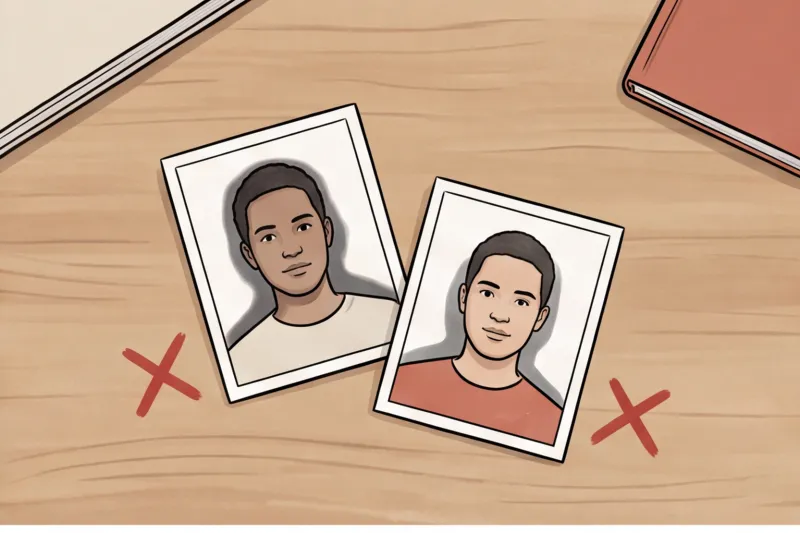
Furthermore, many free mobile apps encourage users to use beautification features to improve a standard selfie. Any obvious retouching or reshaping of facial features violates international biometric rules. Official authorities, like the U.S. Department of State or the UK's GOV.UK, enforce strict standards derived from ICAO Doc 9303. A basic free tool will not cross-reference your image against these rigorous technical requirements. We cover the full financial impact of these mistakes in our complete guide to passport photo costs.
When a passport office rejects your self-made photo, the consequences are stressful. You must immediately source and pay for a new, compliant photo. In many cases, you also risk losing your initial application fees and significantly delaying your urgent travel plans. Securing technical compliance from the very beginning is the only way to avoid these hidden costs.
Get your document photo in 2 minutes
Upload a normal selfie and receive a compliant document photo that meets the official technical requirements for your country and document — ready to print or submit online.
Make my photoHow Do Pharmacy and Studio Costs Compare?
Traditional photography studios charge the highest rates for their dedicated lighting and expertise, while retail pharmacies offer mid-tier pricing using basic setups. An online photo service is significantly cheaper than both because it eliminates physical retail overhead while maintaining professional compliance checks.
Professional studios provide a premium service. They use controlled environments to guarantee even lighting, completely avoiding the harsh shadows on the face or background that frequently cause official rejections. However, you are paying a premium for the photographer's time, specialized equipment, and rent. When evaluating traditional pricing models, a dedicated studio remains the most expensive route.
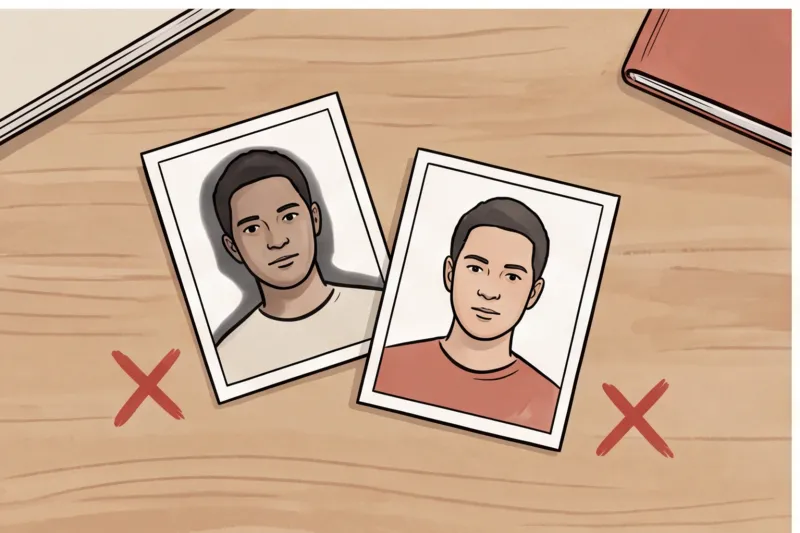
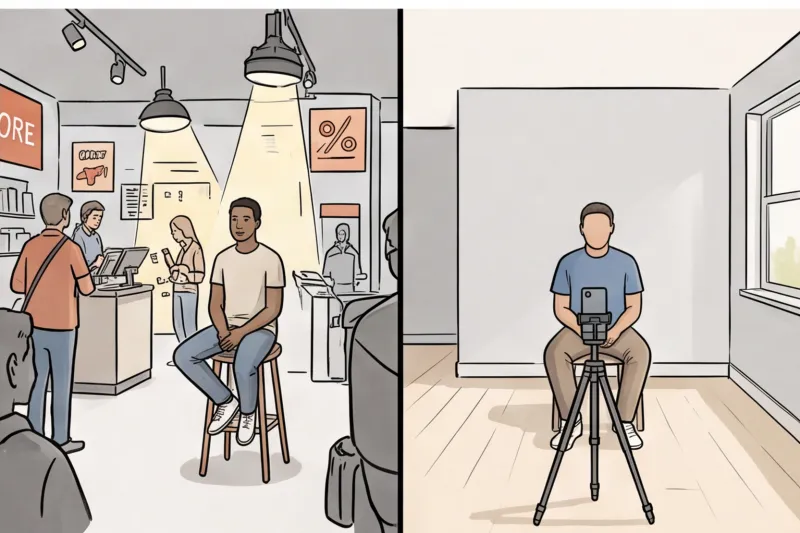
Retail stores and pharmacies sit in the middle of the price spectrum. While more affordable upfront than a studio, they rely on simple point-and-shoot cameras positioned in highly trafficked aisles. In practice, the staff operating the camera are busy retail workers, not trained photography experts. They often shoot against a basic pull-down screen under standard overhead fluorescent lights. This generic lighting environment can inadvertently cause unwanted glare, uneven exposure, or a colour cast on the final print — all common technical reasons for application delays.
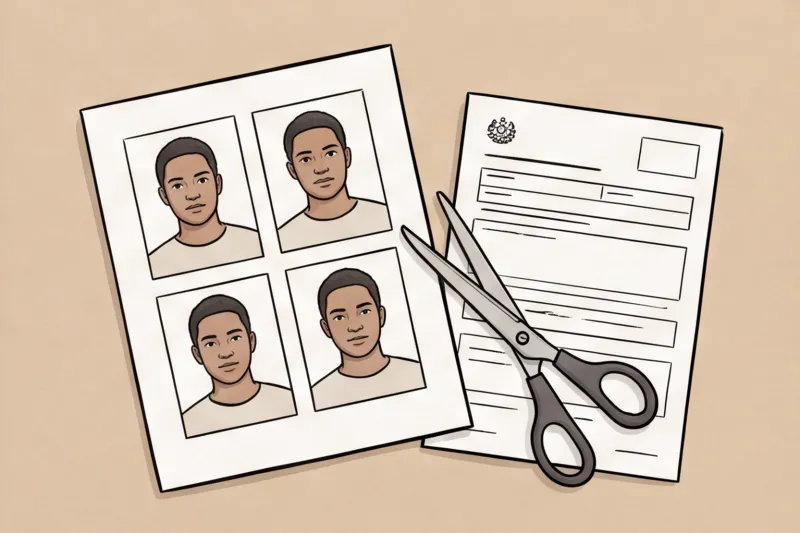
Comparing these physical methods to a modern online service reveals the true cost difference. Getting a photo at a store requires driving, finding parking, and waiting in line, which incurs hidden time and travel expenses. By capturing the image at home and processing it through PhotoID24, you bypass retail markups entirely. Your image is professionally formatted to meet official technical requirements in minutes, making the at-home online route the cheapest passport photo option overall.
How to Take Your Own Passport Photo at Home (To Save Money)
To take your own passport photo at home and save money, stand facing a window for even natural lighting against a plain, light background. Maintain a neutral expression with your eyes open and mouth closed, ensure the picture reflects your appearance from the last six months, and use a professional service to format the raw image to official biometric specifications.
In practice, a typical mistake when shooting at home is standing directly under a ceiling light, which casts harsh shadows under your eyes, nose, and chin. Instead, face a window during daylight hours so the natural light falls evenly across your face. Stand about half a meter away from a plain, light, uniform background — typically a white or light grey wall. Ensure there are no patterned wallpapers, textured surfaces, visible shadows, objects, or other people in the frame.
To meet universal biometric photo principles, the camera must capture your facial features without distortion. Face straight to the camera with your head centred, keeping your shoulders square and your camera at eye level. You must hold a completely neutral expression: mouth closed, no smiling, no frowning, and both eyes fully open and looking directly at the lens.
When it comes to accessories, the default guidance is to remove your glasses entirely. Glasses are increasingly banned for passports in many countries due to the high risk of lens glare, tinted reflections, or frames covering the eyes. Additionally, ensure your hair does not obscure your eyes or the outline of your face. Bear in mind that official rules require the photo to be recent — generally taken within the last 6 months — so it accurately matches your current appearance.
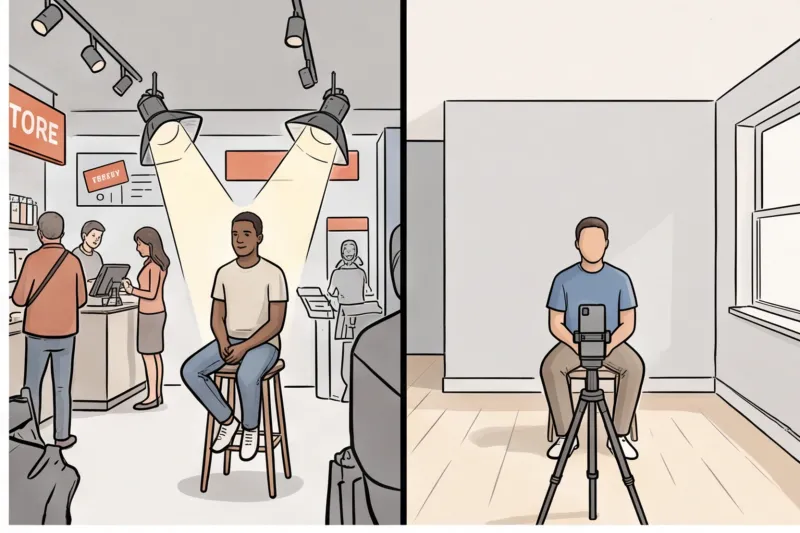
Once you capture a sharp, well-lit image on your smartphone, do not attempt to guess the required cropping. There is no single global size; the U.S. Department of State requires a 2 × 2 inch (51 × 51 mm) format, while most European countries mandate 35 × 45 mm. Attempting to crop this manually often leads to an incorrect head-height ratio and subsequent rejection.
Ready to prepare your document photo?
Skip the studio. Upload a selfie and get a professionally prepared photo that meets the official technical requirements in about two minutes.
Get startedBy uploading your raw photo to our service, PhotoID24, the complex sizing and compliance checks are handled for you. We automatically format your image to the exact country specification, delivering a professional result that meets the official technical requirements in minutes.
Digital vs. Printed: Does Submission Type Affect the Price?
Yes, the required submission format directly impacts your total cost. Paying for physical prints when your application only requires a digital upload is an unnecessary expense that inflates the price of your passport photo.
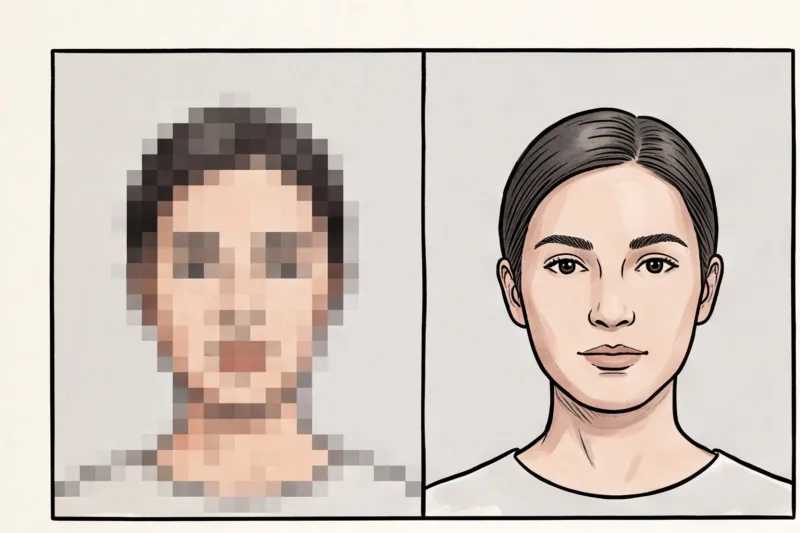
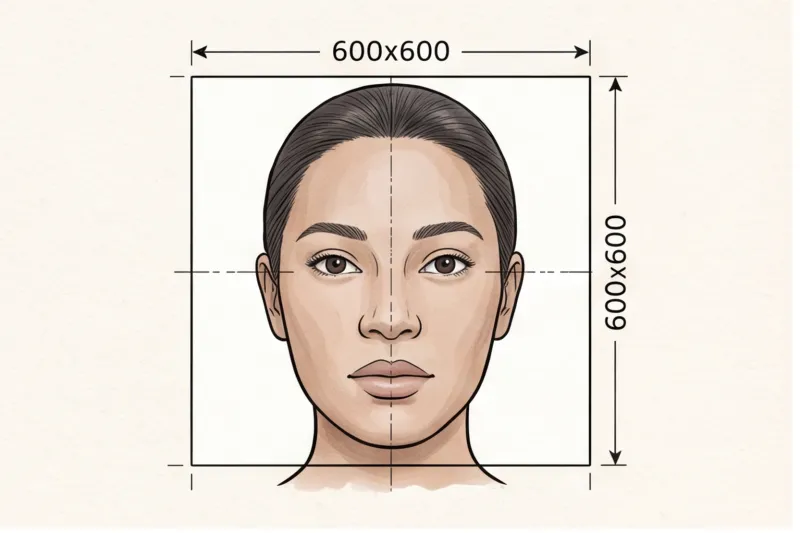
Many immigration authorities now accept, or even strictly require, digital photos for online applications. Because submission rules are highly country-specific, always verify the format with your destination country's official authority. For instance, the UK's GOV.UK has a dedicated digital photo pathway, while the U.S. Department of State requires specific digital dimensions (a minimum of 600 × 600 pixels) and strict file-size limits for online visa applications. If you only need this digital file, buying a physical print set from a retail store wastes money.
Conversely, if a printed photo is officially required, cutting corners can lead to costly application delays. In practice, one of the most frequent technical quality rejections happens when applicants print their photo at home on standard plain paper. Official standards demand high-resolution prints on proper photographic paper, utilizing either a matte or glossy finish as dictated by that specific authority's rule.
Using our service, PhotoID24, is the most cost-effective way to navigate these different requirements. We process your image to meet the official technical requirements, delivering a compliant digital file ready for immediate online submission. If your specific document requires physical copies, the service also includes a free print sheet layout. This ensures you have exactly the format the government demands, without paying for retail extras you do not need.
Common Mistakes When Trying to Cut Costs on Document Photos
Trying to cut costs on document photos often backfires when applicants reuse old images, print on standard office paper, apply digital filters, or guess the required dimensions. These shortcuts almost always lead to application rejection, turning a cheap attempt into an expensive delay.
A frequent myth is that you can just use an old passport photo you already have saved on your computer. In reality, official authorities mandate that photos must be recent — typically taken within the last 6 months. The image must reflect your current appearance, and immigration systems are designed to flag outdated pictures.
Another common mistake happens at the printing stage. Attempting to save money by printing your file on regular printer paper will result in immediate rejection. Photos must be printed on proper, high-quality photo paper. Whether it needs to be matte or glossy depends entirely on the specific country's official requirement, but standard office paper lacks the required resolution and durability.
When shooting at home, many people try to 'fix' poor lighting by using digital beautification or heavy retouching on a free mobile app. This is a critical error. While the camera must capture a sharp image, reshaping the face, smoothing skin, or applying cosmetic filters alters your core biometric features and guarantees rejection.
Finally, never guess the dimensions. There is no single global passport photo size. For instance, the United States requires a 2 × 2 inch (51 × 51 mm) format, while most of Europe, the UK, and Australia use a 35 × 45 mm standard. Using a generic 'passport size' template often yields the wrong overall dimensions and an incorrect head-to-frame ratio.
Get your document photo in 2 minutes
Upload a normal selfie and receive a compliant document photo that meets the official technical requirements for your country and document — ready to print or submit online.
Make my photoConclusion: Get a Compliant Photo Without Overspending
The cheapest passport photo is ultimately one that balances a low upfront cost with a strict guarantee of technical compliance. While completely DIY methods might seem free initially, the hidden financial risks of a rejected application — such as wasted processing fees, expedited shipping charges for delayed travel, and the inevitable cost of a redo — quickly turn a free attempt into an expensive mistake. The true cost-saving measure is ensuring your picture aligns perfectly with international biometric standards on the very first try.
To keep your expenses down, you need to avoid the traditional, high-priced avenues. Professional photography studios demand premium rates to cover their commercial rent, specialized lighting setups, and dedicated staff time. On the other hand, retail pharmacies and post offices offer a mid-tier price but come with their own frustrations. Opting for these locations means you must carve out time to travel, navigate parking, and endure the stress of pharmacy queues, only to be photographed in a busy retail aisle by staff who are not professional document-photo specialists. Factoring in travel time and fuel, these physical locations add invisible premiums to your document application.
Instead of overpaying at a studio or standing in line at a store, you can take control of the process today. Start by verifying the exact specifications demanded by your destination's government. For example, if you are applying in the United States, the U.S. Department of State requires a 2 × 2 inch (51 × 51 mm) image. If you are applying for a UK or Schengen document, national ministries typically mandate a 35 × 45 mm format based on ICAO Doc 9303 guidelines.
Here is a concrete action plan you can execute right now to get your photo sorted at home:
- Prepare your space: Find a plain, light-coloured wall (white or light grey) facing a window. This ensures even, natural lighting without harsh shadows on your face or the background.
- Check your appearance: Remove any glasses (as they are increasingly banned by many passport authorities), ensure your hair does not obscure your eyes or face outline, and maintain a neutral expression with your mouth closed.
- Take the shot: Have someone take the picture with a smartphone from about chest height, ensuring your head and shoulders are square to the camera.
- Process it professionally: Do not rely on generic, free cropping tools that ignore critical country-specific rules like mandatory head-height ratios or background uniformity.
This final step is where our professional service bridges the gap between home convenience and official standards. You can use PhotoID24 to bypass the complexity entirely. You simply upload your standard smartphone photo, and our system processes it in minutes. We automatically adjust the dimensions, remove non-compliant backgrounds, and scale the image so your face fills the exact required percentage of the frame (usually 70–80%, depending on the country).
By taking your photo at home and processing it through our platform, you receive an image that meets the official technical requirements for your specific document. Whether you need a digital file sized correctly for online submission or a free print sheet layout for physical copies, getting it done professionally online eliminates the guesswork. Skip the expensive studios, avoid the chaotic pharmacy lines, and let PhotoID24 transform your normal selfie into a perfectly formatted, official-ready document photo today.