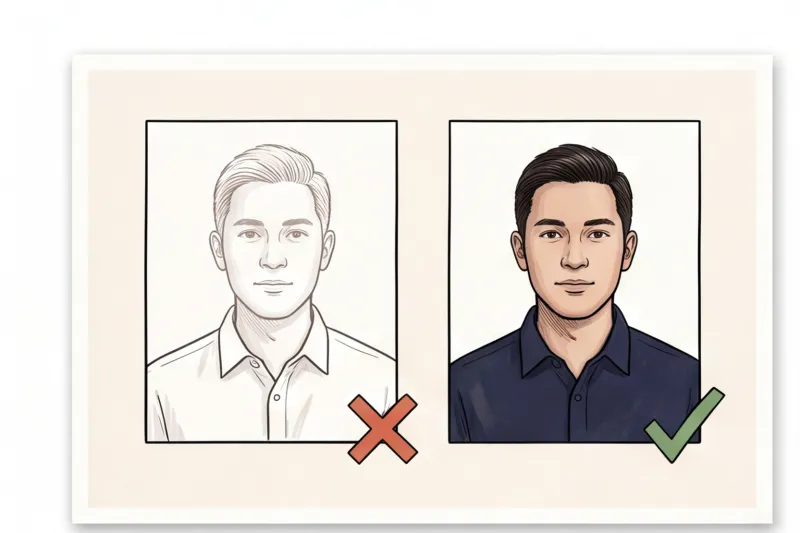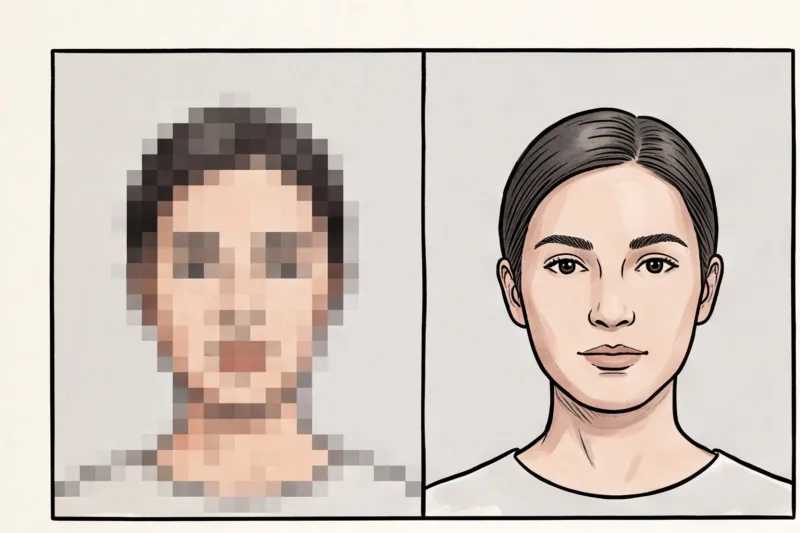
What are the rules for a passport picture?
Every day, document applications are rejected because people treat passport photos like standard portraits. In reality, a modern document photo is a precise piece of biometric data. Using a professional passport photo checker before submission can save you weeks of delay, but you must first understand the core requirements: a straight-on facial angle, a strictly neutral expression, a plain light background, and completely even lighting.
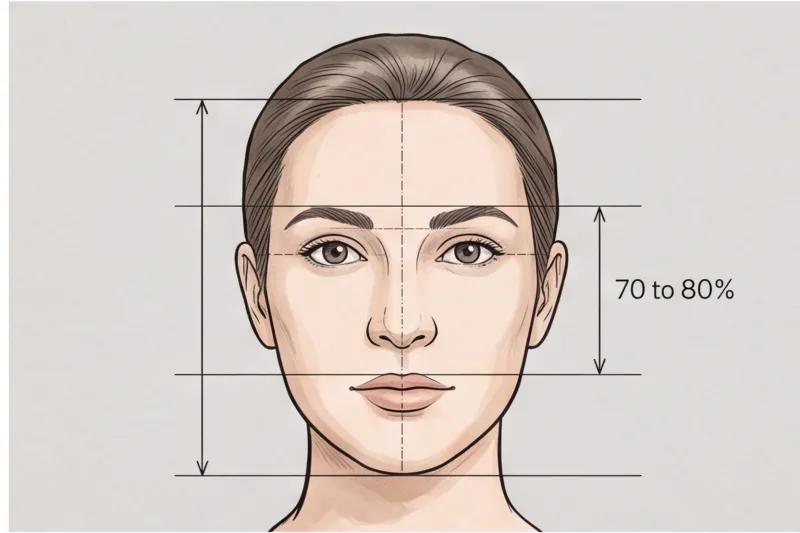
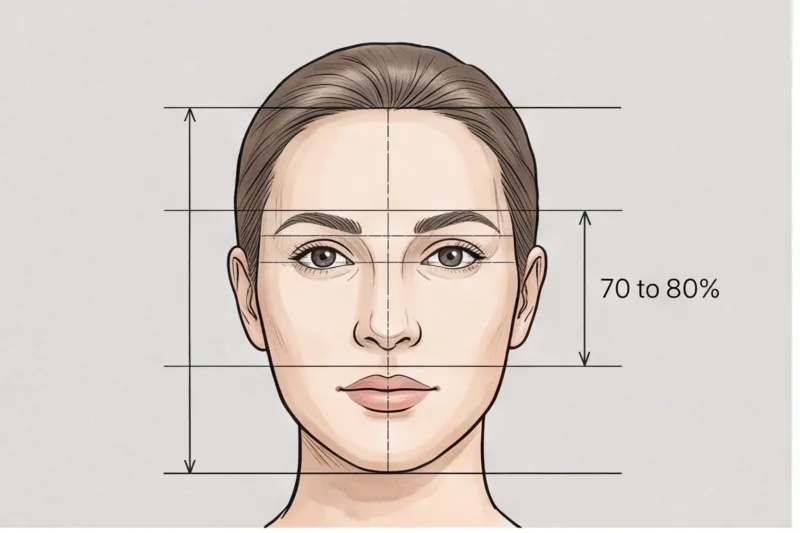
These global baselines are defined by ICAO Doc 9303, the international standard that dictates how facial geometry is captured for machine-readable travel documents. To meet this standard, your face must be straight to the camera with your head perfectly centered. You must maintain a strictly neutral expression — this means your mouth must be closed, no smiling is allowed, and both eyes must be clearly visible. We cover how these foundational rules adapt to specific national sizes and formats in our complete guide.
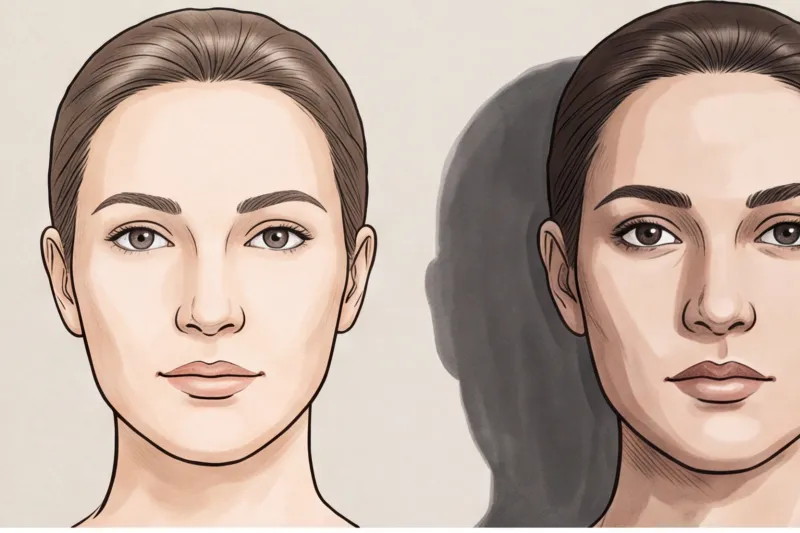
The environment around you is just as strictly regulated. The background must be plain, light, and uniform (typically white or light grey, depending on the destination country), with absolutely no patterns, objects, or other people visible. Furthermore, the lighting must be perfectly even. In practice, a frequent reason for rejection when shooting at home is harsh shadows on the face or a dark drop-shadow behind the head. These shadows distort the biometric measurements required by official verification systems, causing an automatic failure.
What will get a passport photo rejected?
A passport photo is most commonly rejected due to a non-neutral facial expression, obscured eyes, wearing glasses, uneven background lighting, or digital manipulation. Because authorities rely on precise biometric scans, even minor deviations from official technical standards will halt your application.
In practice, the most frequent reasons a photo is rejected stem from habits we use in everyday photography. When reviewing document photos, we consistently see the following critical errors:
- Non-neutral expressions: Biometric software relies on exact distances between your facial features. Even a slight smile, an open mouth, or raised eyebrows changes these facial measurements and renders the picture unusable.
- Eye visibility issues: Both eyes must be sharply in focus and entirely visible. Half-closed eyes, looking away from the lens, hair obscuring the face outline, or camera red-eye will immediately disqualify the image.
- Glasses: The safest approach is to remove them entirely. Increasing numbers of countries, including the United States and most of the EU, completely ban glasses in passport photos unless you have a documented medical reason.
- Background and lighting errors: A plain, light, and uniform background is mandatory. Wall textures, visible shadows behind the ears, or uneven exposure across your face will interfere with the background-to-subject contrast required by official scanners.
- Digital manipulation: Never use filters, "beautifying" apps, or consumer tools that digitally replace your background. Altering your appearance or faking a plain backdrop often leads to automatic failure during the application process.
Because requirements vary heavily depending on the passport or visa you are applying for, you can verify the exact specifications for your destination in our complete guide to global requirements.
Get your document photo in 2 minutes
Upload a normal selfie and receive a compliant document photo that meets the official technical requirements for your country and document — ready to print or submit online.
Make my photoHow to manually check your passport photo: A step-by-step guide
To manually verify your passport photo, you must systematically assess your posture, lighting, and the image's technical authenticity. A quick glance is not enough; you must evaluate the photo exactly as a biometric system would.
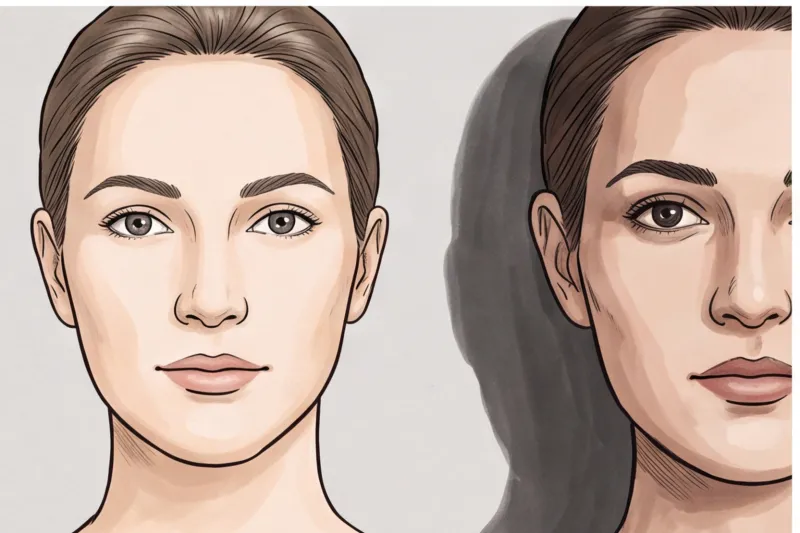
Start with your posture and gaze. Ensure your shoulders are completely square to the camera lens. Check your jawline and the sides of your face to confirm your head is not tilted up, down, or sideways. The camera must be positioned precisely at eye level so your gaze is straight and direct.
Next, assess the background and shadows by zooming in on the file. Look closely at the edges of your face, under your chin, and across the wall behind you. Are there any gradient shadows or dark spots? A compliant biometric photo must have entirely even lighting. Shadows that fall across the face or onto the background can distort the measurement of your facial outline and trigger an automatic rejection.
Check the recency and digital integrity of the file. The photo must reflect how you look right now. Generally, this means it must have been taken within the last six months, though some countries strictly require a photo from the last three months — always verify the exact timeframe with your specific authority. Crucially, the image must not be retouched. You cannot use digital filters, skin-smoothing tools, or beautification apps.
For the safest manual check, open the official visual guidelines from your issuing authority (such as the U.S. Department of State or GOV.UK). Physically compare your photo side-by-side with their official examples to confirm your lighting, background, and head position match the accepted standard.
What are the passport photo requirements for makeup?
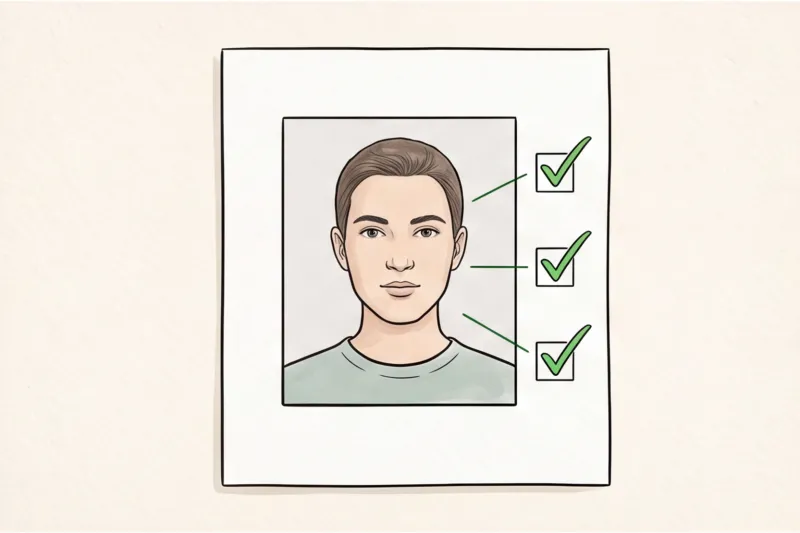
Makeup is allowed in a passport photo, provided it is natural and does not alter your basic appearance or natural skin tone. The goal is to capture your everyday appearance for accurate identification.
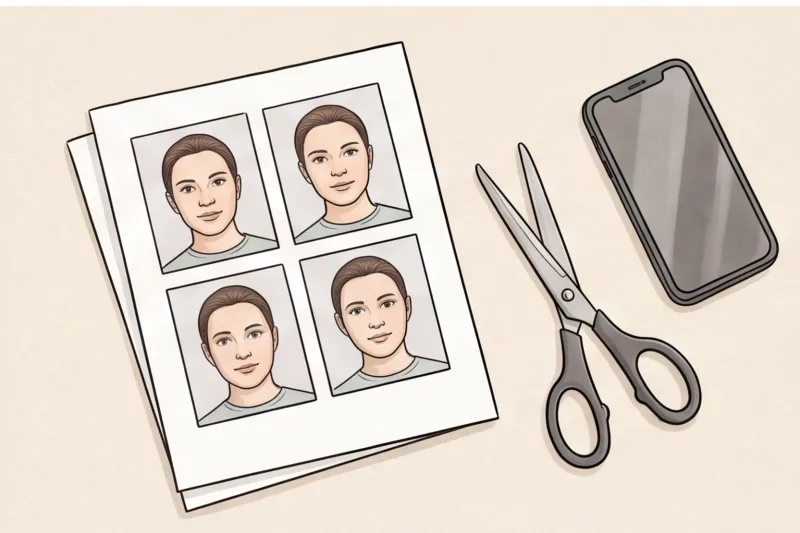
Biometric verification relies on precise measurements of your facial structure, such as the distance between your eyes, nose, and chin. Heavy contouring that artificially changes the shape or depth of your nose, cheekbones, or jawline will cause these biometric checks to fail, rendering the photo invalid.
You must also control how your skin reacts to the even lighting required for the photo. Avoid glossy lipsticks, shiny lip balms, or shimmering highlighters. Under bright light, these cosmetics reflect strongly and create white glare patches on the final image. Glare obscures your natural facial features and is a common reason for a photo to be rejected. When preparing for a document photo, always opt for matte products and neutral, everyday shades.
How do I make a 2x2 photo for my passport?
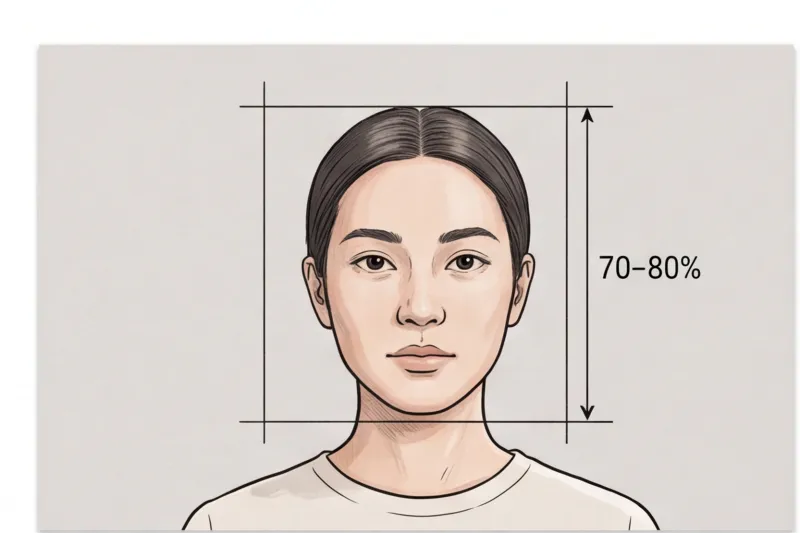
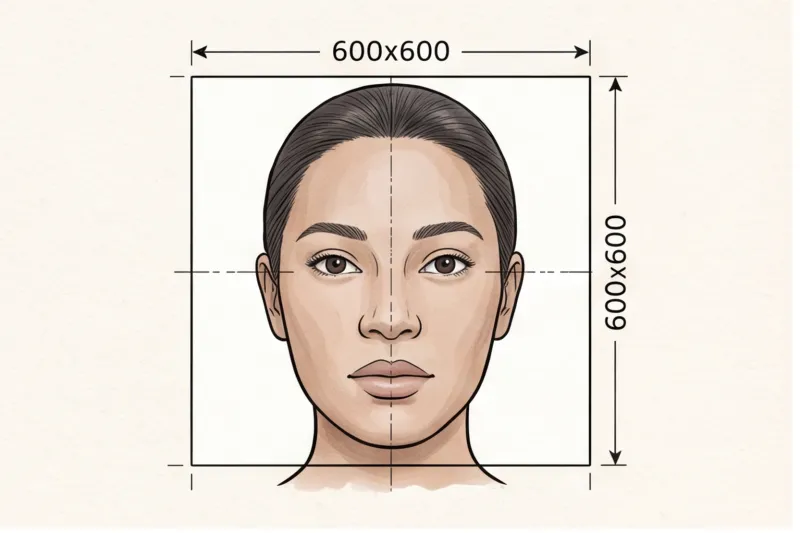
To make a 2x2 inch (51x51 mm) passport photo, you must crop your image so that your face fills 70–80% of the frame height, but only after confirming this exact size is required by your destination country. There is no single global passport photo size. The 2x2 inch standard is mandated by the U.S. Department of State for American passports and visas. In contrast, a 35x45 mm format is standard across most of Europe and the UK. Never assume one country's rules apply to another; always check the official authority for your specific document to avoid an immediate rejection.
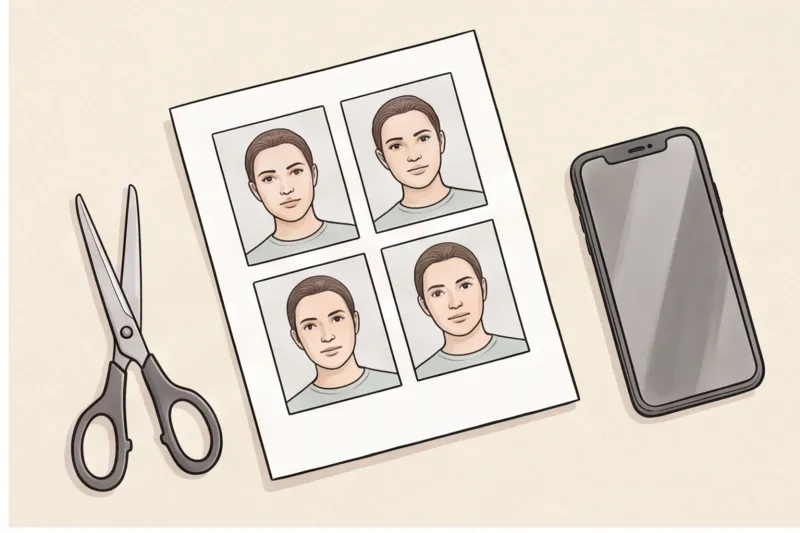
Taking the initial picture at home is straightforward. You can use a standard smartphone to capture a photo against a plain, light wall. However, formatting that image to the exact 2x2 inch square with the correct biometric head-height ratio requires strict precision. Manual cropping tools often lead to errors where the face is too large or too small within the frame, causing the biometric validation to fail.
Instead of struggling with manual resizing and hoping your proportions are correct, use a professional passport photo service like PhotoID24. You simply upload your home selfie, and the service automatically formats it to the exact specifications required by the destination country's authority, completely removing the guesswork.
Ready to prepare your document photo?
Skip the studio. Upload a selfie and get a professionally prepared photo that meets the official technical requirements in about two minutes.
Get startedWhy using a professional passport photo checker is the safest option
A professional passport photo checker goes beyond basic formatting by verifying your image against strict biometric standards. Free resizing tools only crop images; they cannot verify if your expression is genuinely neutral or if the lighting is perfectly even across your face.
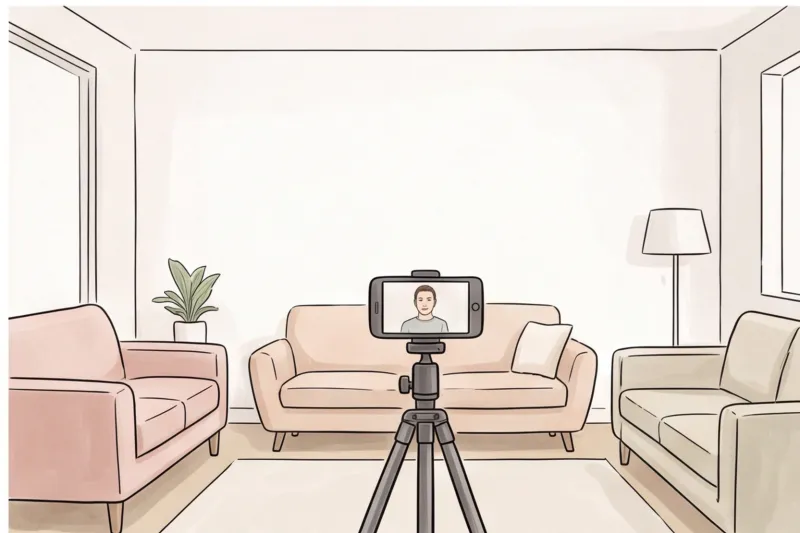
When preparing official documents at home, the margin for error is incredibly small. Relying on guesswork often leads to delayed applications and lost travel fees if an issuing authority detects a faint shadow on the wall or an incorrect head-height ratio.
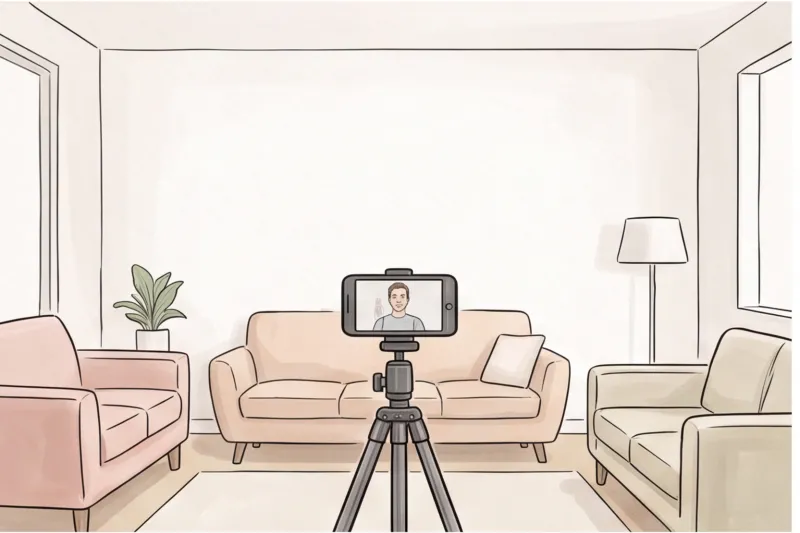
To avoid these expensive setbacks, using a specialized platform is the most secure route. PhotoID24 provides a professional service that checks your photo against the official technical requirements for your specific country and document in minutes. Because biometric rules differ globally — such as the 35×45 mm standard commonly used in Europe versus the 2×2 inch format required in the United States — having a system that applies the exact specifications for your destination is critical.
The process is designed to remove the stress of manual editing and compliance checks. You simply upload a standard selfie, and the service ensures correct dimensions, sets a plain background, and adjusts the biometric framing. The result is a professional image ready for digital submission or printing, giving you confidence that your photo fully meets the technical rules of the official authority.
Final Checklist: Before you submit your application
Before finalizing your document application, you must verify five critical biometric elements: posture, background uniformity, eye visibility, image authenticity, and precise country-specific sizing. Missing even one of these technical requirements is the fastest way to have your passport or visa delayed. To ensure your application proceeds without issue, run your image through this final assessment.
- Are you facing directly forward with a neutral expression? Check your physical alignment in the image. Your shoulders must be completely square to the camera lens, with no head tilt up, down, or to the side. Your expression must be strictly neutral — meaning your mouth is completely closed with no hint of a smile, frown, or raised eyebrows. Even a slight smirk alters the facial geometry measured by scanning software.
- Is the background perfectly plain and light with no shadows? Look closely at the edges of your face, behind your ears, and over your shoulders. The background must be a uniform, flat light grey or white, depending on the specific document rule. There cannot be any gradient lighting, visible textures from a wall, objects in the frame, or drop shadows cast by your body.
- Are your eyes fully visible with no glasses or hair in the way? Biometric verification relies heavily on iris and pupil spacing. Hair must be neatly tucked away from the face outline and must not fall across your eyebrows. Furthermore, unless you hold a documented medical exception, you should remove your glasses entirely. Authorities in the US, the UK, and most of the EU now strictly ban spectacles in passport photos to prevent lens glare and frame obstruction.
- Is the photo completely unedited and unfiltered? Modern document scanners detect digital manipulation. You must not use any smartphone filters, skin-smoothing beautification features, or digital background-removal tools. The image must be a raw, accurate representation of your current appearance. Altering your face shape, changing your natural skin tone, or digitally cutting yourself out of a busy background will result in an automatic rejection.
- Has the image been professionally formatted to the exact size required by the destination country's authority? There is no single global dimension for document pictures. For example, a European passport typically requires a 35 × 45 mm image, while a US passport demands a 2 × 2 inch (51 × 51 mm) square. The head-height ratio — usually requiring the face to fill 70–80% of the frame — also varies heavily depending on the specific document.
Because rules vary widely by country, you must always defer to the official government source or your specific country's document landing page for the exact measurements. If you are applying online, you also need to meet specific digital pixel sizes and file-size caps, whereas printed submissions require high-resolution formatting on proper photographic paper.
Guessing whether your crop and lighting are correct often leads to lost application fees and ruined travel plans. Using a professional passport photo checker removes this risk entirely, validating your image against the exact technical requirements of your destination so you can submit your application with confidence.
Get your document photo in 2 minutes
Upload a normal selfie and receive a compliant document photo that meets the official technical requirements for your country and document — ready to print or submit online.
Make my photo