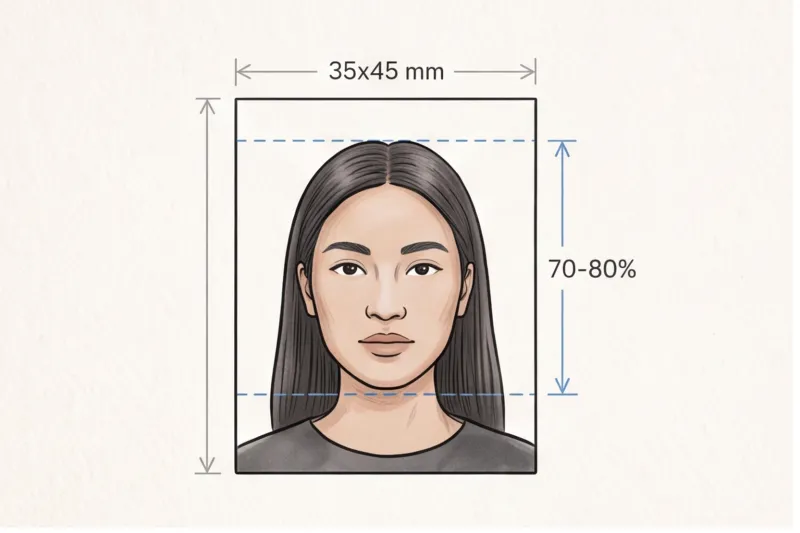
What are the standard passport photo dimensions worldwide?
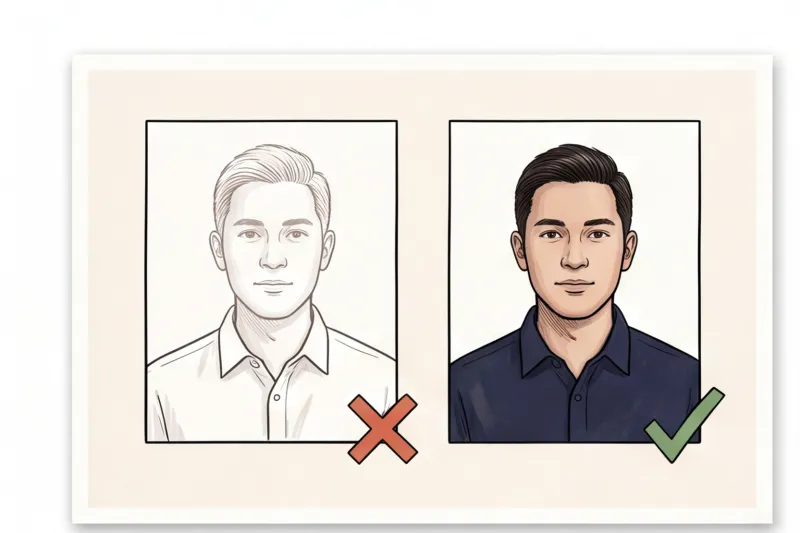
There is no single global size for passport photos; dimensions vary strictly depending on the destination country and the exact type of document. If you submit a perfectly lit, high-quality image that is cut to the wrong physical size, the issuing authority will reject it immediately.
Most national requirements are built upon an international machine-readable travel document standard known as ICAO Doc 9303. This standard establishes the universal biometric principles for identification photos: you must face the camera directly, maintain a neutral expression, and stand against a plain, light background. However, ICAO Doc 9303 only dictates the biometric mapping of the face — it does not mandate a universal outer print size or digital pixel format. Instead, each individual nation sets its own exact print and digital dimensions. We cover the full requirements in the complete guide.
Because these numbers are highly specific and frequently updated, trying to manually resize an image based on general advice is risky. To see the precise, up-to-date passport photo dimensions for your specific application, you can check the exact specifications and format your image automatically using the PhotoID24 service.
The 35 × 45 mm Standard (Europe, UK, Australia)
The 35 × 45 mm size is the most widespread document photo format globally. It is broadly aligned with standard European and Commonwealth biometric requirements, serving as the official dimension for most countries within the European Union, as well as the United Kingdom and Australia.
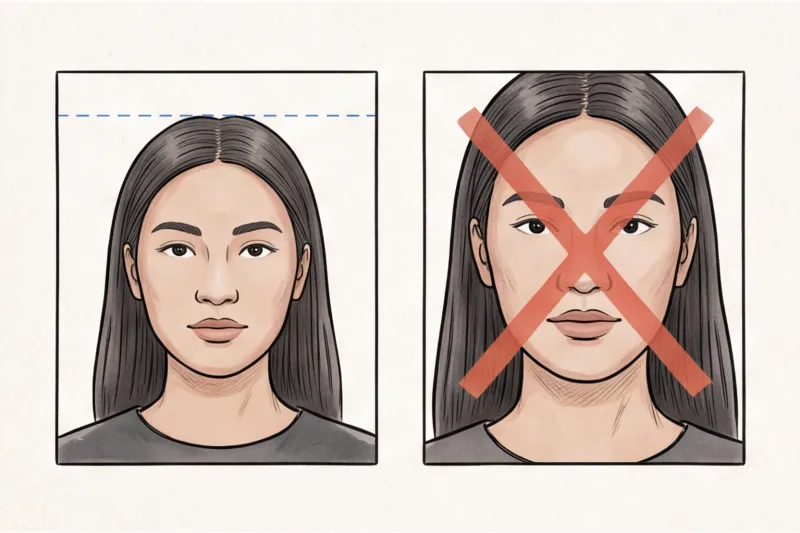
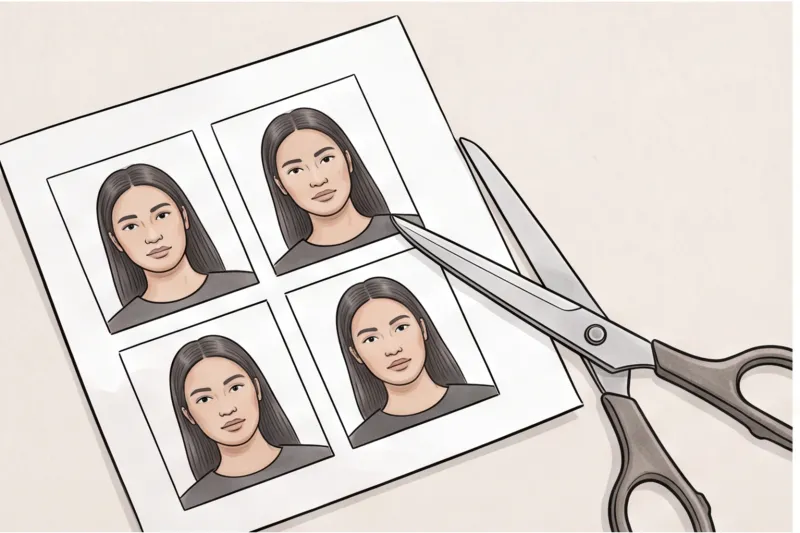
This rectangular format requires precise centering of the applicant's head and shoulders. In practice, a common mistake when preparing a 35 × 45 mm photo is leaving too much or too little space above the subject's head. The outer dimensions are just a container; the biometric scanners require the face to fill a very specific percentage of that height. If the head is zoomed in too closely or sits off-centre within the 35 × 45 mm frame, it will fail automated border control checks. When trimming printed photos to this size at home, any uneven edges or remaining white borders can also trigger a rejection.
The 2 × 2 Inch / 51 × 51 mm Standard (United States)
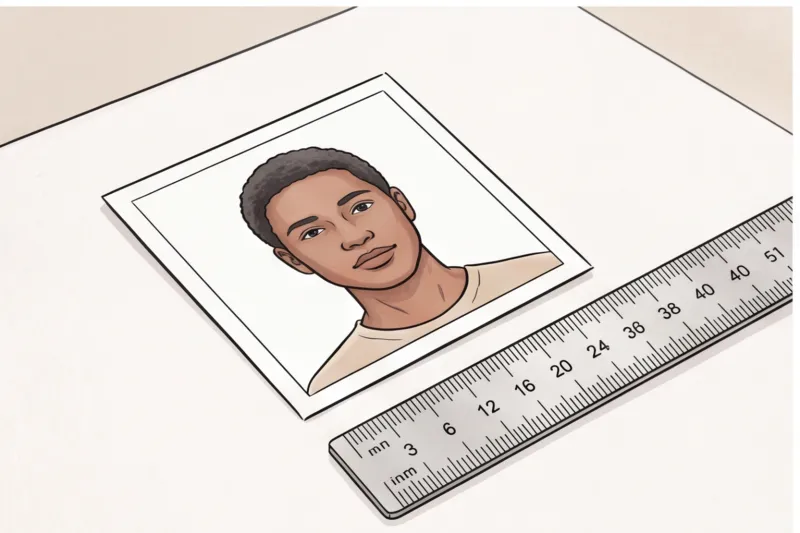
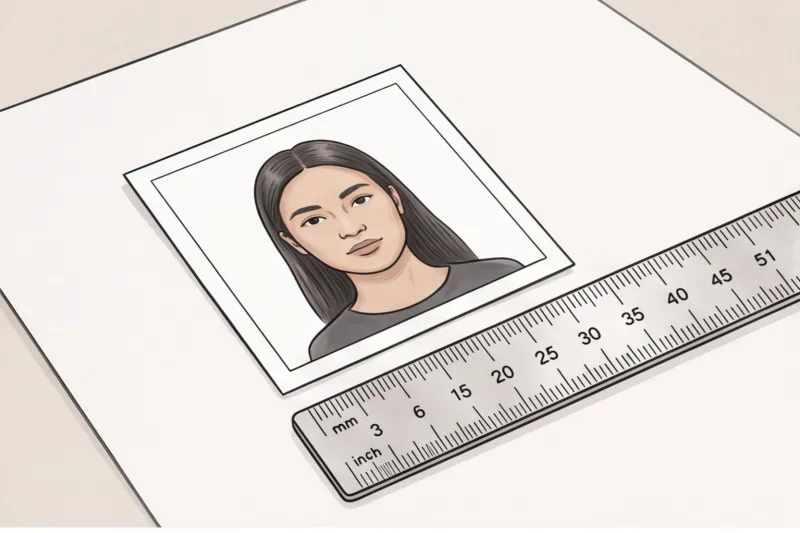
The United States operates on an entirely different standard, requiring a larger, perfectly square format. The U.S. Department of State officially mandates 2 × 2 inches (51 × 51 mm) for all physical U.S. passport and visa photos.
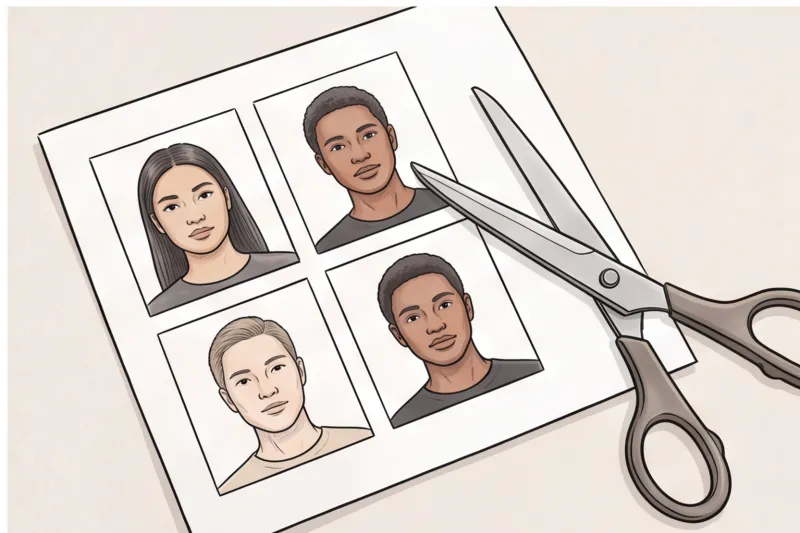
While this 2 × 2 inch specification is distinctly different from the European standard, it is shared by a few other international applications, such as certain types of Indian visas. Like the 35 × 45 mm format, the U.S. square photo has rigid internal head-sizing rules: the head must measure between 1 and 1.375 inches from the bottom of the chin to the top of the hair. Attempting to cross-purpose prints is a guaranteed path to rejection. A standard European rectangular photo cannot be used for a U.S. application, and a 2 × 2 inch square image cannot simply be trimmed down with scissors to fit a 35 × 45 mm European ID slot without completely ruining the biometric head-height ratio.
Why is the head-height ratio just as important as the overall size?
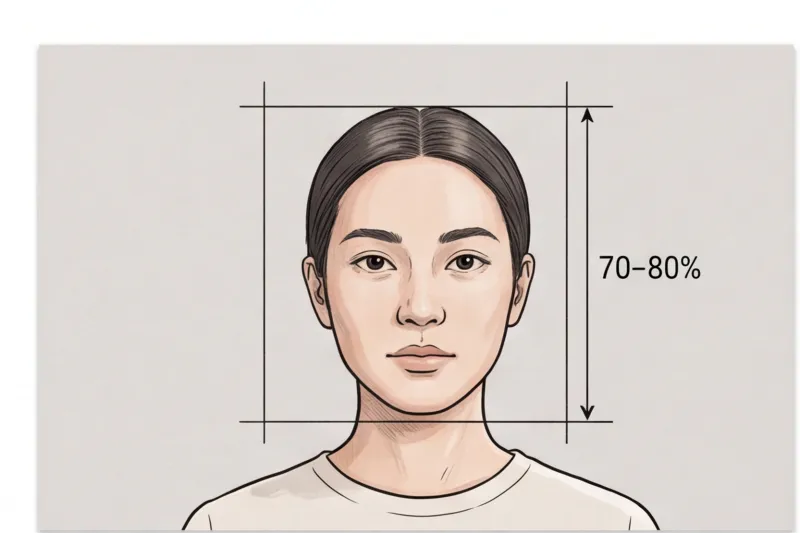
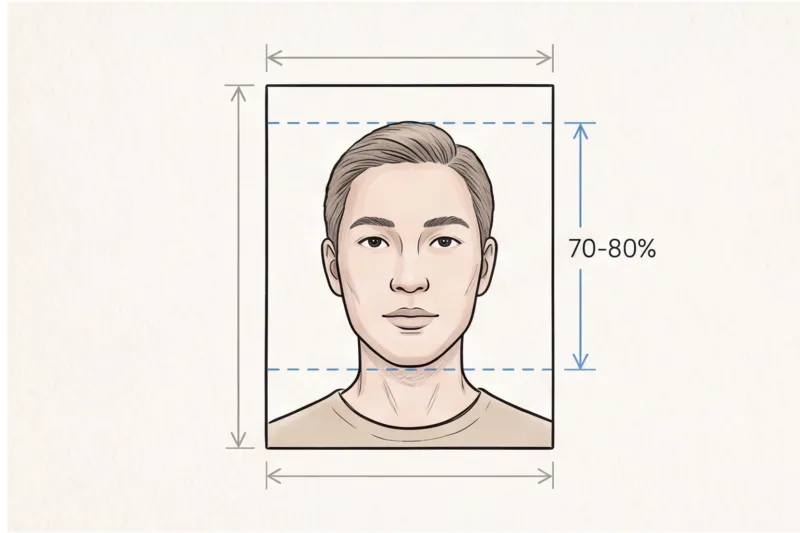
Getting the outer physical dimension correct is only half the battle. To meet biometric photo requirements, the internal framing — specifically the head-height ratio — must be flawless. While exact percentages vary by country, your face must typically fill roughly 70–80% of the total frame height.
In practice, photos cut to the right outer size frequently get rejected because the applicant's head is too large in the frame. When your photo is processed, border control scanners map the precise distances between key facial features, such as your pupils, nose, and chin. We cover the full requirements in the complete guide, but the core principle remains the same across borders: if the head is zoomed in too tightly, or left too small surrounded by vast empty space, the automated biometric mapping fails.
A common mistake when cropping photos manually is assuming that simply centering the face is enough. However, if an authority requires a precise chin-to-crown measurement, being off by just a few millimeters will render the image invalid, even if the photo paper itself is cut perfectly.
Voluminous hair can further complicate head-height measurements. If you have tall or thick hair, it may extend near the top edge of the frame, but officials strictly measure from the bottom of your chin to the top of your skull (the crown). Crucially, your hair must never cover your face or obscure your face outline. Framing the photo to fit a large hairstyle must not cause your actual facial features to shrink below the minimum required percentage.
Get your document photo in 2 minutes
Upload a normal selfie and receive a compliant document photo that meets the official technical requirements for your country and document — ready to print or submit online.
Make my photoPrint vs. digital: How do pixel formats differ from physical dimensions?
Digital passport photos are measured in precise pixels and file sizes for online uploads, whereas physical prints are strictly measured in millimeters or inches. You cannot assume a digital photo works for print without proper formatting, so you must always check the official submission channel requirements before starting your application.
As many immigration and passport processes move online, authorities now enforce strict digital limits alongside their traditional print rules. Instead of measuring physical borders, you must meet exact pixel dimensions and file-size caps, ensuring the image is not heavily compressed.
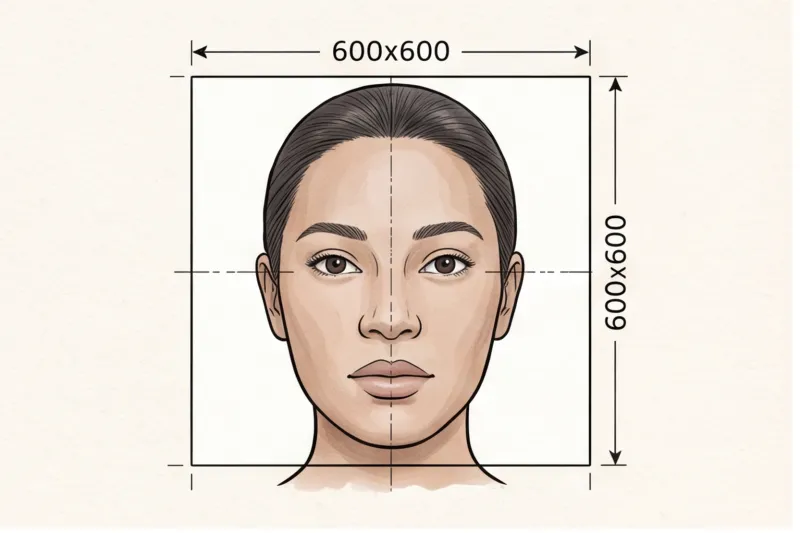
The U.S. Department of State provides a perfect example of this split. For a paper application, you need a physical print measuring exactly 2 × 2 inches (51 × 51 mm). However, for electronic submissions, the digital requirement dictates a minimum dimension of 600 × 600 pixels.
If your application requires a physical photograph and you plan to print at home, the digital-to-print transition relies on resolution. To ensure the printed image isn't blurry, pixelated, or rejected for low technical quality, it must be generated at a standard high resolution, commonly 300–600 DPI (dots per inch). Printing requires correct photo paper, and you must verify whether the specific authority requires a glossy or matte finish.
Navigating both pixel requirements and millimeter measurements manually is risky. Using PhotoID24 removes this stress. When you upload a photo, the professional service automatically processes it to meet the official technical requirements of your destination, providing both a compliant digital file for online uploads and a perfectly scaled sheet ready for high-resolution home printing.
How do I make a 2x2 photo for my passport at home?
To make a 2x2 inch passport photo at home, capture a raw picture against a plain, light background with a neutral expression, and do not attempt to crop it yourself. Instead, leave plenty of space around your head and shoulders, then use a professional service to format the exact 51 × 51 mm dimensions automatically.
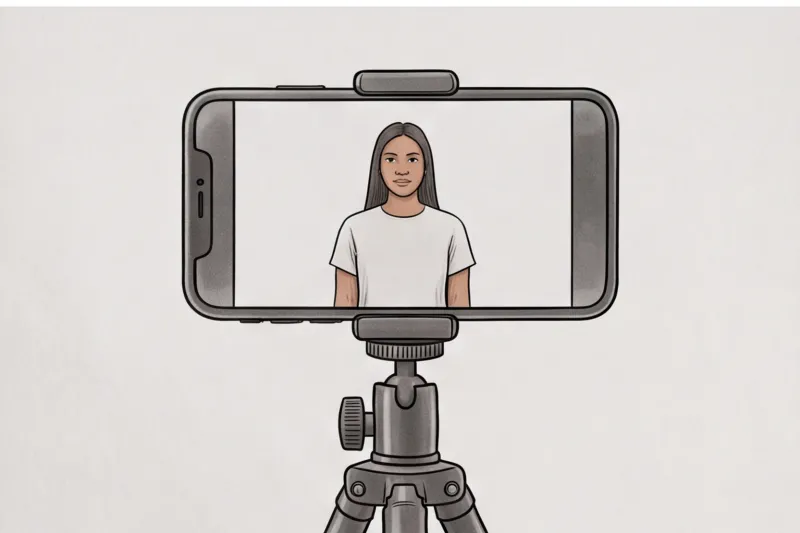
When taking the photo yourself, focus entirely on your environment and posture rather than the final dimensions. Follow these actionable steps to capture a compliant raw image:
- Step 1: Secure a plain background and even lighting. Stand in front of a plain, light, uniform background (such as a white or light grey wall). Step slightly away from the wall to avoid casting a shadow behind your head. Face a light source to ensure even lighting across your face, avoiding any harsh shadows, glare, or overexposure.
- Step 2: Hold a neutral expression. Look straight into the camera lens with your head centered and shoulders level. Keep your mouth closed and do not smile. Both eyes must be fully open and clearly visible. If you are preparing a 2x2 inch photo for a US passport, remember to remove your glasses entirely, as they are strictly banned.
- Step 3: Leave plenty of space. In practice, a typical mistake when shooting at home is zooming in too tightly. Do not attempt to crop the image to 2x2 inches on your smartphone. Leave a generous amount of space above your head and outside your shoulders. This gives the necessary margin for precise alignment later.
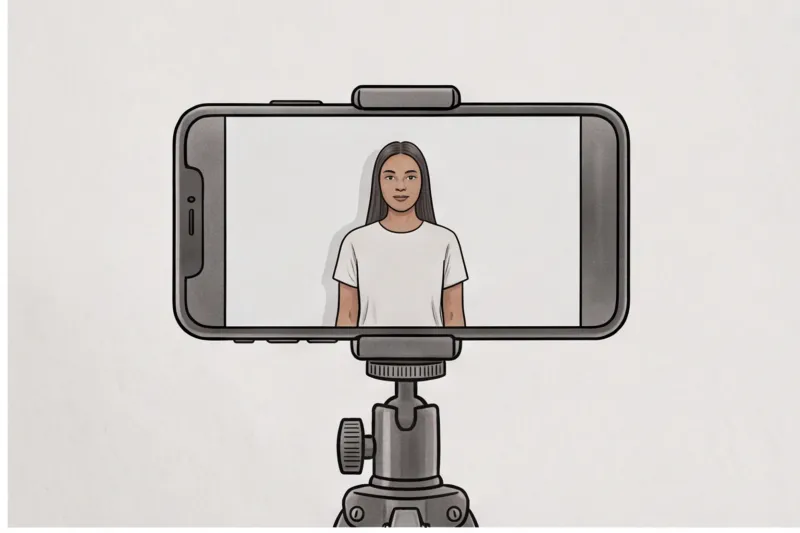
Manual cropping often ruins the internal biometric measurements. Instead, upload your raw, uncropped photo to the PhotoID24 service. Our system automatically measures, aligns, and crops the image to the exact 2x2 inch (51 × 51 mm) specification. In just minutes, it ensures the head-height ratio strictly meets the official technical requirements, delivering a professional result ready for digital submission or printing.
Ready to prepare your document photo?
Skip the studio. Upload a selfie and get a professionally prepared photo that meets the official technical requirements in about two minutes.
Get startedWhat will get a passport photo rejected based on size and framing?
A passport photo will be rejected if the overall dimensions are incorrect, the head is cropped too tightly, or the face is positioned off-center in the frame. In practice, manual cropping errors that disrupt the official head-height ratio are the leading cause of dimension-based application refusals.
When trying to format images manually, applicants frequently submit the wrong aspect ratio or leave unwanted white borders around the print. If you cut off the top of the head, leave excessive headroom, or fail to include enough space around the shoulders, the photo cannot be used. The face must typically fill roughly 70–80% of the vertical space, depending on the specific country's rules.
The position of your body matters just as much as the external paper size. In practice, if your head is tilted, off-center, or your shoulders are not squared directly to the camera, it immediately breaks the biometric geometry checks used by border control software. Scanners map specific distances between your pupils, nose, and chin, meaning you must face the lens completely straight.
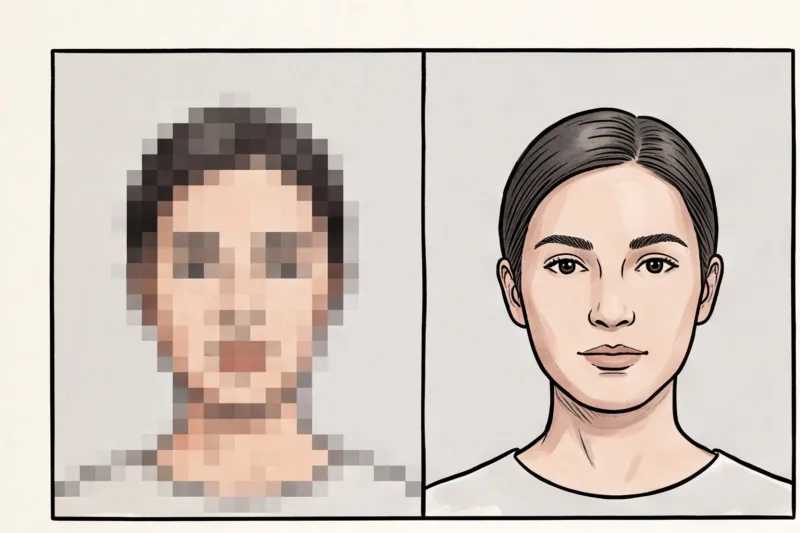
Beyond framing, low technical quality ruins many properly sized images. Taking a low-resolution file and sizing it up artificially causes unacceptable pixelation and blurriness. Additionally, if you are submitting a physical document, printing the image on plain copy paper rather than proper photographic paper will guarantee a rejection.
Finally, even with perfect framing and dimensions, officials will reject your photo for other universal biometric failures: non-neutral expressions (like smiling), uneven lighting creating shadows on the background, or wearing glasses, which are increasingly banned entirely for passports in many countries.
What are the rules for a passport picture regarding makeup and appearance?
You can wear everyday makeup in a passport picture, provided it does not alter your fundamental appearance or hide your natural skin tone. The image must be a true reflection of your current look, strictly taken within the last 6 months, with absolutely no digital filters or retouching applied.
In practice, heavy contouring that visibly changes the shape of your cheeks, nose, or jawline frequently causes rejection. Border control software relies on mapping your true facial structure, and dramatic makeup disrupts these biometric markers. Furthermore, digital beautification is universally banned. While editing out a temporary spot or blemish is generally acceptable, using software to smooth your skin texture, enlarge your eyes, or thin your face is strictly forbidden. The resulting photo must look exactly like the person standing at the passport control desk.
Appearance regulations also strictly govern accessories and hair. Hats and head coverings are permitted exclusively for documented religious or medical reasons, and some authorities require a signed statement to accompany your application. Whenever an approved covering is worn, your full face must remain entirely visible from the bottom of your chin to the top of your forehead, ensuring no shadows fall across your skin.
Get your document photo in 2 minutes
Upload a normal selfie and receive a compliant document photo that meets the official technical requirements for your country and document — ready to print or submit online.
Make my photoHow to get a perfectly sized passport photo in minutes
Getting a perfectly sized passport photo takes just a few minutes when you use a dedicated professional service, avoiding the significant risks of manual editing. Navigating strict millimeter requirements, exact head-height ratios, and specific digital file sizes by hand is complicated and frequently leads to application delays.
In practice, a common mistake people make at home is using basic photo editing software to resize an image. They might successfully trim the outer edges to a standard 35 × 45 mm or 2 × 2 inches (51 × 51 mm), but fail to adjust the internal framing. As established by ICAO Doc 9303 and national authorities, the face must occupy a very specific percentage of the frame — usually between 70 and 80 percent, depending on the country. If your head is just a few millimeters too large, or if your eyes are positioned too low in the frame, border agency scanners will flag the file. Furthermore, digital submissions come with strict pixel dimensions and file size limits. Manually balancing print resolution, aspect ratios, and compression without degrading the photo's technical quality is an unnecessary headache.
The fastest and safest route is to use our professional online service, PhotoID24. Instead of wrestling with complex photo editors or worrying about whether you have left exactly the right amount of headroom, you can offload the technical heavy lifting completely.
The process requires no special equipment. First, stand in front of a plain, light, uniform background. Ensure your lighting is even so there are no harsh shadows on your face or behind your head. Maintain a neutral expression with your mouth closed and both eyes clearly visible. Take a standard, high-quality picture with your smartphone, leaving plenty of space around your shoulders and above your head. Crucially, do not try to crop or resize this original raw image yourself.
Next, simply upload the photo to PhotoID24 and select your exact destination country and document type. This step is vital because there is no single global standard, and size rules can occasionally differ even between a passport and a specific visa for the same destination. By selecting your target document, you ensure the system applies the precise specifications mandated by that specific government authority.
In about two minutes, the professional service automatically formats the overall dimensions, aligns your head position, and processes the background. The result is a photograph that meets the official technical requirements of your chosen country. You receive a fully compliant digital file ready for online upload, alongside a perfectly aligned print sheet that you can run off on standard photo paper if physical copies are required. Handling official travel documents is stressful enough; trusting a professional service to format your image ensures your application proceeds smoothly, saving you the time and expense of a rejected photograph.